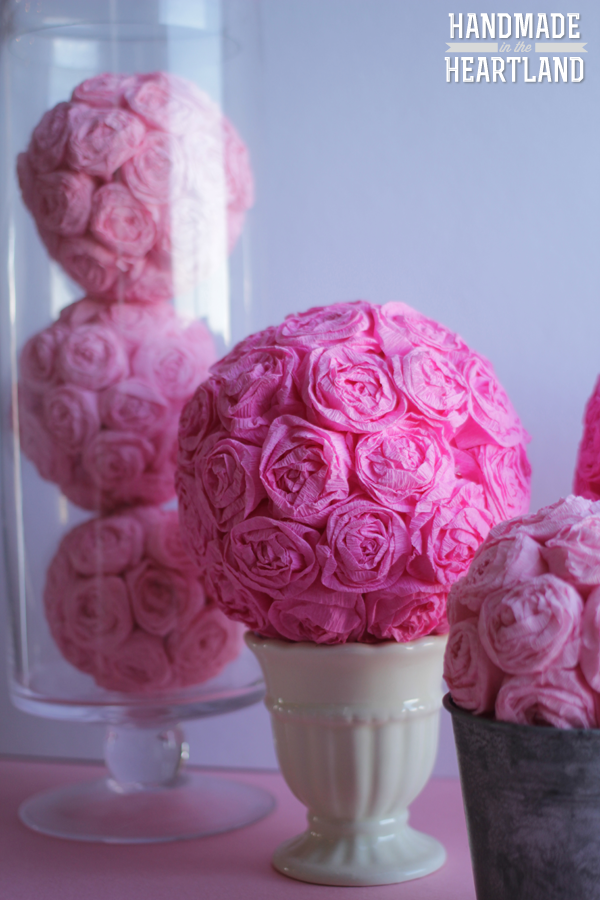
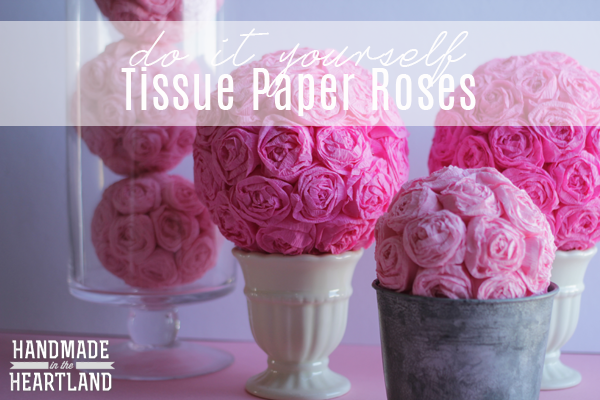
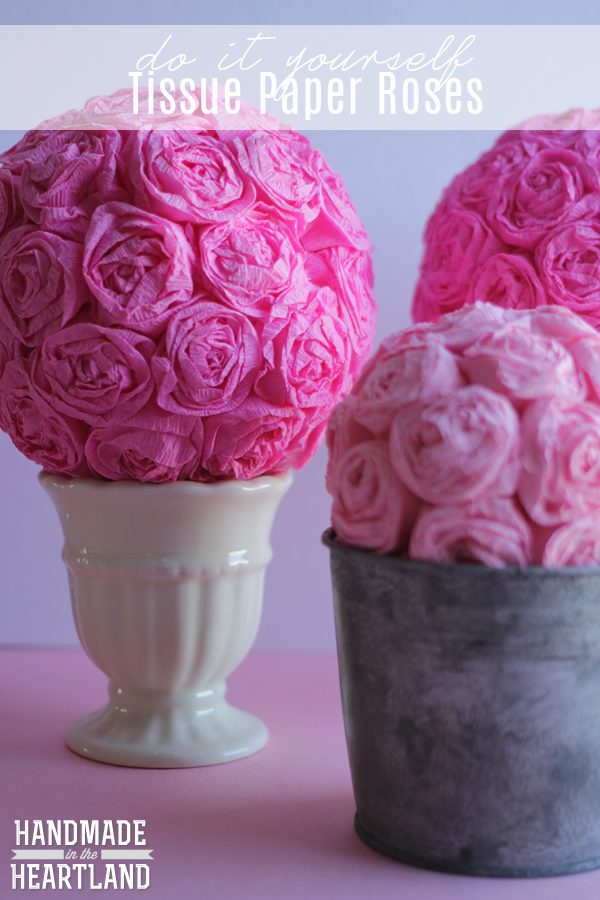
Hey friends you don’t have to tell me twice, give me an excuse to decorate with pink and i’ll take it! Valentines day is just around the corner and once the calendar falls on February i’m all about making my living room as pink as possible (its the only time the husband will allow it). I love these cute DIY tissue paper roses, would you believe that they are made from streamers?! This fun little craft is super inexpensive and adds a lot to your mantel or any valentine vignette you are displaying this month. When i was making these i thought they would be lovely as a centerpiece at a wedding or other event. The only downside to this project is it is time consuming, especially if you want to take it a step further and make a wreath like i did HERE. Keep reading to see the full step by step tutorial.
Supplies:
1 package of pink (or preferred color) streamers, i used 2 colors of pink for variety
Styrofoam ball or other shape
hot glue gun
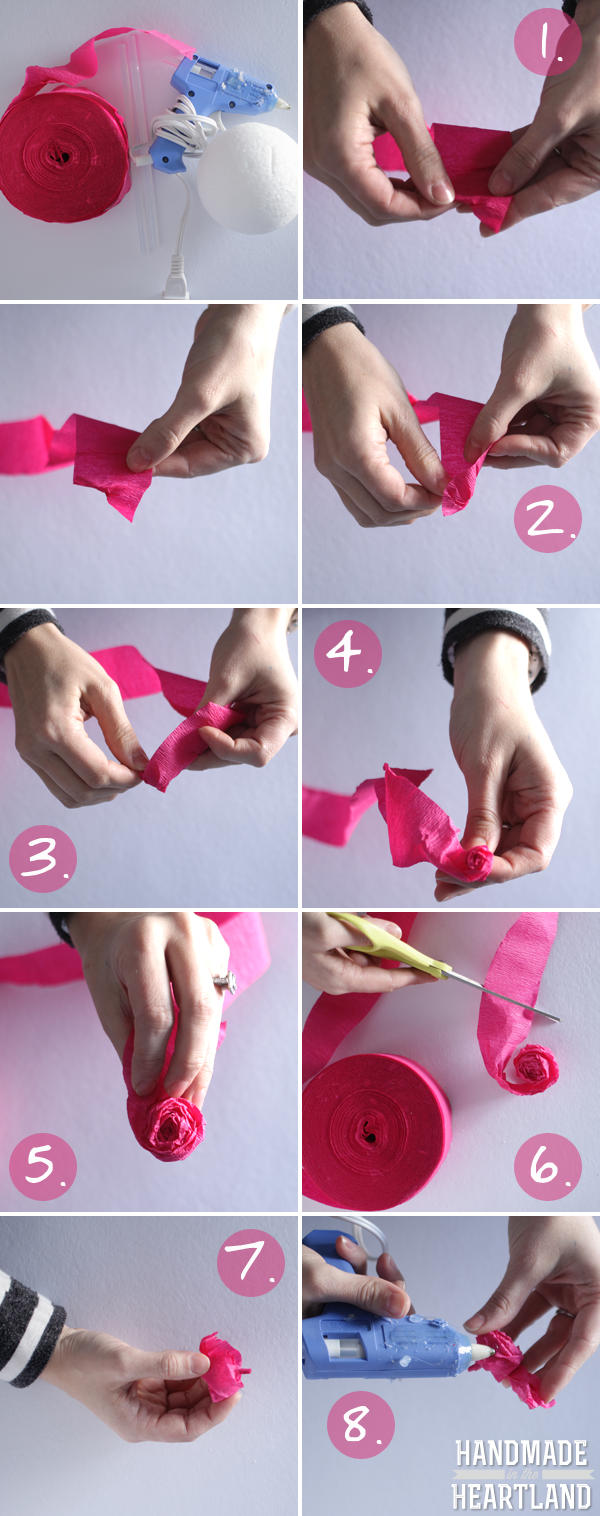
1. Take the end of the streamers and using your thumb and pointer finger roll the end of the paper tightly. This will be the start of your rose.
2. As you continue to roll the paper you will want to start folding the streamer in half so the fold is at the top of the rose.
3-5. Keep turning the paper to “grow” the rose. As you turn keep a hold on the first little roll you made so it becomes your handle so you have something to hold on to as you continue to roll the rest of the way.
6. Once you get to a desired width of your flower stop and cut the end.
7. Fold over the end so that it is hidden in the bottom part of the flower
8. Add a dab of hot glue to secure the loose end.
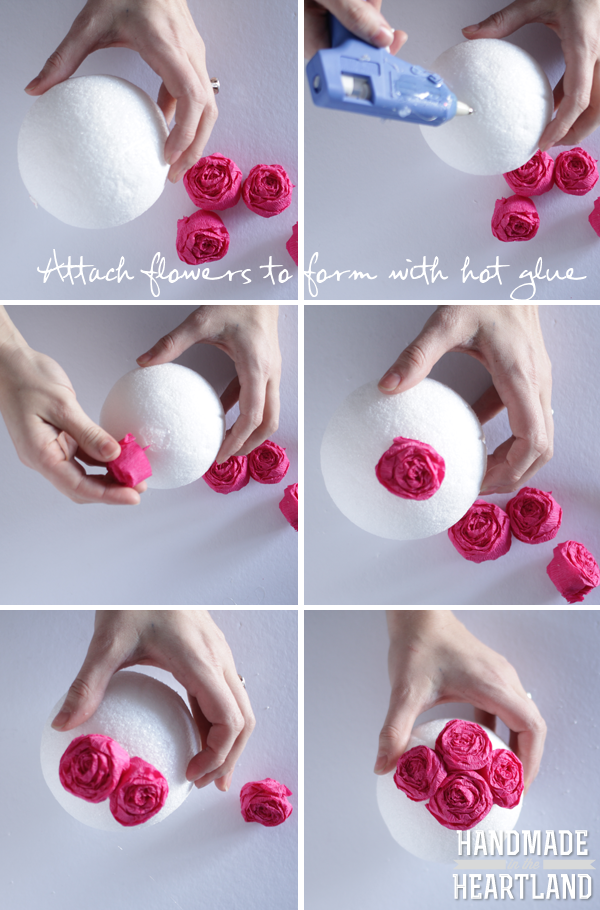
To attach your roses to the styrofoam just use hot glue and pop them on that baby. I will say that i found it more efficient to make a bunch of roses and glue them on together instead of make one, glue it, make one, glue it. You’ll want to put a lot of glue down on the foam and then place your rose on, let it dry for a few seconds and then keep adding on more roses on. Keep them super close together as you glue so you don’t see any of the white foam. Once you are done you can display them in glass canisters, on top of little pedestals, cakes stands, in a bowl or just on a table.
Happy February! If you do make these be sure to take a picture and tag me on instagram so i can see your fun creating, it makes me so happy! @handmadeintheheartland

