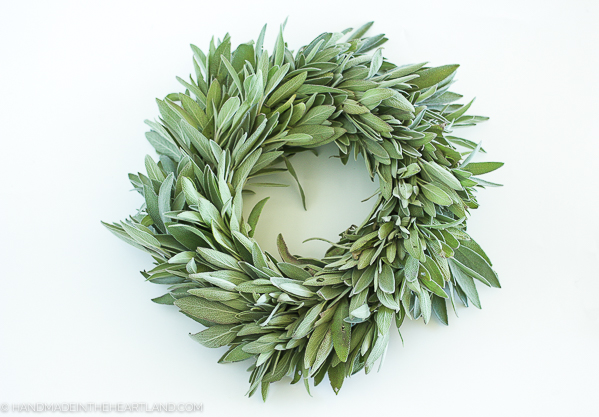
This fresh sage wreath is a great way to use up extra sage from your herb garden and air dry it for future use. Step by step directions in this post!


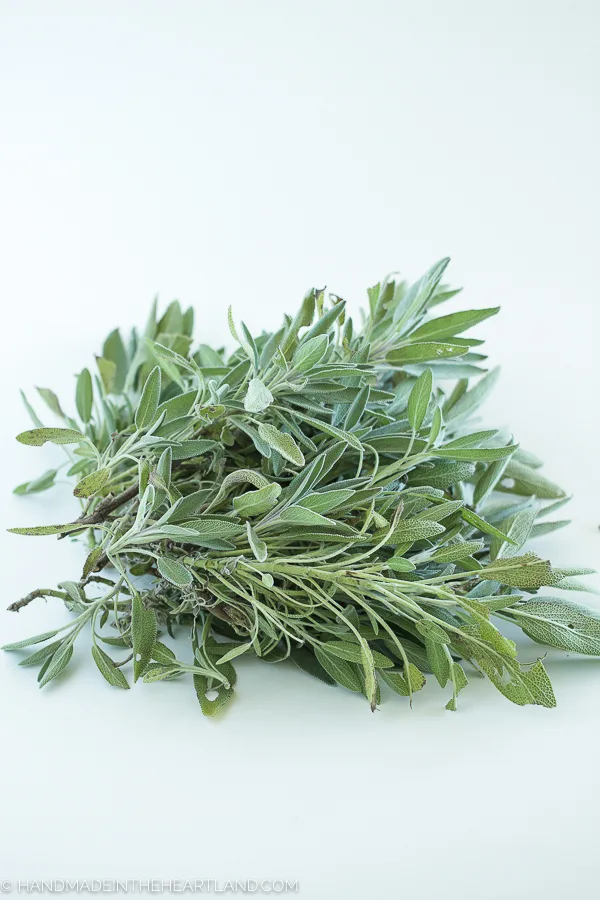
This fresh sage wreath is pretty simple and fun to make! If you are like me and grew your own herb garden last summer you might have a massive bush of sage that is only going to go to waste if you don’t use it. You may be wondering what to do with fresh sage?
Let’s make a wreath with all the abundance of sage and let it dry naturally to use for the winter.

After you make this wreath the sage will dry and you can use it just like the crushed dried sage in your cabinet. It will last all winter, just pull a leaf or two when you need them and crush them up. Cute and functional!
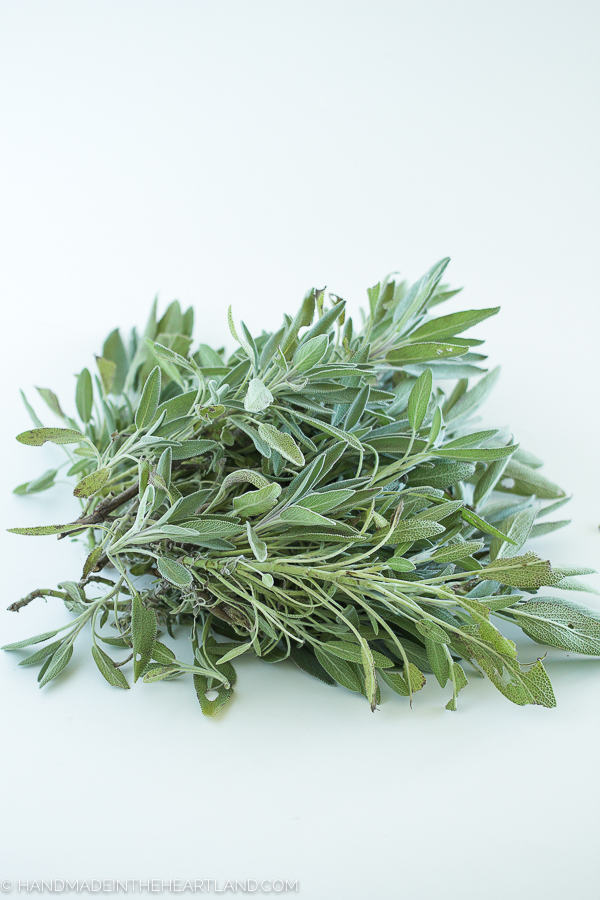
How to prep fresh sage leaves to dry
Before making this fresh sage wreath I recommend washing and drying the sage leaves. This ensures that the leaves are free of any dirt or small bugs from the garden.
Just simply wash the leaves with cool water in your sink and lay them out to dry on some paper towels. This also ensures that your fresh sage is clean so when it dries and you go to use it for cooking it will be ready!


How long does fresh sage last?
Fresh sage lasts at room temperature for 2 days, in the fridge for 2 weeks and in the freezer for 4-6 months. However for this project we are naturally drying the sage so it will be good to use dried for several months in the wreath!
The sage in your wreath will start to look dried after about 2-3 days, but it will take another week or so for it to feel crispy and fully dried.
How to dry fresh sage?
There are several methods to drying herbs, check out my post on how to dry herbs in the oven. This wreath will naturally dry at room temperature in your home. You’ll want to make sure you wash and dry the leaves before making the wreath and then you just wait and your sage will be dried in about a week!
Supplies:
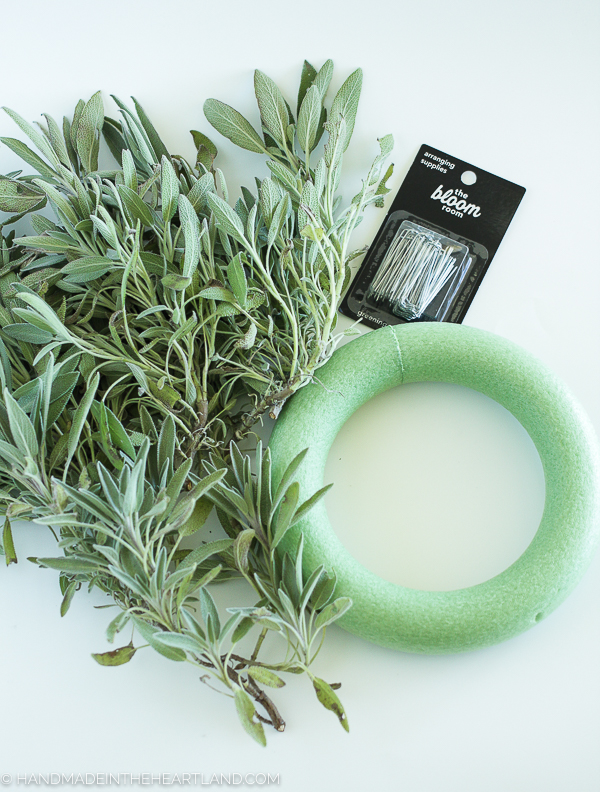

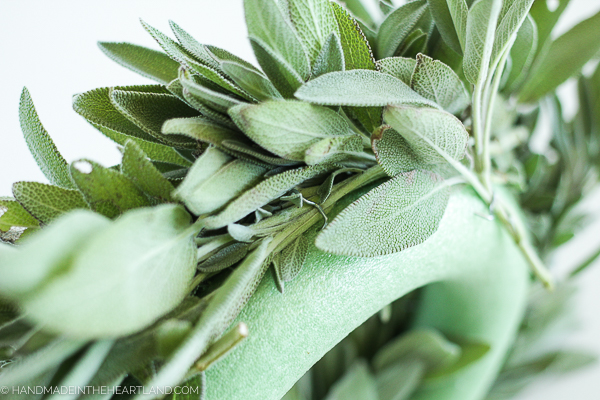
- Styrofoam wreath form- Use a small wreath form, I used THIS 7″ one from JoAnn
- Floral pins- These are a U shaped pin, also called a greening pin, and work perfect to tack the fresh sage leaves down to the wreath form.
- Fresh Sage- You will use a lot of sage for this project, even with the small wreath form I used a basket full of sage. If you don’t have a sage plant in your garden, find a friend who does! This herb grows into a bush and I don’t know anyone who grows it who isn’t willing to give extra away.
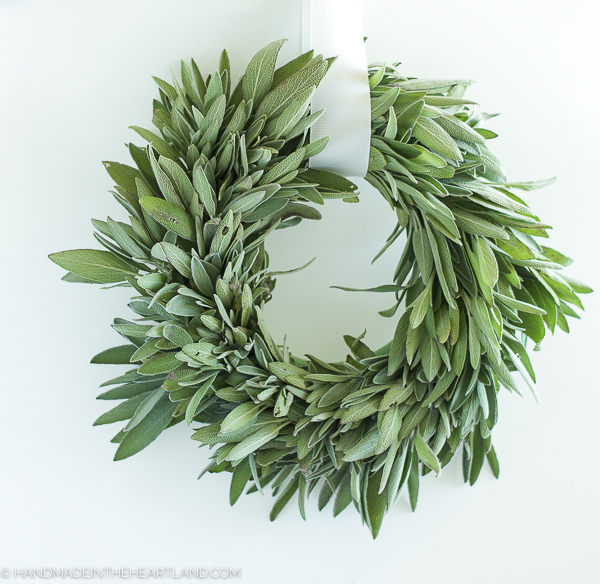
- Ribbon- I used a 1.5″ whit grosgrain ribbon to hang it. You can use any ribbon you like!
- Scissors- A good pair of scissors is always a must!
Tips for making a fresh sage wreath
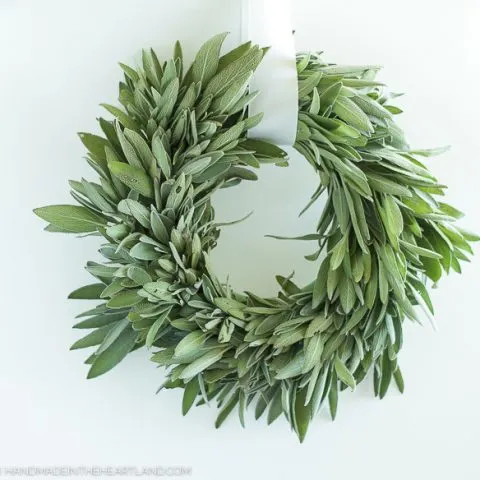
- The sage will shrink as it dries so use a lot, make it very full.
- A major change that I would make if I did this project again: I had all the leaves going in the same direction clockwise around the base, I would change it so that the leaves started at the top going separate directions and then meet at the bottom with all the leaves going in a downward direction. I would change this because my wreath kind of looked funny after a few days because the side of the wreath that was working against gravity (with the leaves going upward) ended up falling backward and looking not so great.

DIY Fresh Sage Wreath
This fresh sage wreath is the perfect way to use up all the sage from your herb garden AND dry it to use for cooking all winter long.
Materials
Tools
- Scissors
Instructions


Recommended Products
As an Amazon Associate and member of other affiliate programs, I earn a small commission if you purchase something I recommend. I would never recommend products I don't love and use!


What to cook with sage?
If you’re looking for delicious recipes to start pulling the sage leaves from your wreath and using these are some of my favorites!


DIY Christmas Wreath Ideas You Can Make This Weekend | Making Lemonade
Wednesday 16th of December 2020
[…] fresh sage wreath smells divine and looks beautiful in your […]
Herrliche Geschenke aus dem Garten – Mein Garten funktioniert
Tuesday 15th of December 2020
[…] Salbei Kranz (Handgemacht im Kernland)– Dieser schöne frische Kräuterkranz wäre ein wunderbares Geschenk für eine Gastgeberin […]
Delightful Gifts from the Garden - The Kitchen Garten
Tuesday 15th of December 2020
[…] Sage Wreath (Handmade in the Heartland)– This beautiful fresh herb wreath would be a wonderful gift for a hostess, or a friend who […]
50 Best DIY Thanksgiving Wreaths - Prudent Penny Pincher
Saturday 10th of October 2020
[…] Fresh Sage Wreath from Handmade in the Heartland […]
15 Stylish and Inexpensive DIY Fall Wreaths - Everything Abode
Thursday 8th of October 2020
[…] Do you love the smell of fresh sage? Then this Gorgeous Fresh Sage Wreath Tutorial is calling you to make it! […]