
I decided to add some fall decor to my house with this fun do it yourself apple throw pillow. I know you’re thinking this might look like a hard project but honestly friends it took me less than an hour! It’s a fun way to personalize your space for fall, and don’t we all love to decorate for the holidays?! I already had the stripe linen (because I have a fabric store in my basement) but I think it would look just as beautiful on solid linen or even using a drop cloth from the hardware store. Keep reading for all the instructions!

Supplies:
1 -19 x 19″ fabric
2 -19 x 12″ fabric
heat bond
apple stencil (or cutting machine like cricut explore or silhouette)
1/4 yard of solid fabric for apples
18″ pillow insert
The first step is to cut out your apples. Heat bond is so easy to use, always use the package instructions which are to first iron it on to the backside of your fabric, then cut out your shape, take off the paper part and then iron it on again to the pillow fabric. I used my cricut to cut out the apples, you can read about my tips for cutting fabric on the cricut explore here.

After you have all the apples you want, place them on the square piece of fabric while its on your ironing board, which will be the front of your pillow. Next iron them on to adhere them. You could go over them with a stitch if you wanted to for aesthetic purposes, but heat bond is very strong so you don’t need to for integrity.

Next you will want to lay your 2 smaller pieces out and iron one 19″ side of each piece under by 3/4″. These two pieces will be the envelope part of the pillow and you want a finished edge where it is exposed. After they are ironed you can stitch them down, I won’t lie to you, I was in a hurry and totally didn’t stitch them! (bad sewer!)
Lay the front of the pillow facing up and then lay the two smaller pieces with the right sides facing the right side of the top piece. Match it up at the side seams and the center backs will overlap to create an “envelope” for the pillow to slide into and not be exposed.

If you are using stripes its important to note that if you want a professional look it helps to match the stripes on the side seam. To be able to do this you need to cut out the pieces in the same place on the fabric. My stripes were very noticeable since they are thick so it was important, if it a small stripe it’s not as noticeable.

I used the above 18″ square Home Elegance pillow By Fairfield. Its soft and fluffy and perfect for this throw pillow, they have lots of sizes to customize to your space.

So how easy is that friends? All you have to do is sew 4 strait lines! Easy peesey and on your couch for fall in no time!

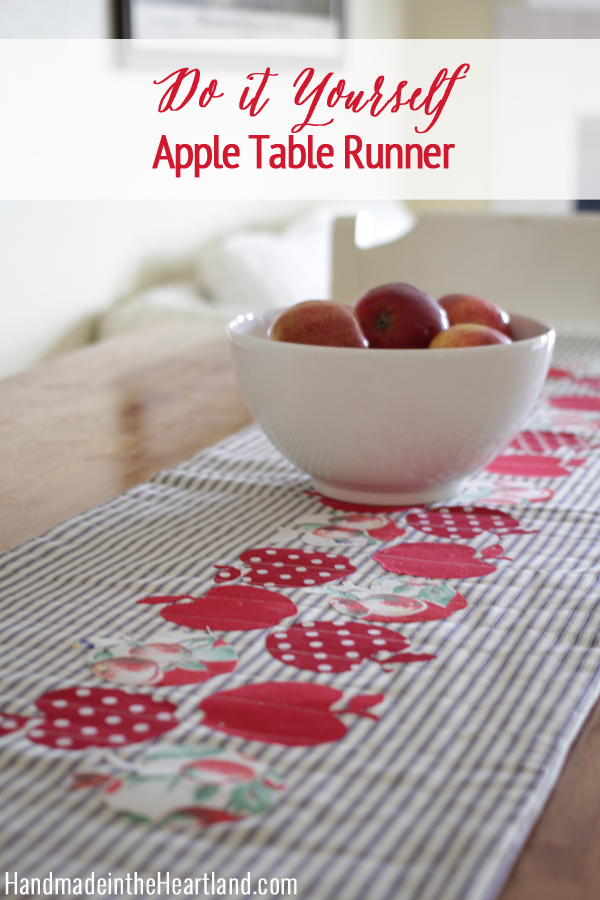
Did you see the fun quilted apple table runner I made that matches this pillow? click on over!
10 Fall Pillow Tutorials - Sewing With Scraps
Wednesday 7th of September 2022
[…] Apple Applique Pillow […]