
How stinkin’ cute is this quilted apple table runner?! When I was putting together my ideas for my fox4 segment for September I knew I wanted to create some fun apple home decor items. I love to decorate my kitchen table and make it festive for whatever season we are in and a runner is an easy way to dress it up! Keep reading for more details on how you can make your own!
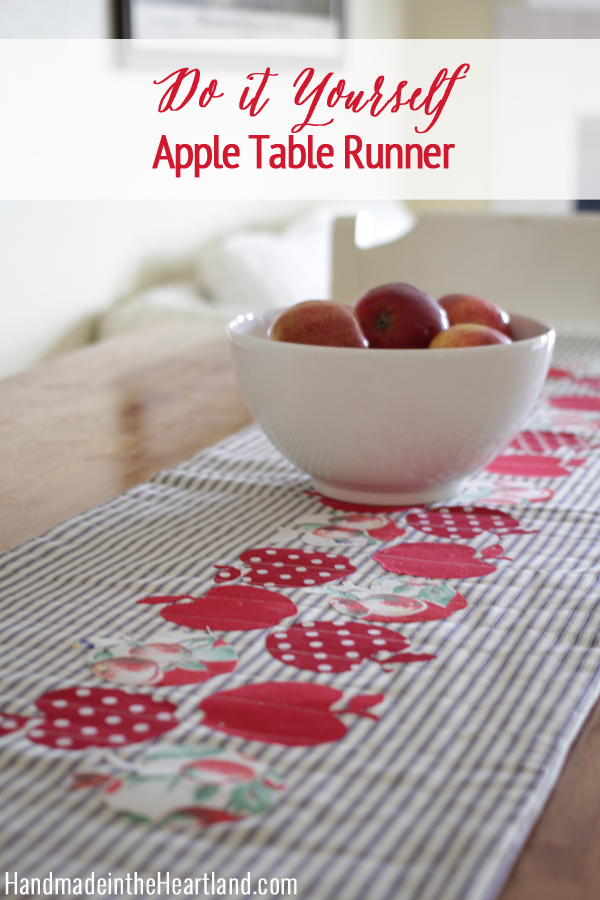
Quilted Apple Table Runner
Supplies you’ll need:
– 2 pieces of base fabric 17″x 85″
– 1 piece of Fairfield Nature-fill quilt batting 17″x 85″
– 3 printed fabrics 1/4 yard
– 1 yard of Heat Bond
I was excited to finally use a piece of vintage fabric that I had on hand that had apples printed on it, so along with that a solid red and a red and white polka dot I cut out my apples. I used my cricut explore machine, but you can just as easily cut out the apples with scissors. The first step is to adhere the heat bond to the back side of the fabrics you want to use for the apples. Follow the instructions on the heat bond package. If you are cutting them out by hand you can draw on the paper side and then cut out the apples. If you are using your cricut explore you can see my instructions on cutting fabric in this post.

Once all your apples are cut out you’ll want to place the top fabric on an ironing board and place your apples on it in the pattern you want. When I was placing my apples I made sure to find the center of the runner and put a pin as well as I put pins 4″ from the top and 4″ from the bottom and kept my apples within those measurements, it helped that my fabric had stripes to help me gauge placement.

Once you are sure you like the design iron the apples down to the top fabric. I love heat bond and how great it works! Next quilt the top layer to the batting, I did simple lines, if you wanted to do this project just like a quilt you could go ahead and quilt all three layers and then bind the edges. I didn’t want to bind so my top layer is only quilted to the batting and not the bottom layer.

After quilting I placed the bottom fabric with the right side to right side with the apple layer and sewed 3 sides, leaving one short side open to flip the runner right side out. Once its flipped right side out and ironed so the corners are all nice and pointed I folded the open side edges into the inside of the runner and ironed it flat (so it looked like a finished edge) and the closed it with a top stitch.

You could easily make this runner with a now-sew technique and just use burlap for the base, only do one layer and then iron your heat bonded apples to the top of it and call it a day. However, I had all these fun fabrics on hand and it gave me an excuse to use them! Don’t be afraid to sew, its fun and a great skill to have under your belt.

Jean G Rabe
Thursday 18th of February 2021
How do you make the apples if you don't have a Cricut?
Angela Muir
Friday 19th of February 2021
Hi Jean, First apply the heat bond to your fabric then use an apple stencil or freehand an apple onto the paper (heat bond) side and cut it out with scissors. I hope that helps!
Bev
Saturday 14th of November 2020
Really Cute! I must make this for next years apple pickin' time,
Linda
Friday 13th of November 2020
This is adorable! Thanks for sharing. My creative wheels are turning now. :D