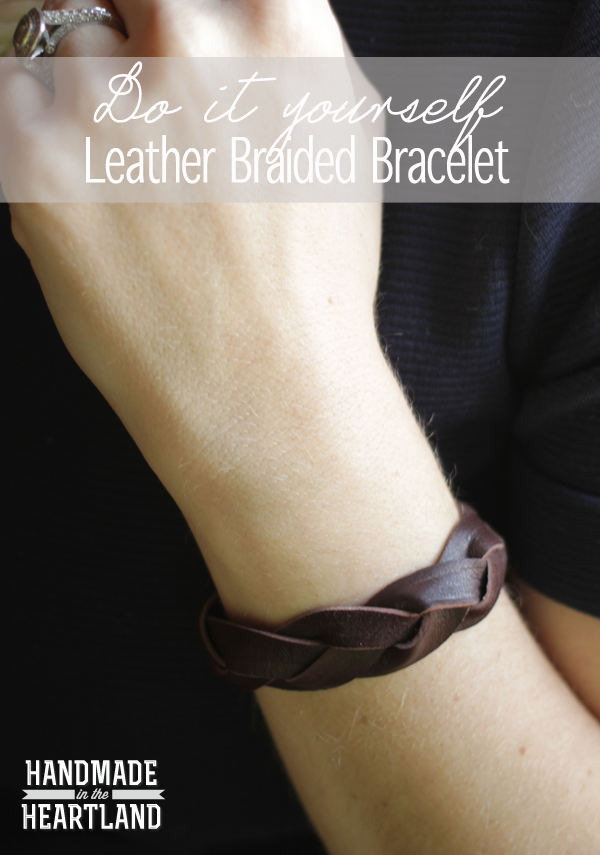
Hi friends! This morning i went on fox4 and shared some ideas for DIY jewelry and i’m excited to share all the fun projects with you throughout this week. If you are coming over from seeing the segment, welcome! all the projects shown on TV this morning will be up this week so check back! The first project i’m going to share with you is this very simple, super cute leather braided bracelet. It takes like 10 minutes! So here it goes…
Supplies:
Needle nose jewelry pliers
Clamp pliers ( i have no idea if thats the real name of them!)
3 pieces of 3/8″ leather cut to be 12″ long
flat clamp clasps
2 jump rings
1 magnetic closure
1. Attach the ends of the leather to one of the flat closures and clamp it down with your pliers until it is secure. I spaced my leather out so that it filled the entire clasp, instead of letting their be space on either side of the leather inside the clasp.

2. Tape the clasp end to a table or flat surface and braid the leather. Make sure that the front of the leather stays up as you braid.
3. Once you get to your desired length, (measure your wrist) mine was 7″, then cut the leather and put the other flat clasp on.
4. Using jump rings attach the magnetic closures to the flat clasp ends. You’re done! wow, that was fast, right?!
