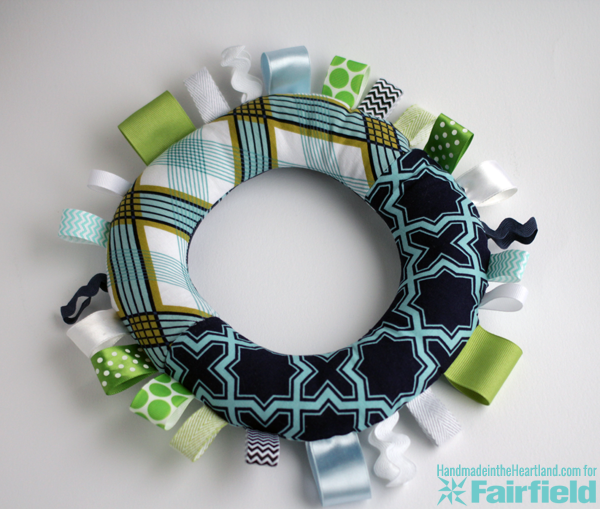
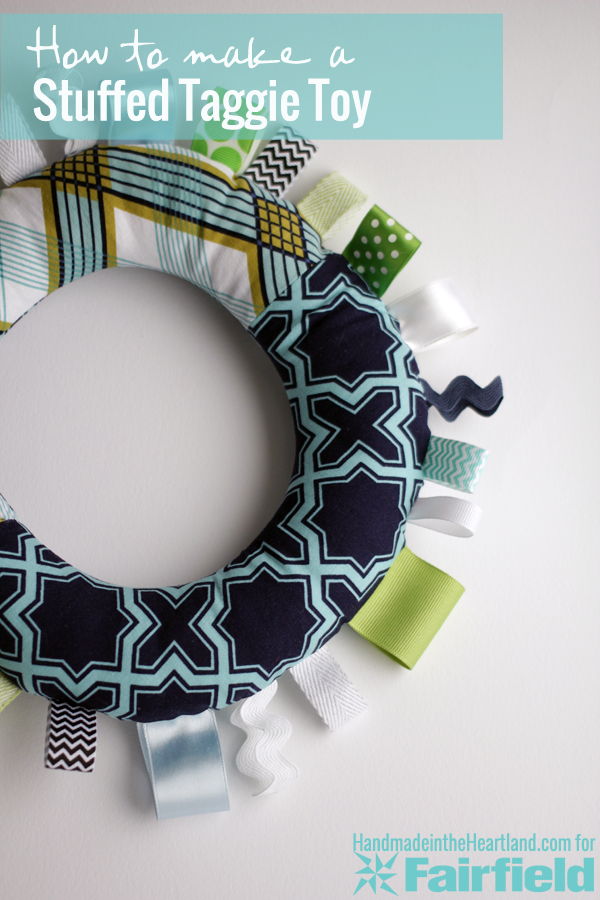
This simple sewing project is fun to make and should only take you an hour or less. Here is your supply list:
- 1 8oz bag of Soft Touch Polyfil Supreme Fiberfill, you will not use the entire bag
- Assortment of 3″ ribbons- I used 24, but only 12 ribbons so 2 of each.
- 1/4 yard of fabric- you can use up to 4 different prints or 1 solid color, it is up to you!
- Print the pattern out from HERE on to normal paper and cut it out.
Once you have your pattern printed you will cut out 4 pieces, 2 for the top and 2 for the bottom. I used 3 different prints but you can do any combination of fabrics that you want. Next cut all your ribbons to 3″ and line them up in the order that you want to pin them on to the fabric.
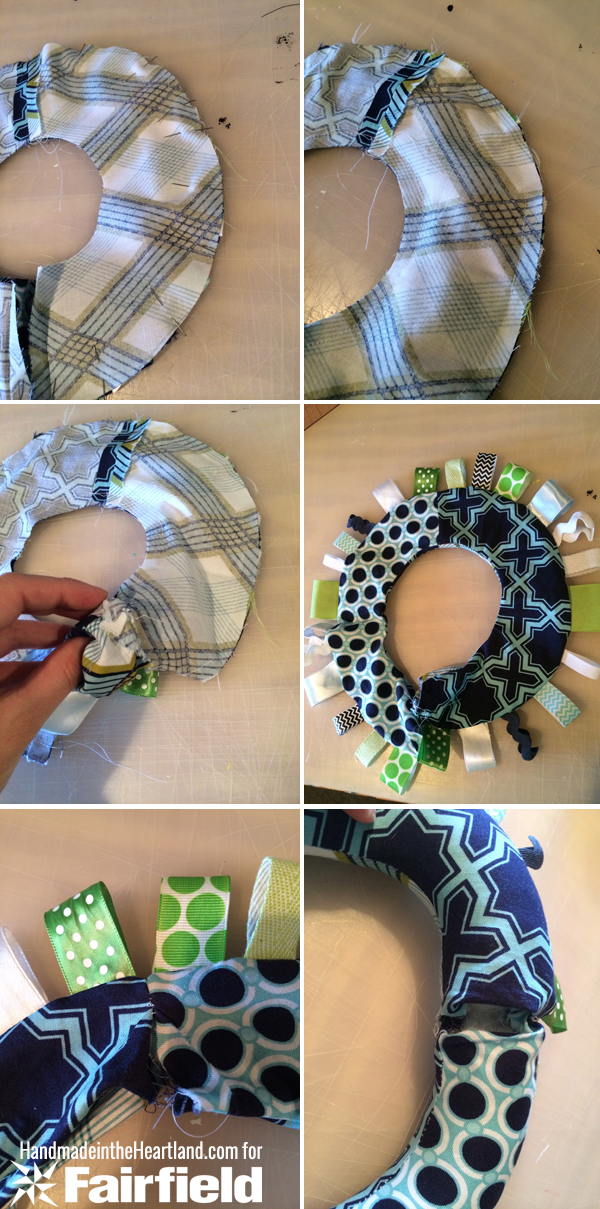
Take your two half circles for the top and place the right sides together so they are laying exactly on top of each other. Sew only 1 flat side together, you will want the other side to stay open to be able to pull the entire thing right side out when the sewing is finished. After you’ve sewn one side open it up and iron the seam open flat. See the top picture above. Do the same to the other 2 half circle pieces.
Take one of the circles and place it right side up, you are going to pin the ribbons in loops to the circle. You want the ribbon ends to be at the raw edge of the fabric and the loop to be toward the center of the circle. See photo above. After pinning each ribbon sew them down at 1/4″ seam allowance.
Next lay your second circle on top of the circle with the ribbons, right sides together. Pin all the way around and sew at 3/8″ seam allowance. See photos below.
Now your ready to turn it right side out. You now have a long curved tube with both ends open so just gently reach into the open end and pull the right side out. Next you want to try and sew with the machine some of the open ends together. It is a small opening so you may only be able to close it with the machine and inch or so. A good place to start is to match up the side seams and then sew from there, make sure you have right sides together.
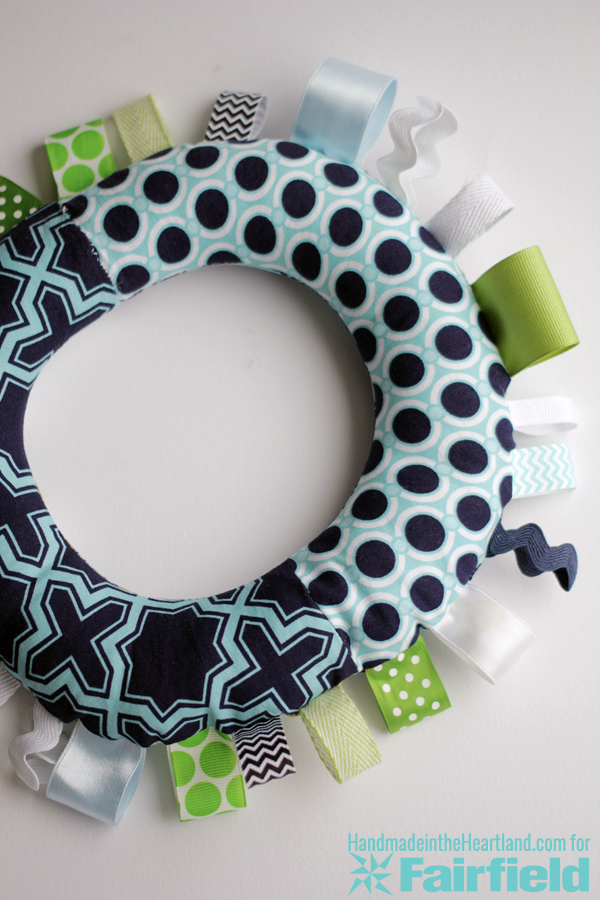
After that you will want to stuff your tube with Poly-fil, I like my toys to be pretty full so I just keep stuffing until I like the feel of the toy. Once its stuffed you will need to hand sew the rest of the opening, you can see my opening in the photo above. After that little bit of hand sewing, Voila! You’re done!


How to Sew Baby Booties & Free Pattern | Handmade in the Heartland
Tuesday 16th of February 2021
[…] you enjoyed learning how to sew baby booties you are definitely going to want to whip up an easy taggie toy or my kids favorite starfish pillow! Happy sewing […]