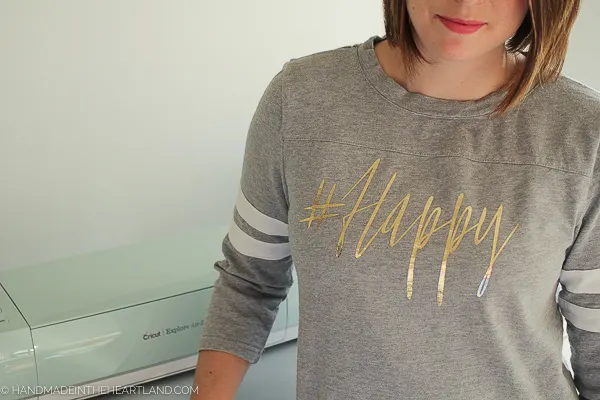
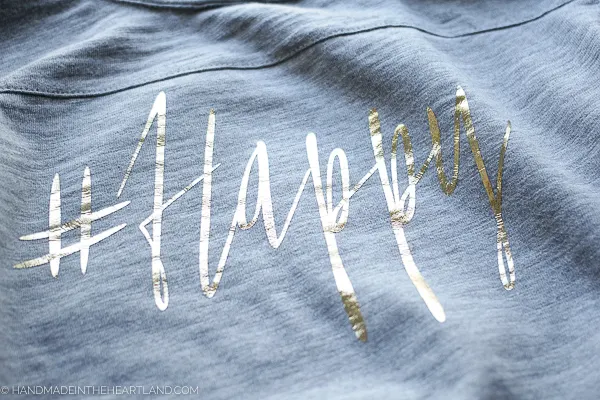
Cricut Foil Iron-on vinyl is an easy and beautiful way to create your own professional looking graphic tee at home! I’m in LOVE with the way this tee turned out!
This post is sponsored by Cricut and contains affiliate links.

Have you ever tried to make t-shirts at home? Maybe for a school project with fabric paint? I have, especially when I was in high school and nothing ever quite turned out. Of course I wore it for the special event it was made for but it was never something I would wear again.
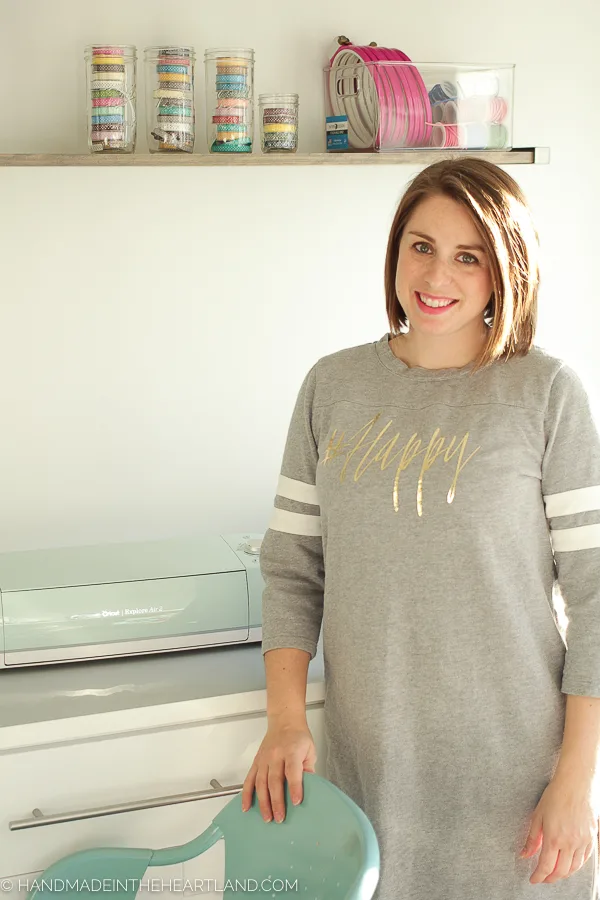
I really wish the Cricut Explore was around back then! Heat transfer vinyl or Iron-in vinyl is my new favorite thing and guys- FOIL iron on is ahhhhmazing!! I’m pretty sure if you caught me out in this t-shirt dress you would never think “Oh that’s a craft project!” ha!

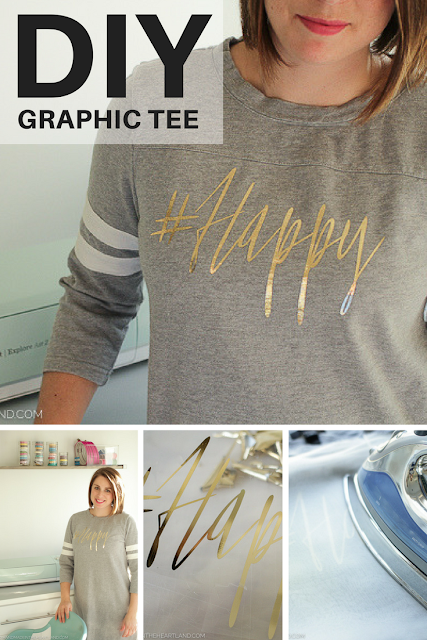
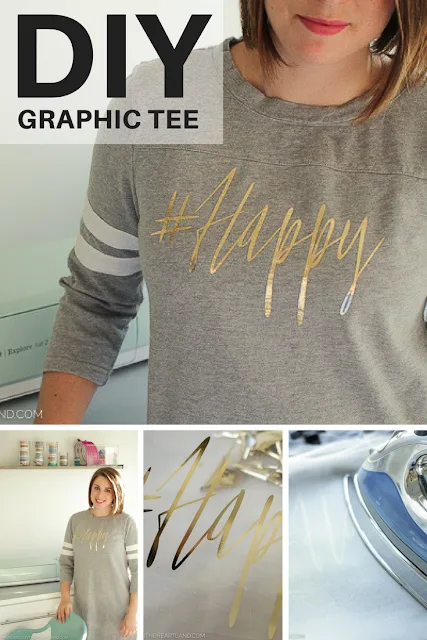
The best thing about this project is that YOU can make it at home in 20-30 minutes! It’s SO EASY.
I love using Heat Transfer Vinyl! If you’re looking for more projects using this fun material check out my Cricut Iron-On Christmas PJ’s and this fun DIY Greatest Showman T-Shirt.
Keep reading for my step by step instructions including a video that walks you through how to upload my SVG file into the Cricut Design Space, resize the image exactly how you want it and cut the foil Iron-on vinyl!
Supplies for Foil Iron-On Vinyl Tee

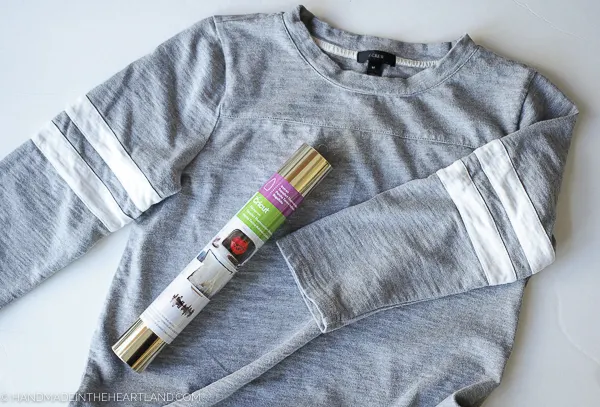
One of the best things about this project is how little supplies you need! If you have a Cricut Machine, cutting mat and weeding tool the only supplies you’ll need is:
- Blank shirt
- Circut Foil Iron-on
- Download the free “#happy” SVG.
Heat transfer vinyl is applied with heat of course so you can use an iron but I highly recommend using a Cricut Easy Press, I love mine! Read my Cricut Easy Press 2 Review to see why I love it so much.
How to use Cricut Foil Iron-On Vinyl
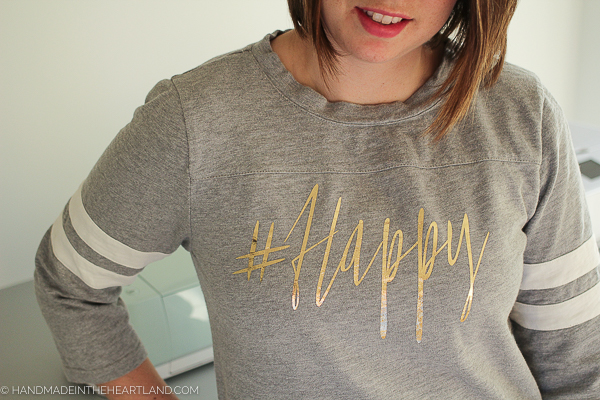
Foil Iron-on vinyl is a gorgeous material that looks so good on t-shirts! It makes a stunning handmade graphic tee. There are a few things you should know when working with this material.
- Pre-wash your shirt. This can help with the longevity of the vinyl. Don’t use fabric softener when pre-washing the garment.
- Always Mirror the image before cutting. When you use iron-on it’s so important to click that toggle for mirror image to ON.
- Make sure the fine point blade is in the machine.
- Place foil liner side down onto the cutting mat. The back of the vinyl will be facing you, it’s usually white.
- Having trouble with the vinyl sticking to the cutting mat? You might have an older mat. Try using a spatula or side of a ruler to rub it into the mat. If that doesn’t work you can use masking tape to tape down the edges.
- Machine settings: If you are using the Cricut Explore move the dial to “custom” material and choose Foil Iron-On from the drop down material menu. If you’re using a Maker choose Foil Iron-On in the menu.
- Pre-heat the shirt for 10-30 seconds before pressing the vinyl into the shirt, this helps speed up the adhesion process.
- Use a Cricut Easy Press to apply the design. I love my Cricut Easy Press! To make sure you have the right Easy Press settings always check the Cricut Heat Guide which will let you choose your materials and then tell you what temperature to set the heat press to.
- Let the graphic completely cool before you peel off the clear plastic liner. Foil iron-on must be cold peeled, trust me I made the mistake of trying to peel it while it was warm and it makes the foil wrinkly and totally messes it up! Let it cool!
How long will my design last?
Iron-on vinyl lasts surprisingly well if it’s applied correctly. I have had kids shirts that I made with vinyl that were washed weekly last for the lifetime of the shirt.
I’ve had others where little edges would start to pull off. I think it depends on how well it’s applied in the ironing process. Which is all the more reason to get a Cricut Easy Press which is the best way to know what temperature the heat is and if you’re applying iron-on vinyl correctly.
How should I wash my foil iron-on tee?
The Cricut care instructions are as follows, however I will tell you I wash all my iron-on shirts regularly with our normal laundry. I wash and dry them and have only rarely had issues with the design peeling. If you’re nervous about it definitely follow their care instructions.
Cricut Care instructions:
Wait 24 hours before washing. Hand wash the embellished item inside out in cold water. Do not bleach. Do not tumble dry. If necessary, iron back side of the garment


Cricut Foil Iron-On Vinyl Tee
Cricut foil iron-on vinyl is such a cool material to be able to make custom shirts and projects with at home. The results are beautiful shiny professional looking projects!
Materials
Instructions
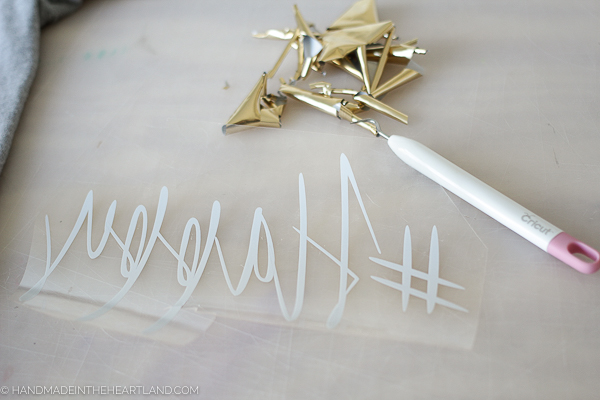
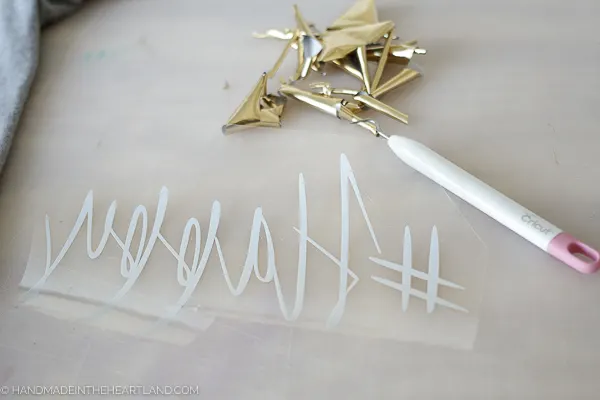 Once weeded your image should look like this picture
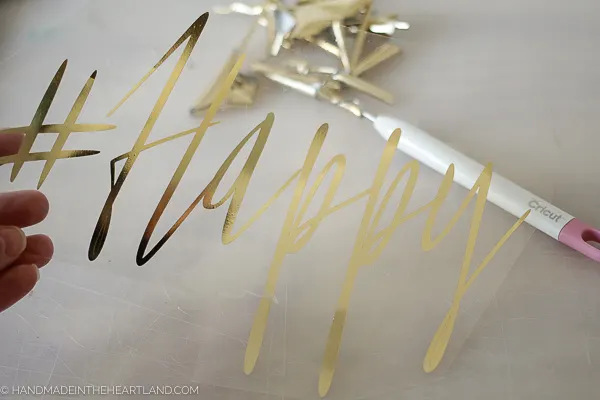
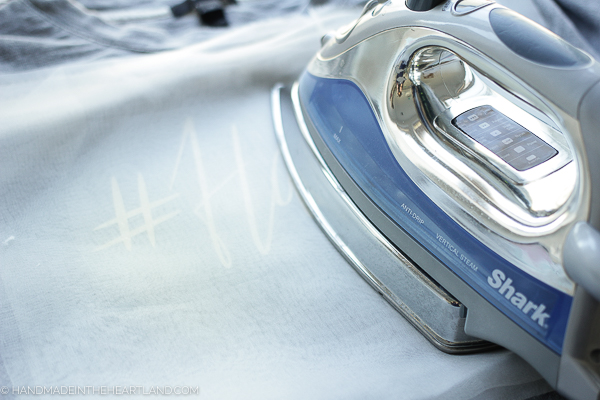
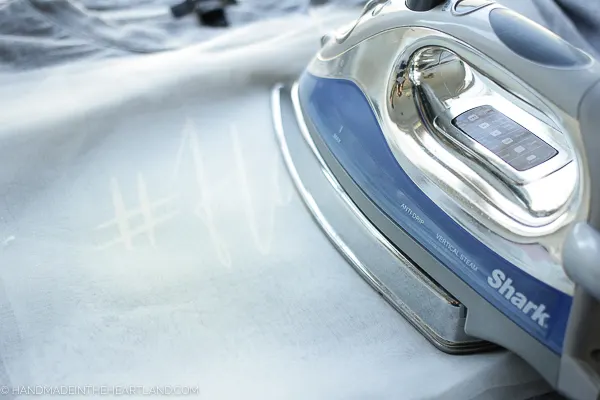 Iron on the graphic with Cricut Easy Press: For ironing onto cotton with foil set the heat press to 295. You will want to press the shirt for 30 seconds without the vinyl then set the vinyl down and press for 30 seconds. Then turn the shirt over and press from the back for 30 seconds.
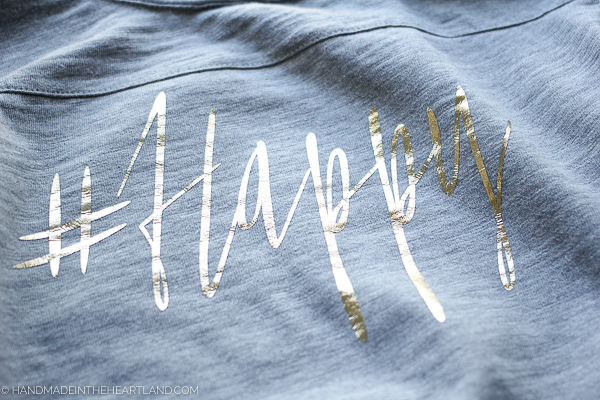
Recommended Products
As an Amazon Associate and member of other affiliate programs, I earn a small commission if you purchase something I recommend. I would never recommend products I don't love and use!

Have you ever made anything with iron-on vinyl? Are you convinced now that you totally need to?! I hope so! Sometimes craft projects can be a long process, it’s nice to have something up your sleeve for a quick win, instant satisfaction in something you made!
If you make a graphic tee let me know! It thrills me to hear from you and see what you’ve made! Leave a comment or tag me on Instagram (@handmadeintheheartland) or facebook!
Need to save this for later? Pin the Image below!
Cricut Easy Press 2 Review | Handmade in the Heartland
Tuesday 16th of February 2021
[…] Pinterest board that I’m in with some friends, SO many ideas! You can also see my favorite Foil Iron-on Tee, the greatest showman tshirt I made for my daughters and a Christmas iron-on pj […]