This is a tutorial for how to use Cricut iron-on vinyl with your Cricut Explore machine including a video for how to navigate in the Cricut Design Space. This post is sponsored by Cricut and contains affiliate links. Thank you for supporting the brands that support Handmade in the Heartland. All opinions and photos are mine!

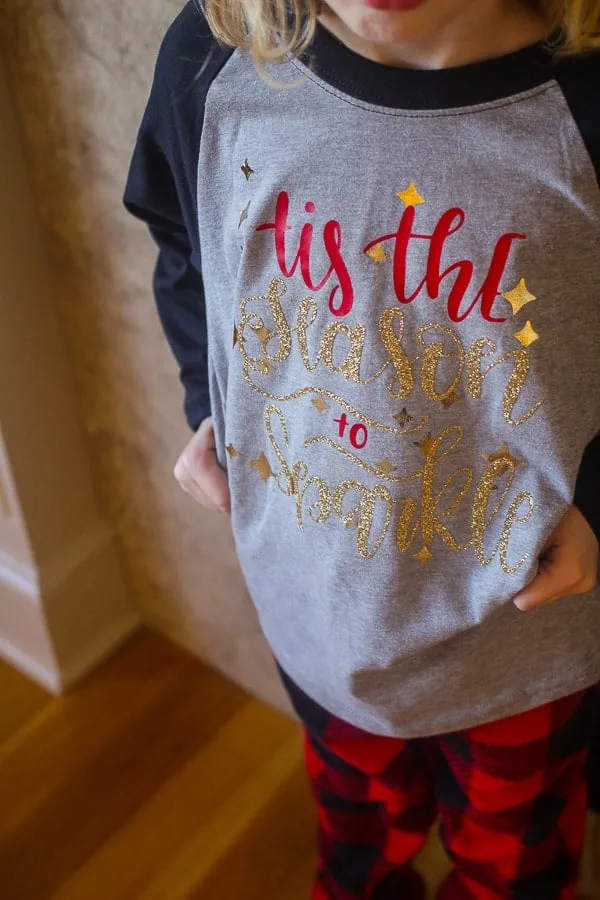
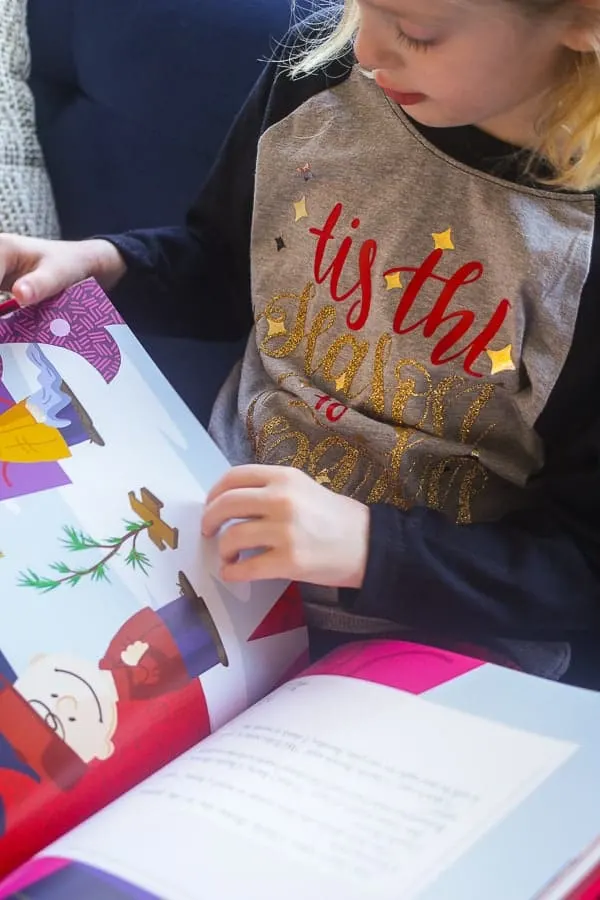
You guys! I don’t know why it’s taken me so long to make t-shirts with Cricut Iron-on vinyl, but I’m officially addicted! It’s so easy, so fun and the results look like a shirt you would have purchased! I’m in love! For our Christmas pj’s this year I knew I wanted buffalo plaid so I got buffalo plaid pj pants for all of us and gray & black baseball tees to make our shirts. I love that the shirts go with our PJ pants but also can be worn out, I’m all about multiple uses!

I purchased Next Level raglan tees for our whole family. The adult gray/black combo is a slightly different shade of gray than the youth, but it’s close enough. Grab the Adult Tees HERE and the Kids Tees HERE.
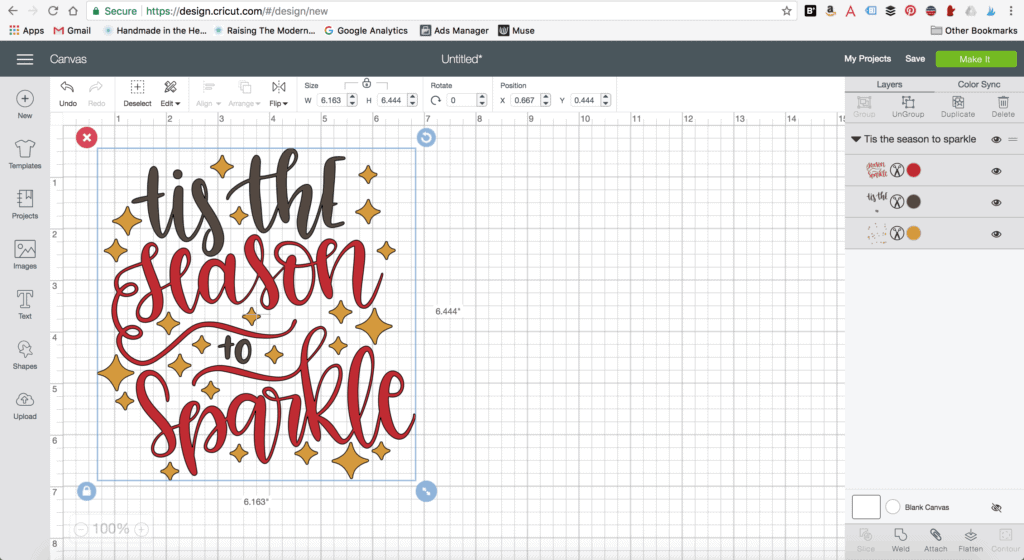
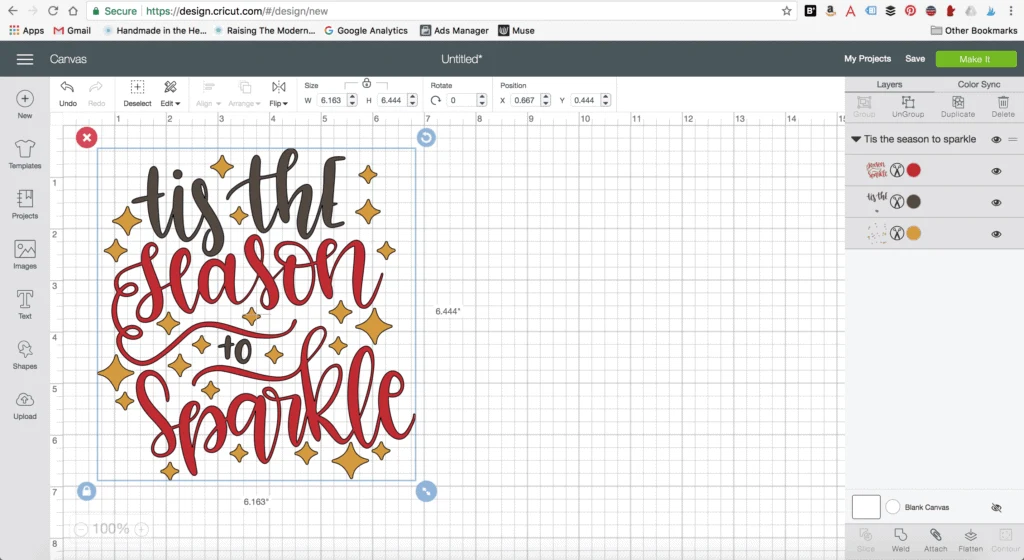
For my daughter’s tee I chose this cute “tis the season to sparkle” design that is in the Cricut Design Space. The steps to make this project are SO easy. I’ve detailed it below.
How to Make a Cricut Iron-On Vinyl T-shirt
Step 1: Open up Cricut Design Space and navigate to images on the left side. In the search bar type “tis the season”. Select the “tis the season to sparkle” image and click “insert image”. Scale the image to the desired size. I measured my tee and decided that I wanted my Cricut Iron-on to be around 9″ wide. Using the arrows in the blue circle at the bottom right corner of the image scale your image to the size that you want.

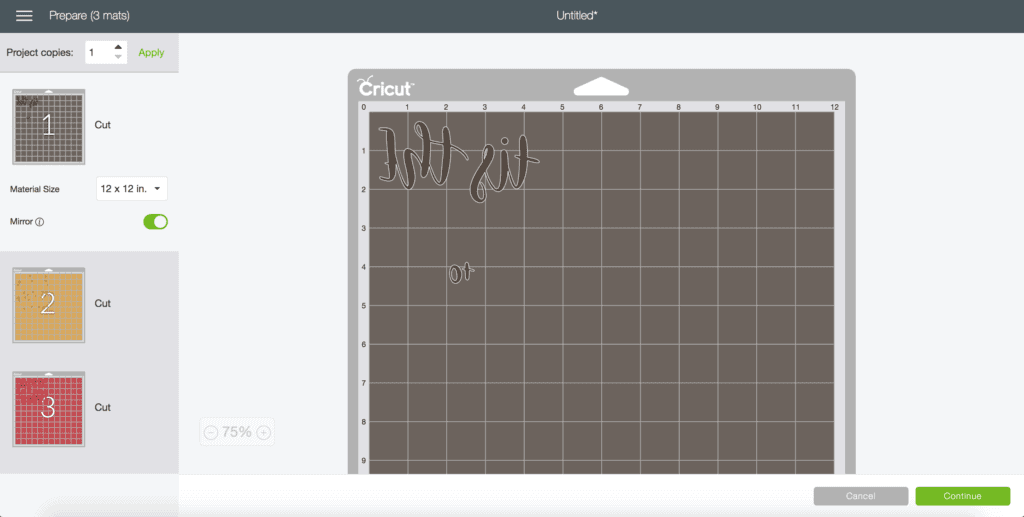
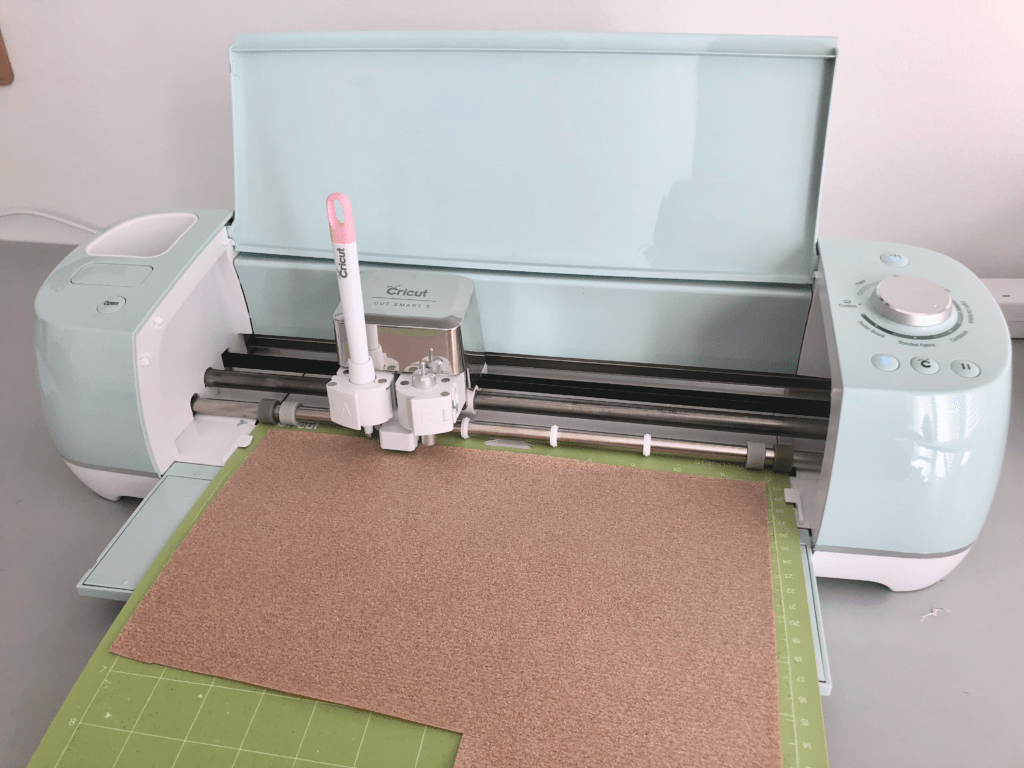
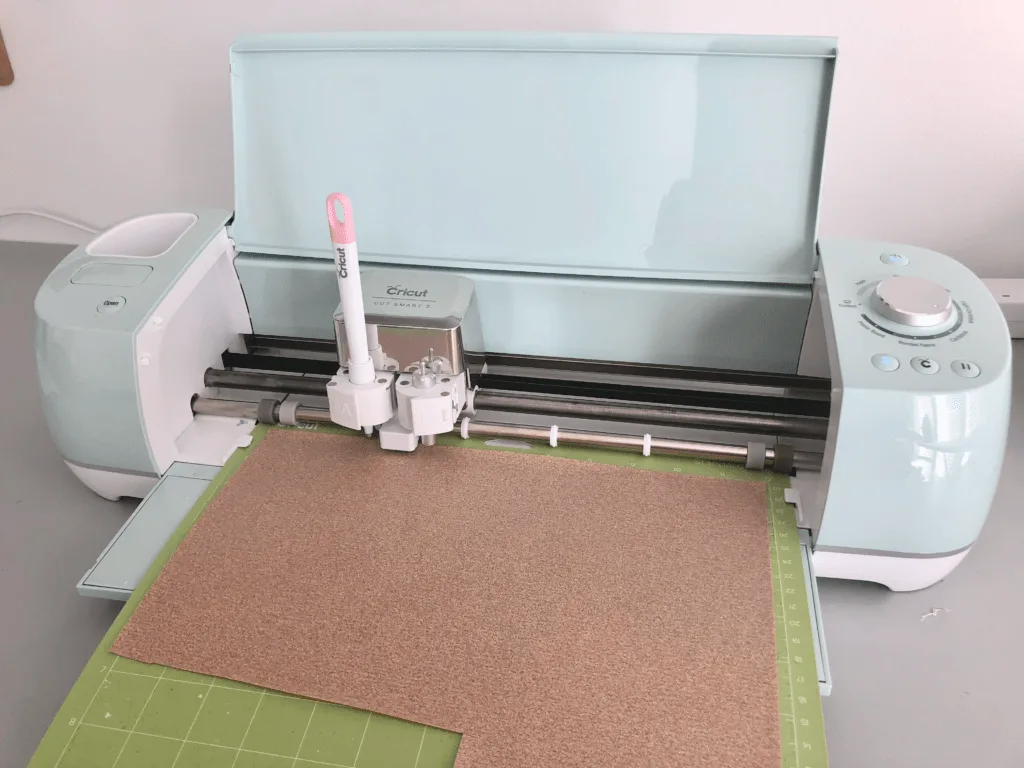
Step 2: Cut the Cricut Iron-on! Click Make it in the top right corner of design space and your cutting mat windows will open up. Make sure you click Mirror-image on each cutting mat for iron-on. Make sure you put your Cricut Iron-on with the shiny side down on the sticky side of the cutting mat. Those are the two biggest mistakes people make when using Cricut Iron-on, so make sure mirror image is turned on and that your Cricut Iron-on vinyl is shiny side down!
If you’re more of a video person you can watch the video below for how to set up everything in design space.


Step 3: Weed the vinyl. Once all three images are cut you’ll want to remove all the excess vinyl- the Cricut Iron-on vinyl that is surrounding your cut image. If you don’t have a weeding tool I highly recommend getting one, it makes this step so much easier! After you’ve removed all the extra vinyl you will be left with only the cut image you want on your shirt.
Step 4: Iron on your image! Figure out the center of your shirt and the center of your image. I’ll be honest I typically wing this part and I’m not super precise by measuring, but if you are more of a perfectionist you’ll want to measure. Follow the instructions that are on the Iron-On packaging. One tip I’ve learned is that you don’t actually have to hold your iron over it for all that long- 10-15 seconds while pressing down hard is usually good enough. When you go to lift the plastic off and it isn’t separating well then you’ll know to iron it a few more seconds. 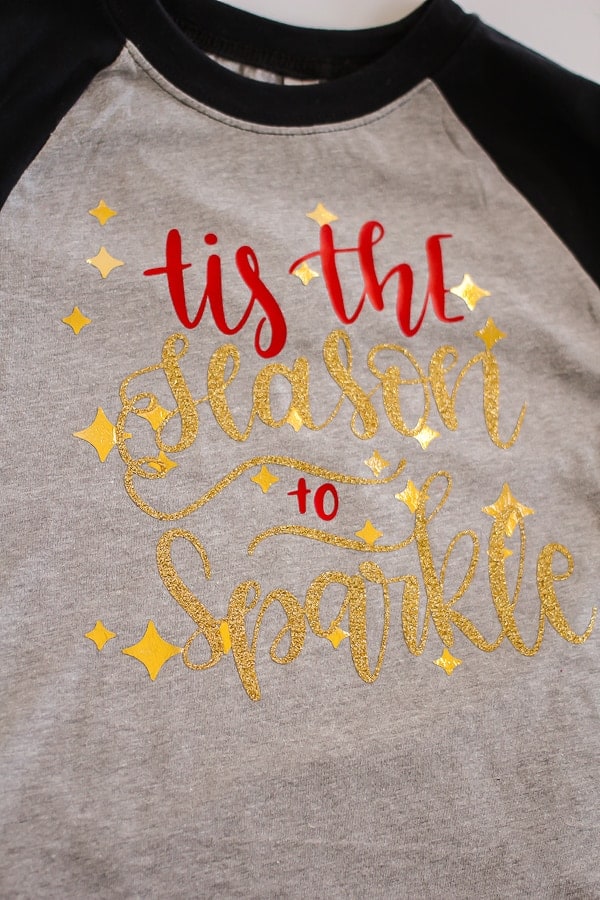

I can’t wait to see all your fun creations! It thrills me to hear from you and see what you’ve made! Leave a comment or tag me on Instagram (@handmadeintheheartland) or facebook!
This is a sponsored conversation written by me on behalf of Cricut. The opinions and text are all mine.
Cricut Foil Iron-On Vinyl Tee | Handmade in the Heartland
Wednesday 30th of December 2020
[…] Heat Transfer Vinyl! If you’re looking for more projects using this fun material check out my Cricut Iron-On Christmas PJ’s and this fun DIY Greatest Showman […]
Cricut Chipboard Yarn Wrapped Letters – Handmade in the Heartland
Tuesday 29th of September 2020
[…] Maker– I love my Cricut Maker. I use it for so many different projects! I love making heat transfer vinyl projects and organizing my pantry and making gorgeous Christmas […]