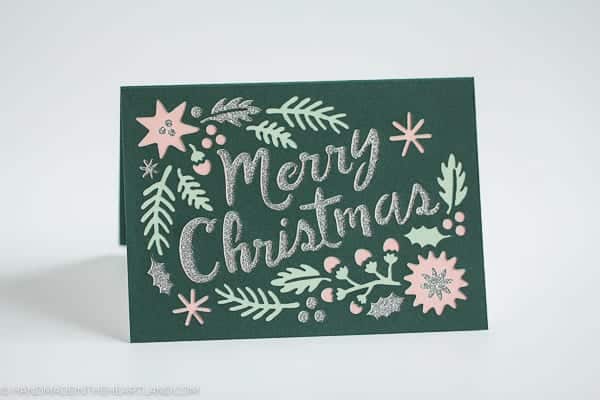
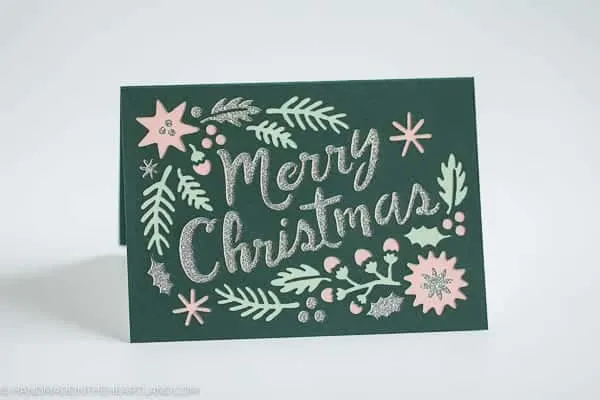
This four layered paper Cricut Christmas card is so fun to make and the finished result is just so gorgeous! Make this intricate handmade card with the Cricut Explore or Maker.
My friends at Cricut sponsored this post and contains affiliate links. Thank you for supporting the brands that support Handmade in the Heartland!


This is one of those projects that I love so much I kind of don’t want to give it away, do you ever have that problem? I guess I made it without having a specific person in mind so that makes it a little harder to figure out who to give it to. What I really want to do is put it in a frame to decorate my house! ha!
I love my Cricut Explore Air 2 for projects like this, it allows me to make professional-looking gorgeous projects in minutes!
This Christmas card is a ready to make project in the Cricut Design Space. You just click on make it now and everything will pull up in the cut window. Update: I now have the Cricut Maker and this project is just as easy with my new machine!
I love the designer collections in Design Space. I’m especially crushing on the Rob & Bob collection. They have some super cute shapes and full projects to click and make.
If you don’t know how to find the designer collections here’s how: Once in design space click on images then at the top of the images window change from images to categories, scroll down to the bottom and you’ll find different designers to click on to see their entire collection.

Another fun way to search for projects to make is to click on projects in the side bar of design space and then change the category at the top to Christmas, you can narrow the items more by typing “card” into the search bar.
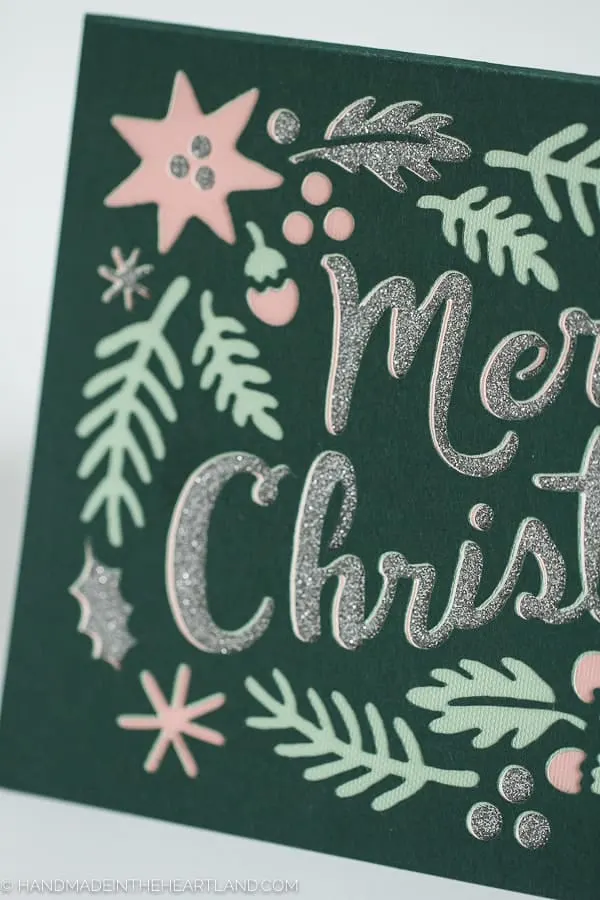
This project is called “Vintage Merry Christmas Card” and as I mentioned before it was designed by Rob & Bob. I love the ready to make project ideas, sometimes my brain is too overloaded and I can’t make any design decisions, the ready to make projects are perfect because all I have to do is put it together!
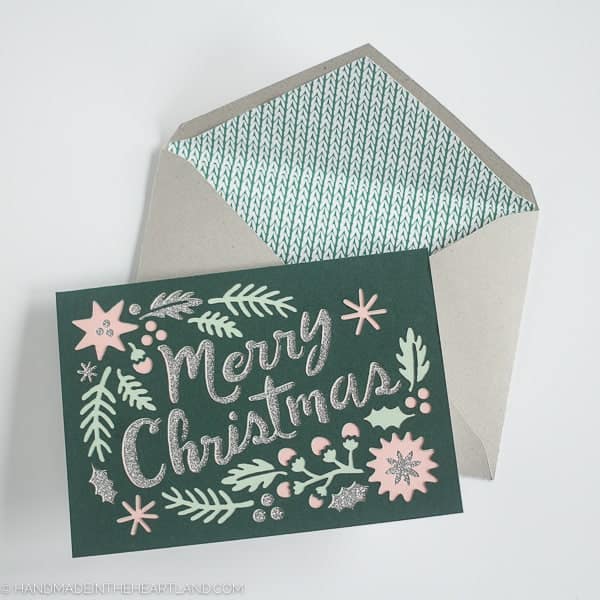
I changed the back ground of my card to be a silver glitter paper instead of gold foil like the Rob & Bob example, but I did end up having similar colors of paper on hand to what they suggested.
I love the way it turned out and I think I’ll make another one with gold, red and kelly green to frame in my house. I’m a traditionalist when it comes to holiday decor, but that doesn’t mean I don’t swoon every time I see an aqua and pink Christmas set up! 
How to make a 4 layered Cricut cut Christmas Card:
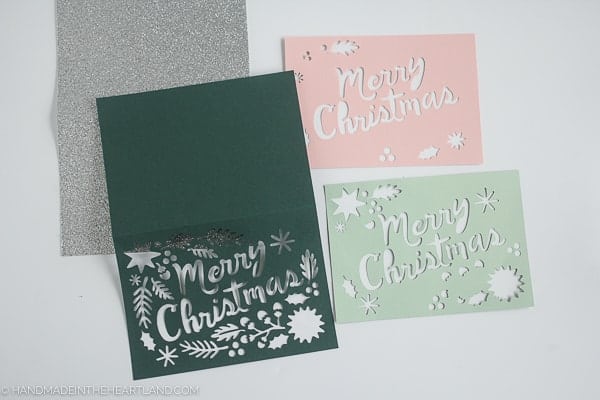
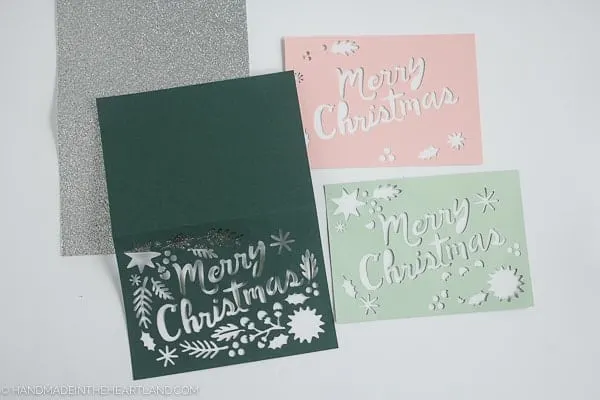
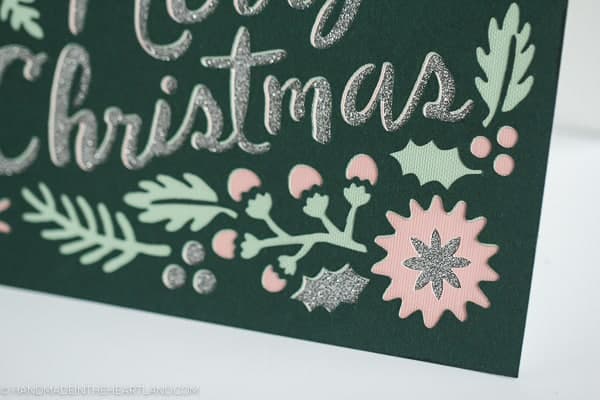
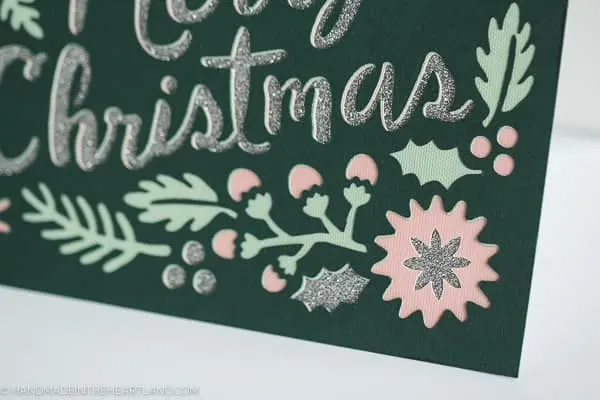
Making this 4 layered Cricut Christmas card is so easy. After going through the step by step cutting guide with the Cricut Explore you will have a solid base card and then 3 cut pieces. You’ll put the pink one down first, then the green and then the dark green.
You could use a glue stick, which is what the instructions suggest, however I used spray adhesive which I find to be so much better for small little cut edges that might tear as you run the glue stick over them.
How to use spray adhesive for paper projects:
The easiest way to use spray adhesive is to lay a piece of paper down, regular printer paper works great. Next place the pink piece of the card face down so you are spraying on the back of it. After you’ve sprayed the entire back of the card place it on the base of the card and press firmly.
When you repeat with the last 2 layers replace the white piece of paper that you spray onto each time. If you get spray adhesive on to the front of the card it’s a big mess. So just replace that scrap piece of paper after each spray.

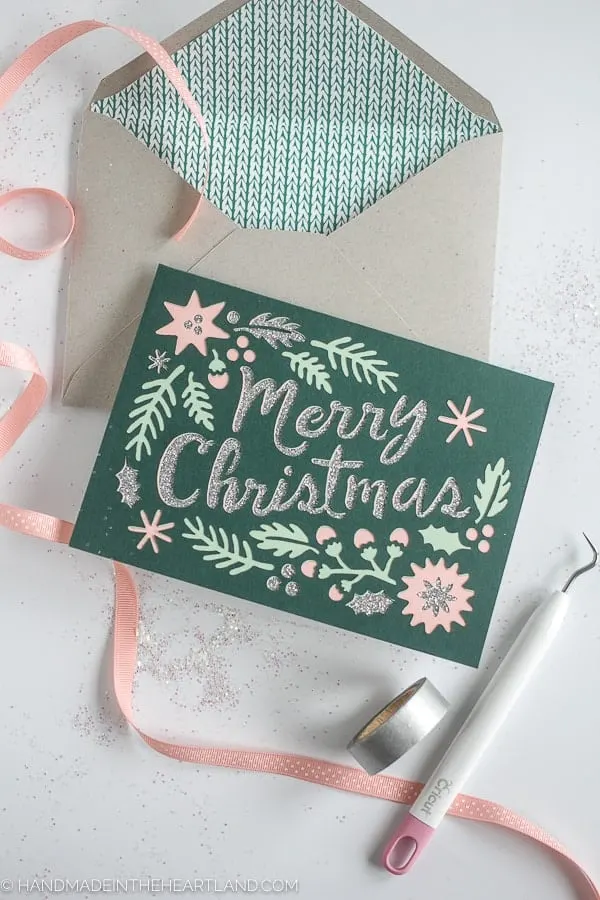
I did use a glue stick to put the envelope together. Can we just talk about how fun it is to have a lined envelope! This was the first time I had ever used the print and cut feature and it worked like a charm. 

Cricut tip for cutting intricate designs in paper:
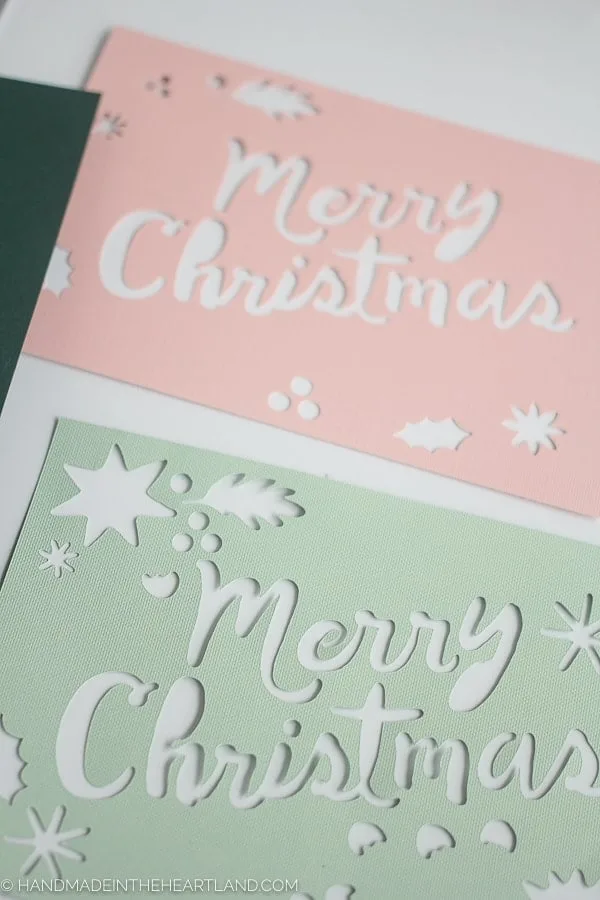
Another note for this project, because the machine is cutting out small detailed pieces of paper It’s important that your card stock or paper is firmly attached to your cutting mat. If you have mats that have lost some of their stick this is not the time to use them.
I had several attempts messed up because the paper would move as it was cutting and then the entire piece was ruined. So make sure your paper is stuck firmly onto the mat. Once I figured out the problem and changed to a new mat it cut the card and all the teeny details like a dream!

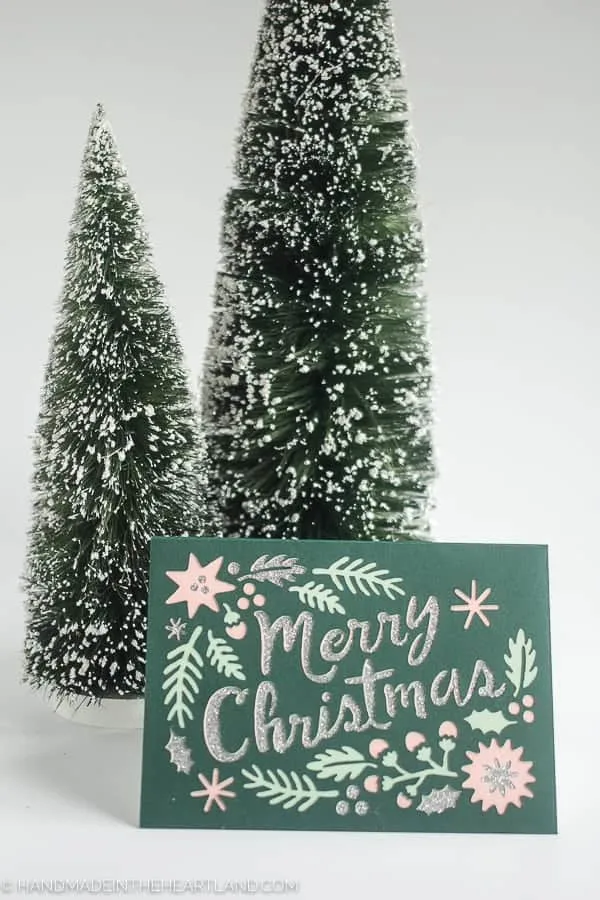 Who would you send this gorgeous 4 layer Cricut Christmas card to? I think it will adorn a Christmas gift for a dear friend.
I love using my Cricut Explore for Christmas crafting! Check out my wood painted Christmas sign and my stencil painted tea towel– both make great gifts!


4 Layer Paper Cricut Christmas Card
This four layered paper Cricut Christmas card is so fun to make and the finished result is just so gorgeous! This intricate handmade card is simple to make with the Cricut Explore or Maker.
Materials
- Dark Green Card stock
- Light Pink Card stock
- Light Green Card stock
- Silver Glitter Card Stock
- Spray Adhesive
Instructions
- Head to Cricut Design Space, open a new canvas and select projects from the left side menu. Search for "Vintage Merry Christmas Card". Click Make it.
- Follow the Design Space prompts to print and then cut the inside of the envelope and cut the different layers of card stock. Insert the scoring tool when prompted.
- Fold along the score lines of the card and envelope. Use a glue stick to assemble the inside of the envelope and then glue the envelope together.
- Using spray adhesive place the pink layer face down and spray the back of it, attach it to the silver glitter card stock. Do the same to the light green and place it on top of the pink layer. Then spray the dark green top layer and place that on the top. Make sure the pink and light green layers are lined up with the edge of the silver layer and that they don't go above the fold line.
- Once you've attached all the layers fold the card in half on the score lines, and you're done!
Notes
If you want to make changes to the project, select customize, then use the edit panel to make changes before you cut.
When you make this card be sure to tell me about it! I love to hear your experience with crafts on the blog! Leave a comment or tag me on instagram @handmadeintheheartland or facebook !
Cricut Christmas Cards: Easy Christmas Card Ideas - Bright Star Crafters
Thursday 1st of July 2021
[…] unique handmade christmas cards look super intricate, but they’re actually really simple to craft! Cut cardstock paper in […]
41 Best Christmas Paper Crafts | Marcie in Mommyland
Thursday 22nd of October 2020
[…] 5. 4 Layer Cricut Christmas Cards […]
Cricut Chipboard Yarn Wrapped Letters – Handmade in the Heartland
Tuesday 29th of September 2020
[…] Cricut Maker– I love my Cricut Maker. I use it for so many different projects! I love making heat transfer vinyl projects, organizing my pantry and making gorgeous Christmas cards. […]