I’m so excited to share this fun DIY Halloween Sign! This wood sign is easy to make with your Cricut Machine and looks festive and fun on your front porch.
This post contains affiliate links which means I make a small commission if you purchase something I recommend.

In this post we show you how to make a sign with these simple steps: choosing a Halloween SVG, painting a piece of wood and cutting and applying a vinyl design with a Cricut machine. In addition to teaching you how to make a wood sign with vinyl lettering I have a list of amazing Halloween sign ideas to inspire you to make your own!
If you don’t have a Cricut and are on the fence about getting one check out my review on the Cricut Explore Air 2, spoiler alert I love my Cricut! Also check out another fun Cricut project I just finished: DIY Ceramic Tile Coasters with Vinyl Lettering.
Where to find cut (SVG) files for the Cricut?
In addition to the Cricut Design Space you can purchase cut files in several places online to make a truly unique wood painted sign!
When searching the sites I’ve got listed below make sure to type in SVG after your search term. SVG is the file format you’ll want to purchase to upload to the Cricut Design Space.
The file I used to make this Halloween sign came from THIS Fall Porch Sign SVG Pack.
- Cricut Design Space– is always my go to first stop. When you get into design space and navigate to the left side menu “images” you can type in the search bar for specific words like Halloween, Black Cat, Skull, etc. If Cricut doesn’t have something you love there are other websites that sell SVG files.
- Etsy– There are so many great designers who sell their SVG files on Etsy.
- Design Bundles– Another fun site that sells SVG files
- Craft Bundles– And yet another site that sells great SVG files
Looking for the right file can be a little overwhelming since there are SO many options. I recommend thinking about exactly what you want and searching for more specific words like “Halloween Sign SVG” or “Fall Front Porch Sign SVG” because if you just type in Halloween you’ll get 426,000 options.
What supplies will you need to make a DIY Halloween Sign?
- Cricut Machine
- Spooky Witch SVG file
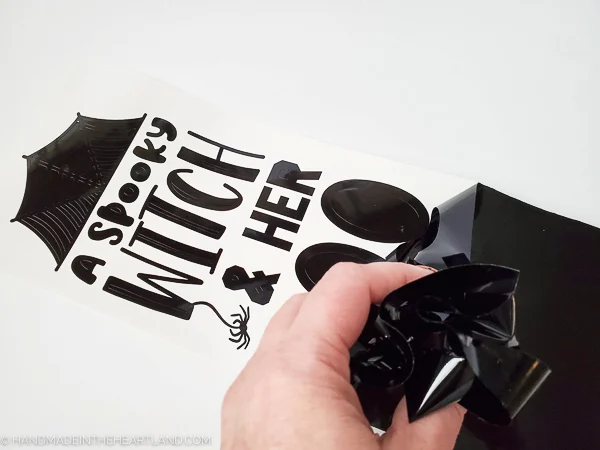
- Black permanent vinyl
- Transfer Tape
- 24” Cricut cutting mat
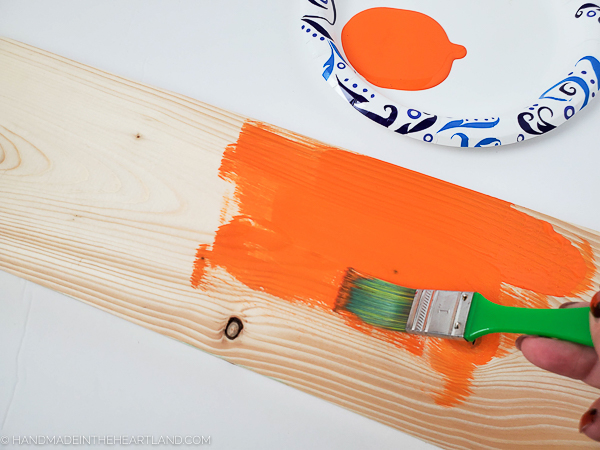
- 5.5” x 24” wood plank
- Orange craft paint
- Paint brush
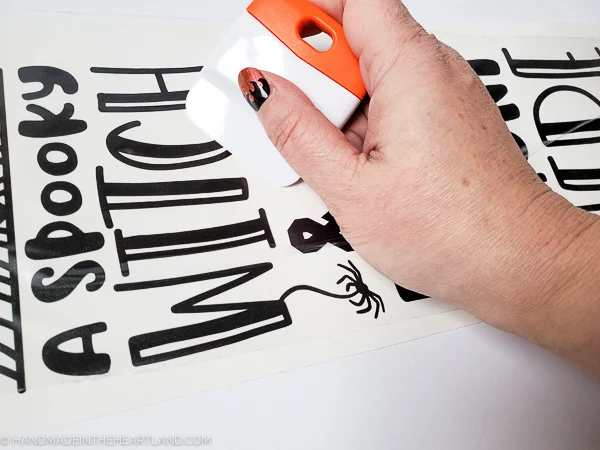
- Cricut Weeder tool
- Cricut Spatula tool
How to make a DIY Halloween sign with vinyl lettering.
Making wood signs is so fun! It’s a pretty simple process and if you’re using vinyl lettering it comes together quickly! There are 3 main steps to this project.
- Paint the wood. If your board is rough you’ll want to sand it before painting. You can use basic craft paint to paint the board. Make sure to let it dry completely before putting the vinyl lettering on.
- Cut the vinyl. Using Cricut Design Space you need to upload your SVG file, size it correctly for your wood piece and then cut the vinyl.
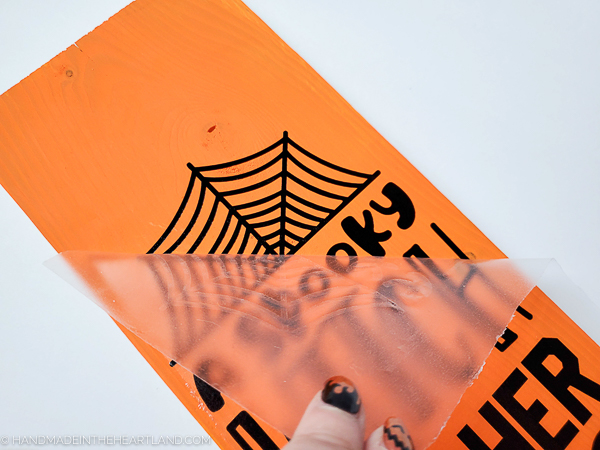
- Apply the vinyl. Weed (remove) all the negative space vinyl and use transfer tap to apply the vinyl to the painted wood board.
If you’re interested in the lettering being painted on wood check out my Wood Painted Christmas Sign where I used vinyl letters as a mask, painted on top and then removed the vinyl to have the letters show as the color of the wood.
Tip for transferring vinyl.
When you are transferring cut vinyl with transfer tape I have found the best method is to first rub the vinyl quite hard with a spatula or back of a ruler and then to peel the paper directly backwards. In stead of pulling the paper backing at an upward angle try to pull it all the way backwards in kind of a rolling motion so the area where the cut vinyl is coming off is a fold. This really helps the letters come off of the paper and stay stuck onto either the transfer sheet or the wood.

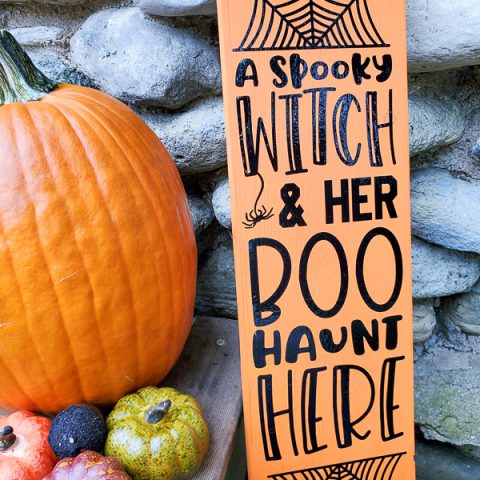

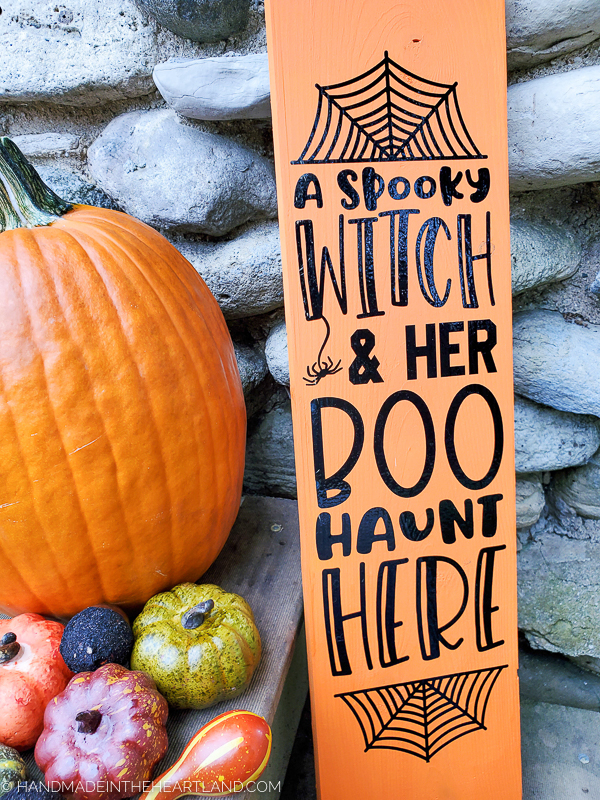
DIY Halloween Sign
This spooky witch sign is a festive decor piece for Halloween. You can make this Halloween porch sign as small, or as large as you’d like! Follow this step by step tutorial to make one for your home, or even as a gift!
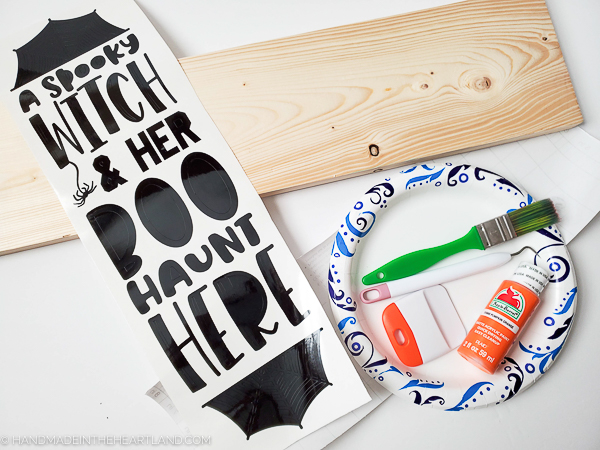
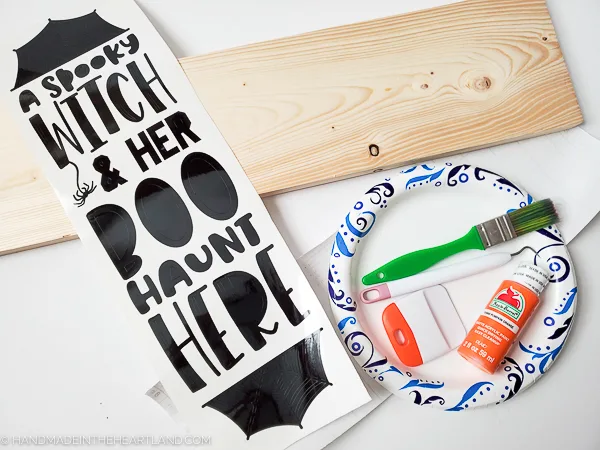
Materials
- Black Permanent Vinyl, cut to 6" x 19"
- Transfer Tape, cut to 6"x19"
- 5.5" x 24" Wood Plank
- Orange Craft Paint & Paint Brush
- Spooky Witch SVG File
Instructions


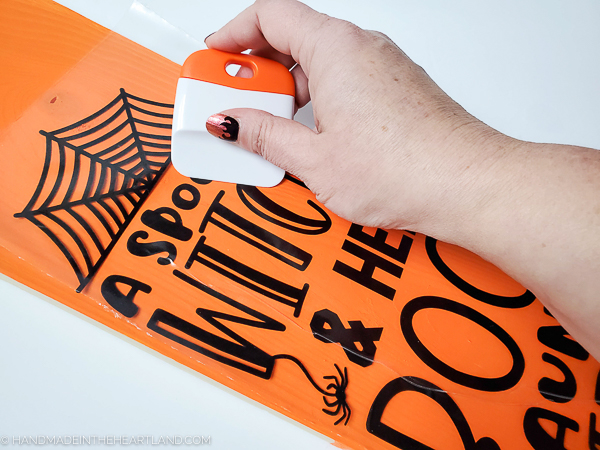
 [mv_img id="10886"
Place your sign on your front porch or in your home and enjoy!
Recommended Products
As an Amazon Associate and member of other affiliate programs, I earn a small commission if you purchase something I recommend. I would never recommend products I don't love and use!


When you make your wood sign make sure and let me know! I love to see when you make projects from the blog! Leave a comment or tag me on instagram @handmadeintheheartland or facebook ! Keep scrolling for over 30 more ideas for DIY Halloween signs!
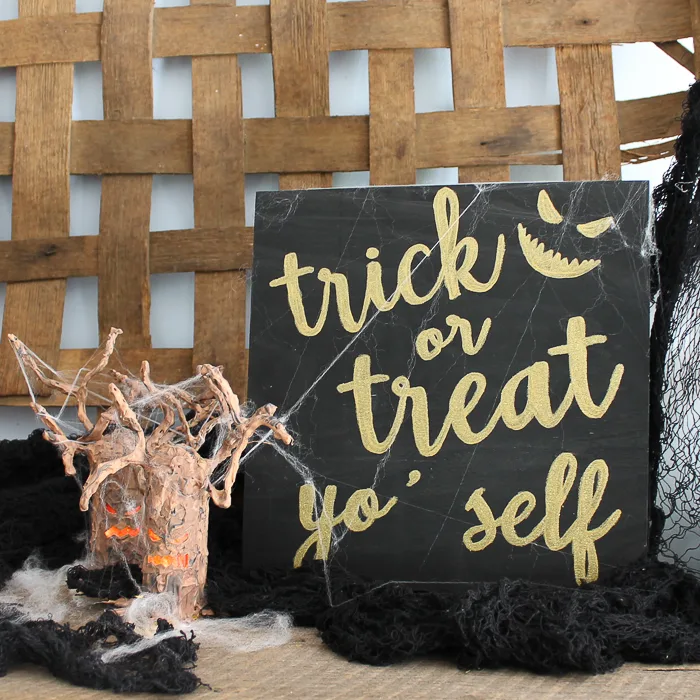
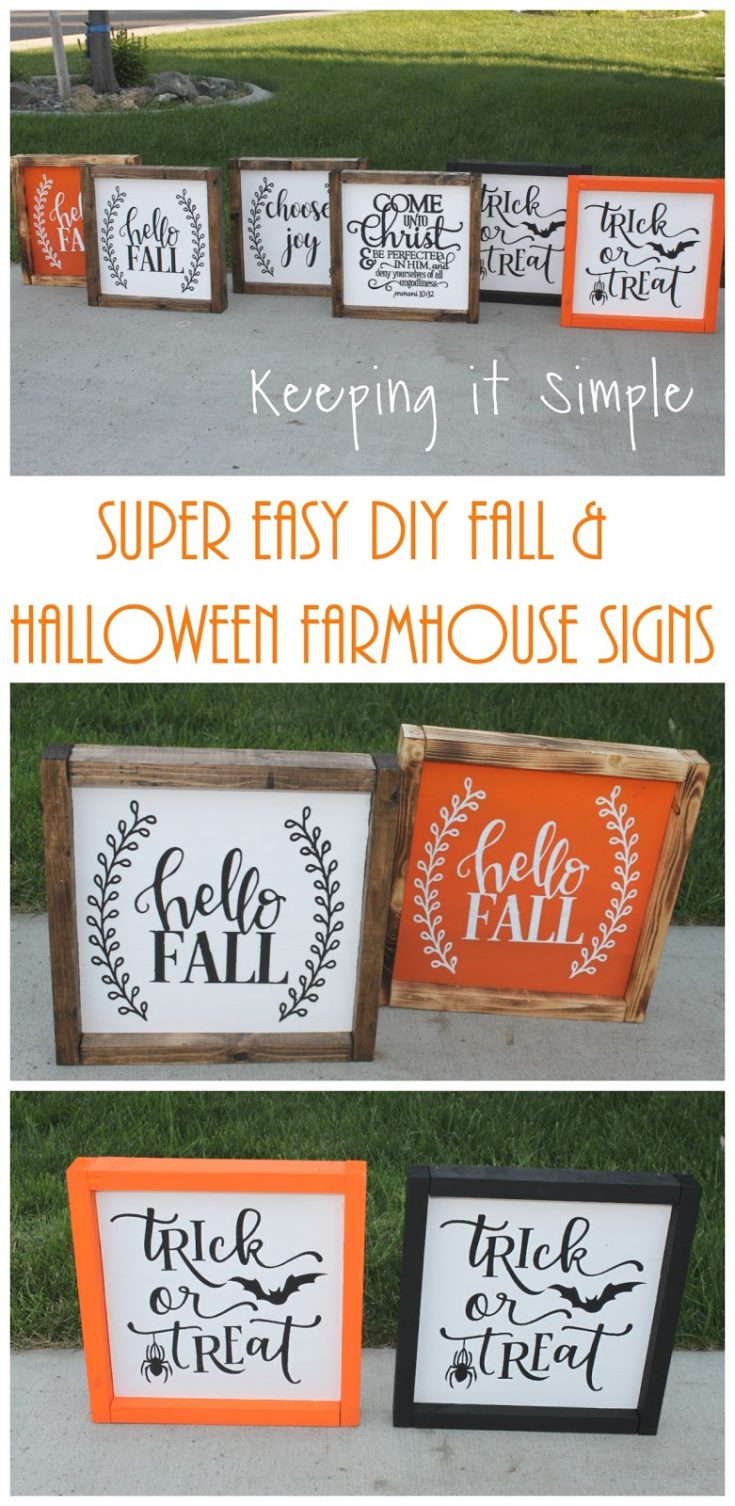
DIY Halloween Signs
There are so many fun Halloween signs out there! This list should give you some great inspiration for creating your own DIY Halloween sign! Some of these signs are for sale on Etsy or other places but you could easily take these ideas as inspiration, look for SVG files similar and make them yourself!
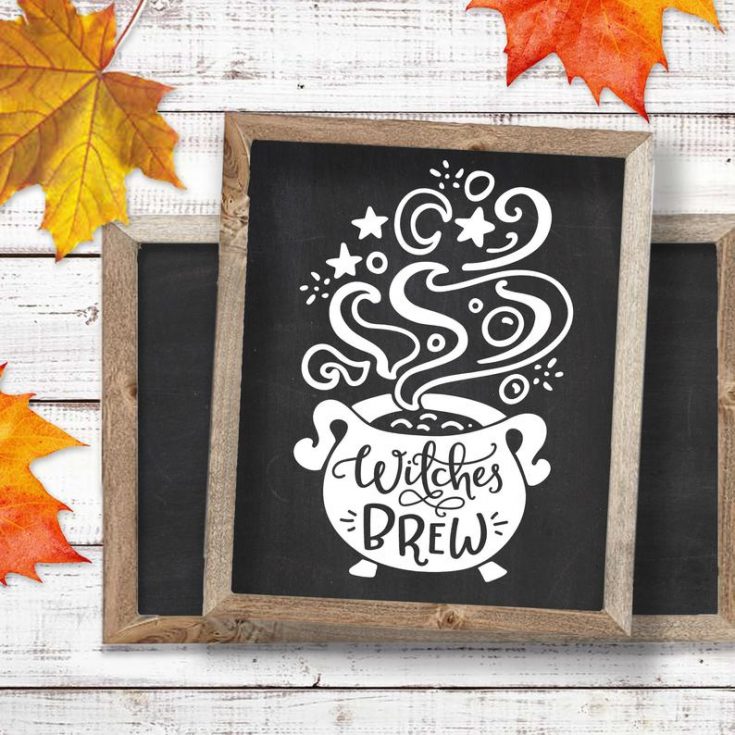

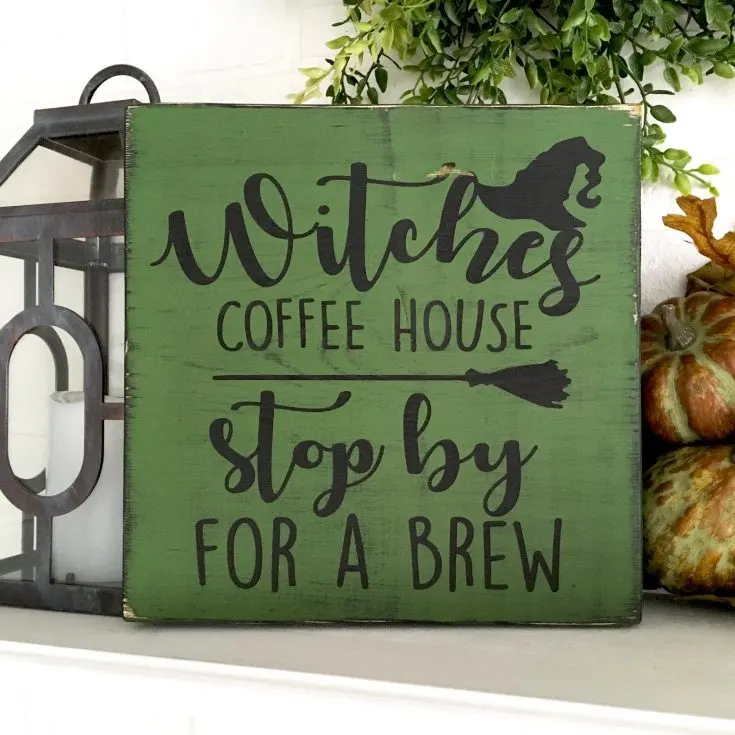
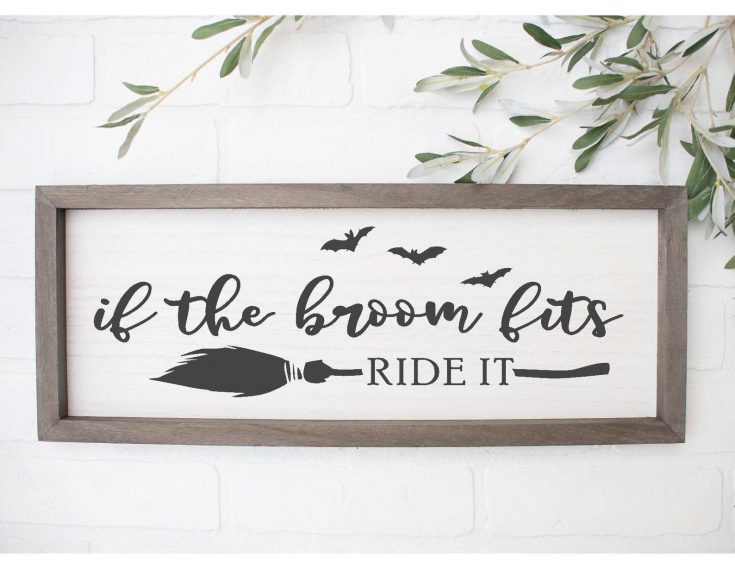
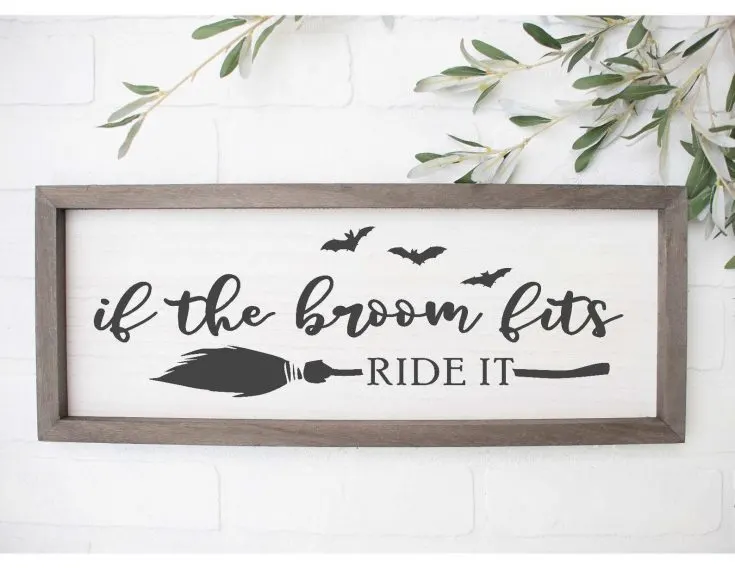
Witches Brew SVG
Love this witches brew SVG file! This might be my next sign!


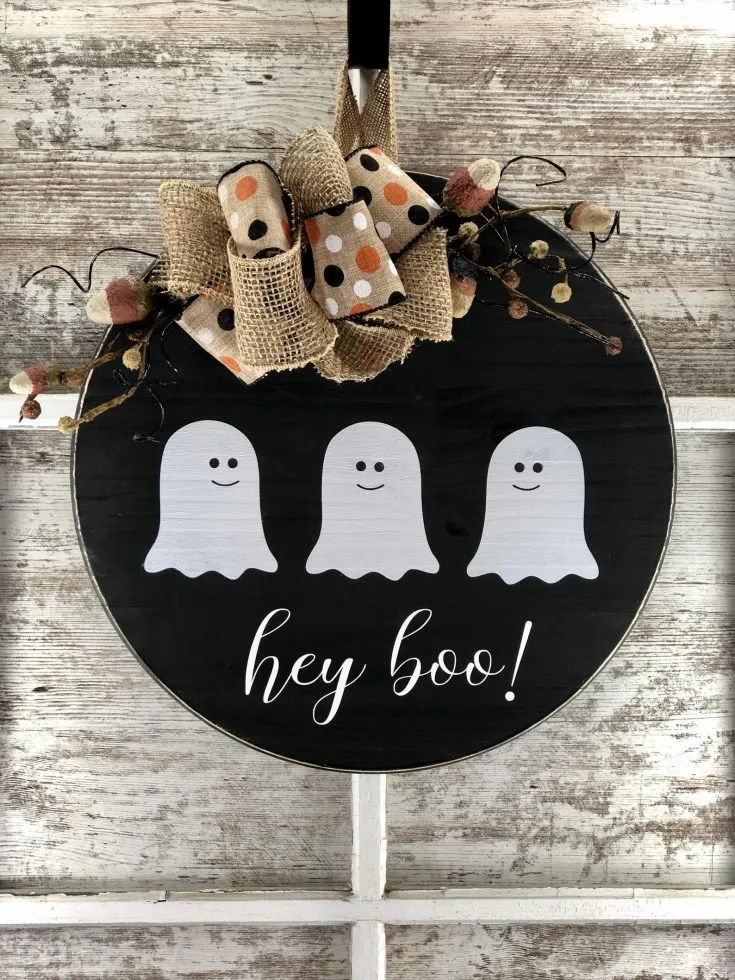
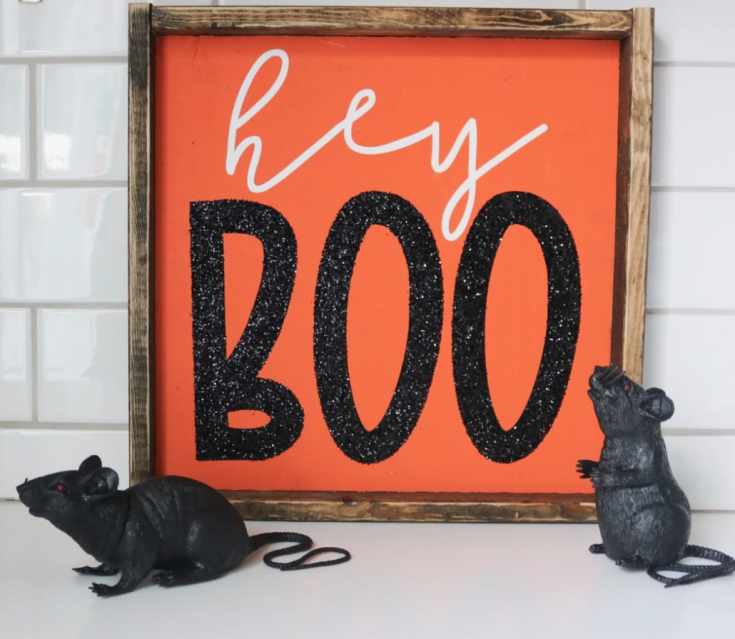
Hey Boo! Halloween Sign
This is a cute sign from Etsy seller Kingstons Kreations, you could DIY this too!
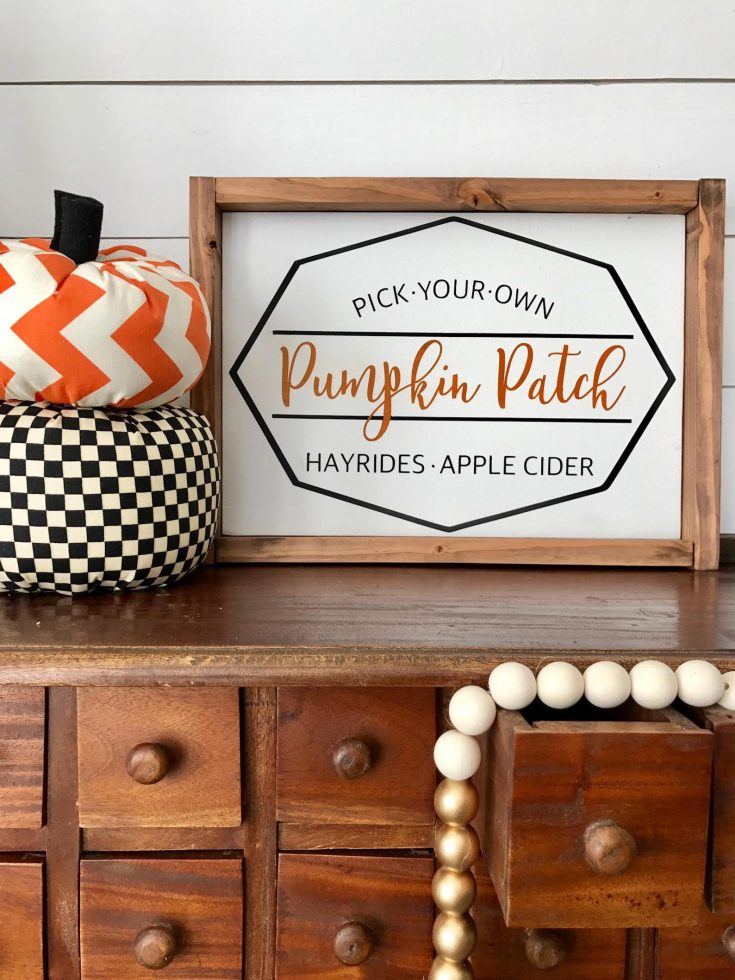

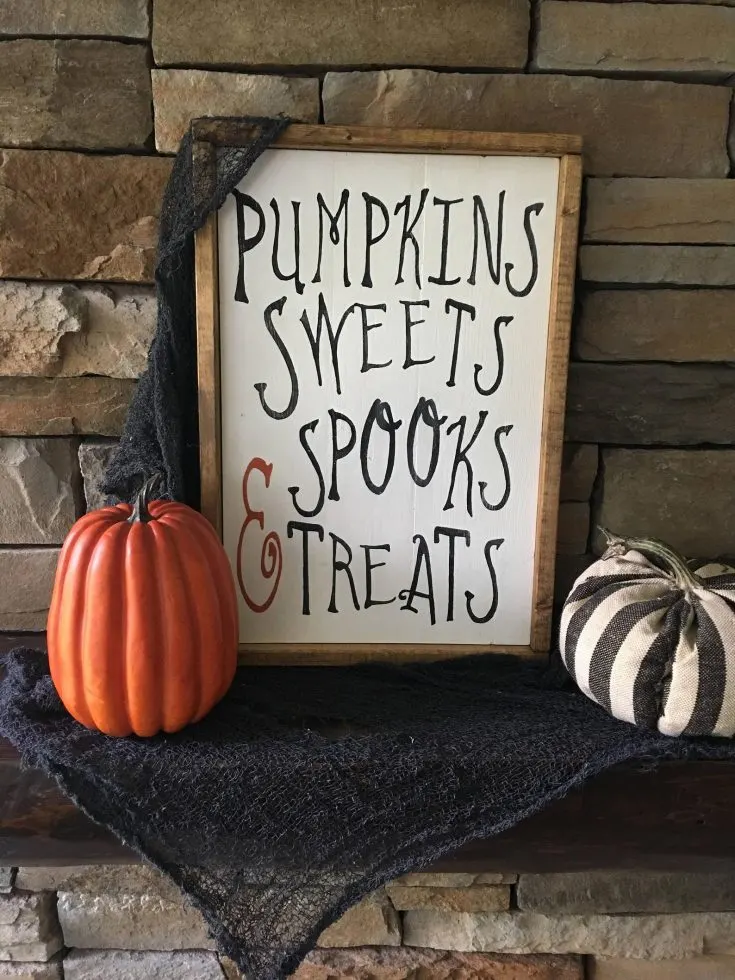
Pumpkin Patch Sign
I love the modern look of this Pumpkin Patch sign! This is another Halloween sign for sale on Etsy.
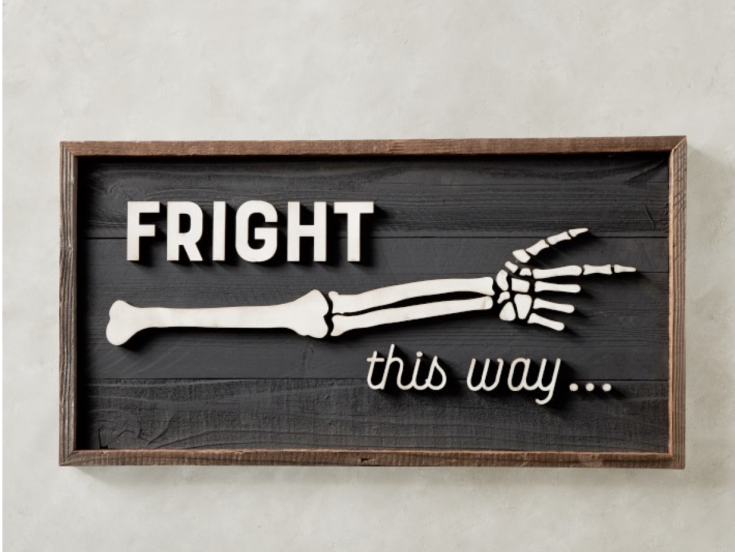
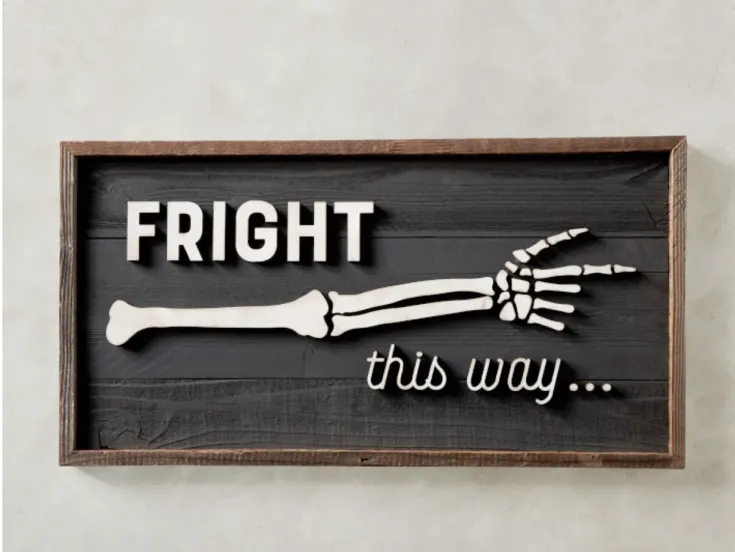
Halloween Fright This Way Sign
This sign from Williams Sonoma is so fun! You could easily DIY this sign instead of paying $170!
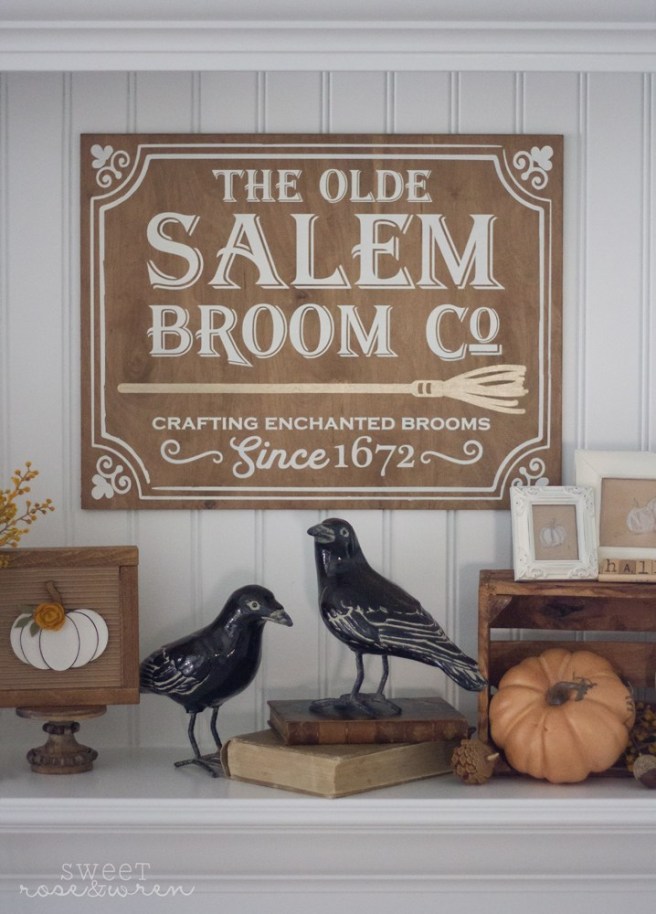

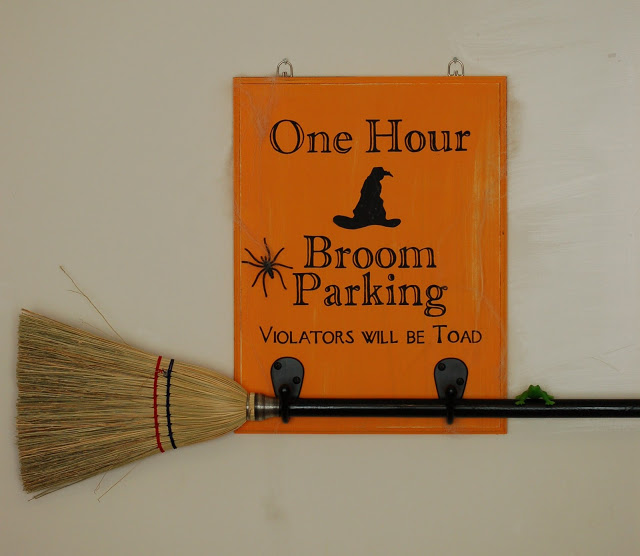
Salem Broom Co. Halloween Sign
I love this sign! Click over to this blog for her Halloween home tour, so many fun ideas!

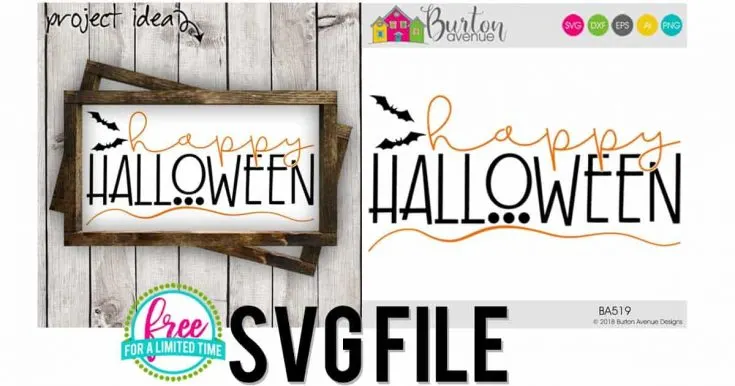
Free SVG Cut File – Happy Halloween
Love this FREE SVG file from Burton Ave for a DIY Halloween Sign!
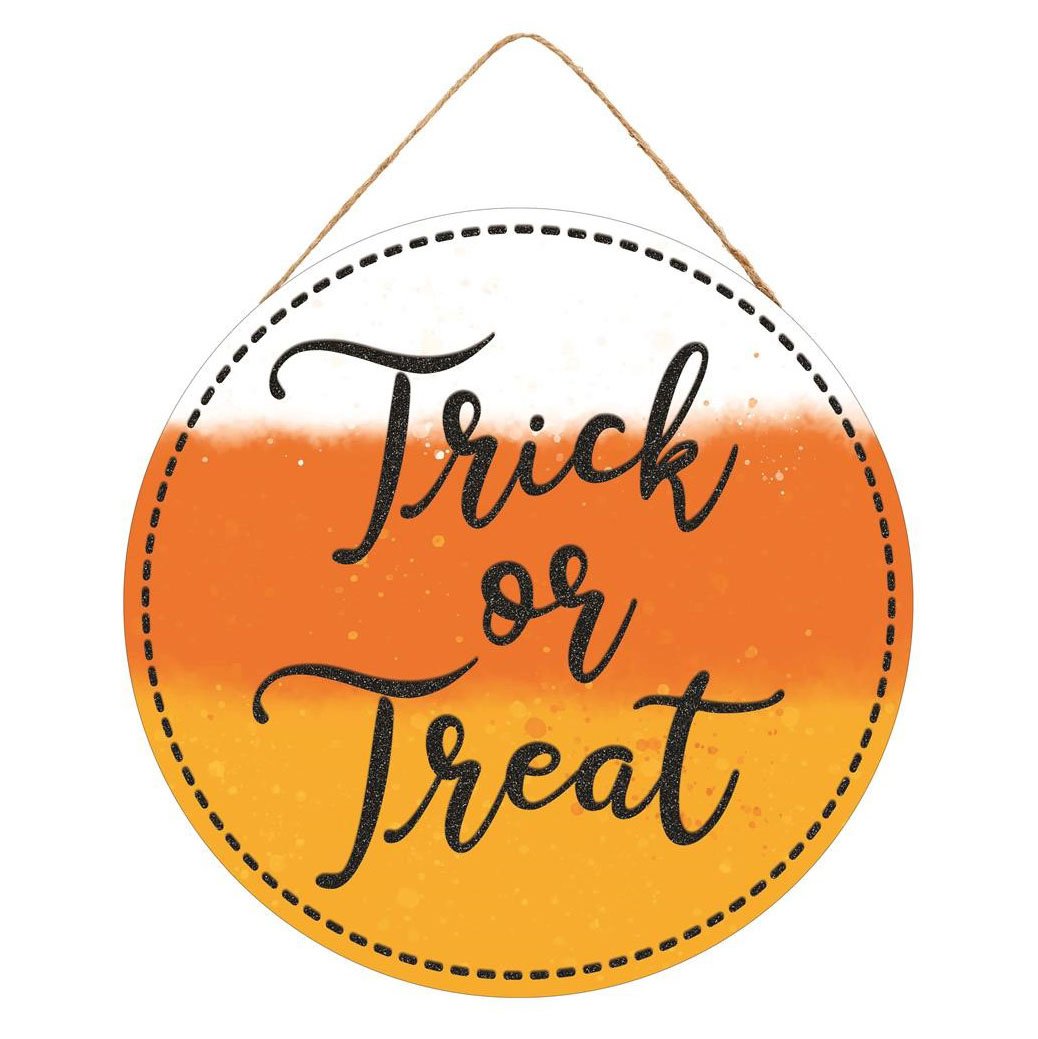
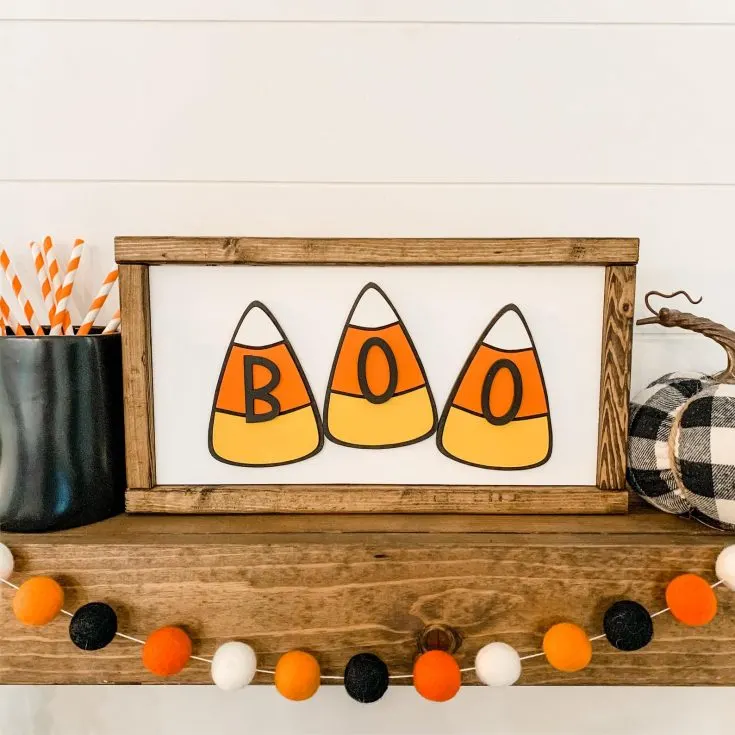
Candy Corn Painted Trick or Treat Sign
Love the idea of painting the background of your sign in candy corn colors and then layering the vinyl on top!
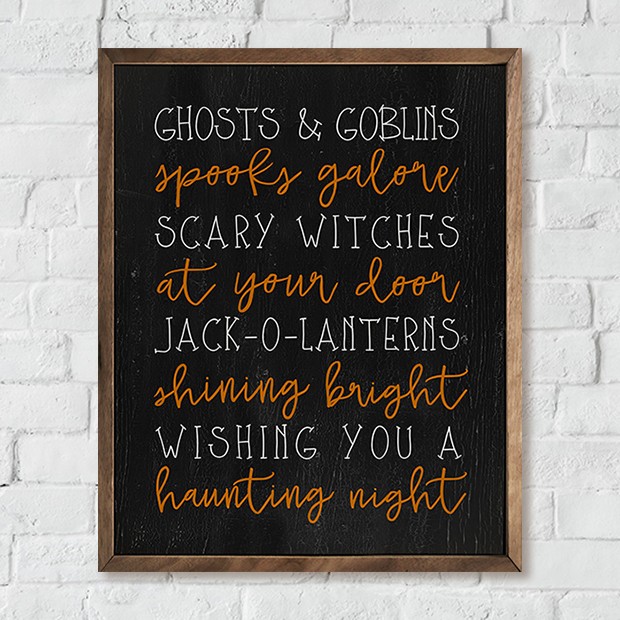
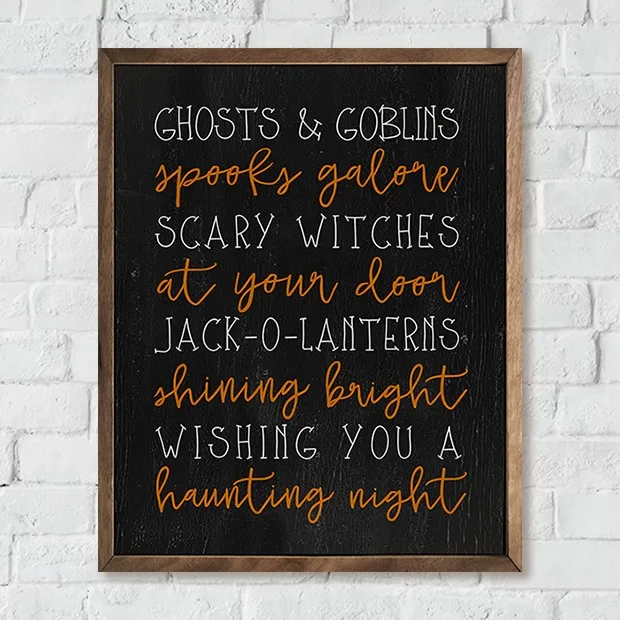
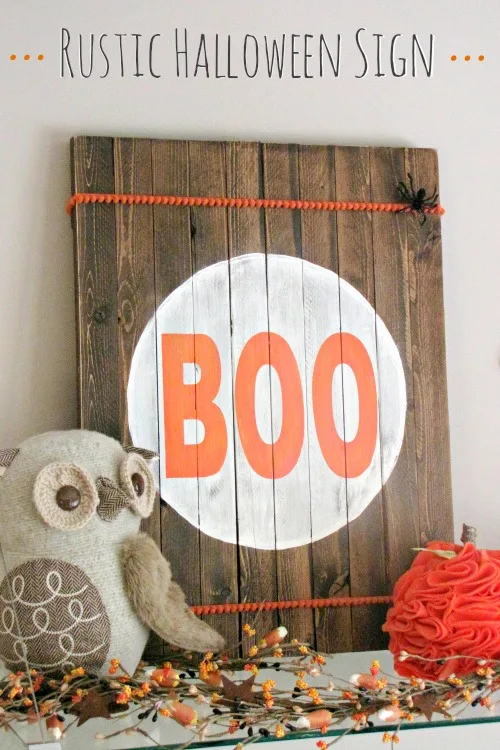
Ghosts And Goblins Rustic Halloween Sign
Love the text on this Ghosts and Goblins Halloween sign.

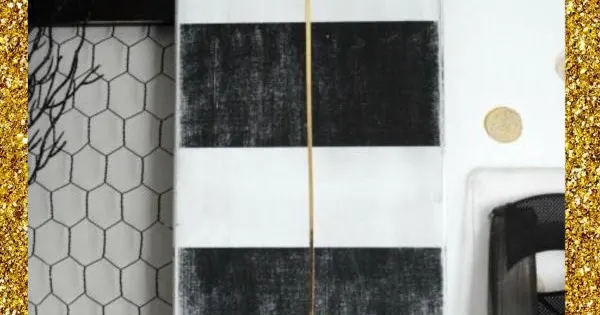
Halloween Decor: black and white stripes with gold spider
I love this cute striped spider sign!
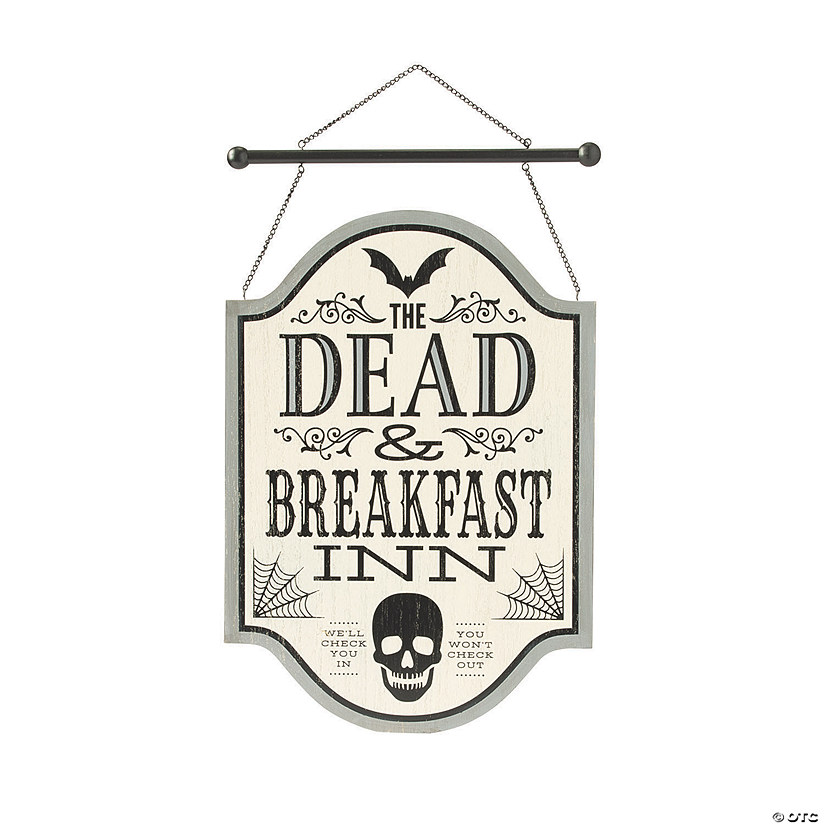
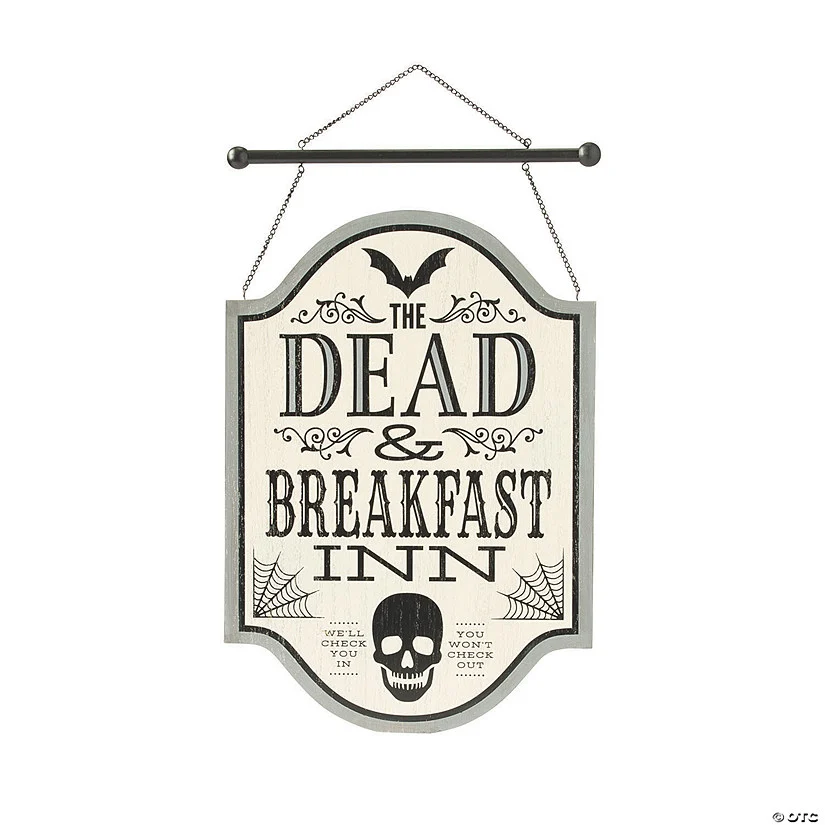
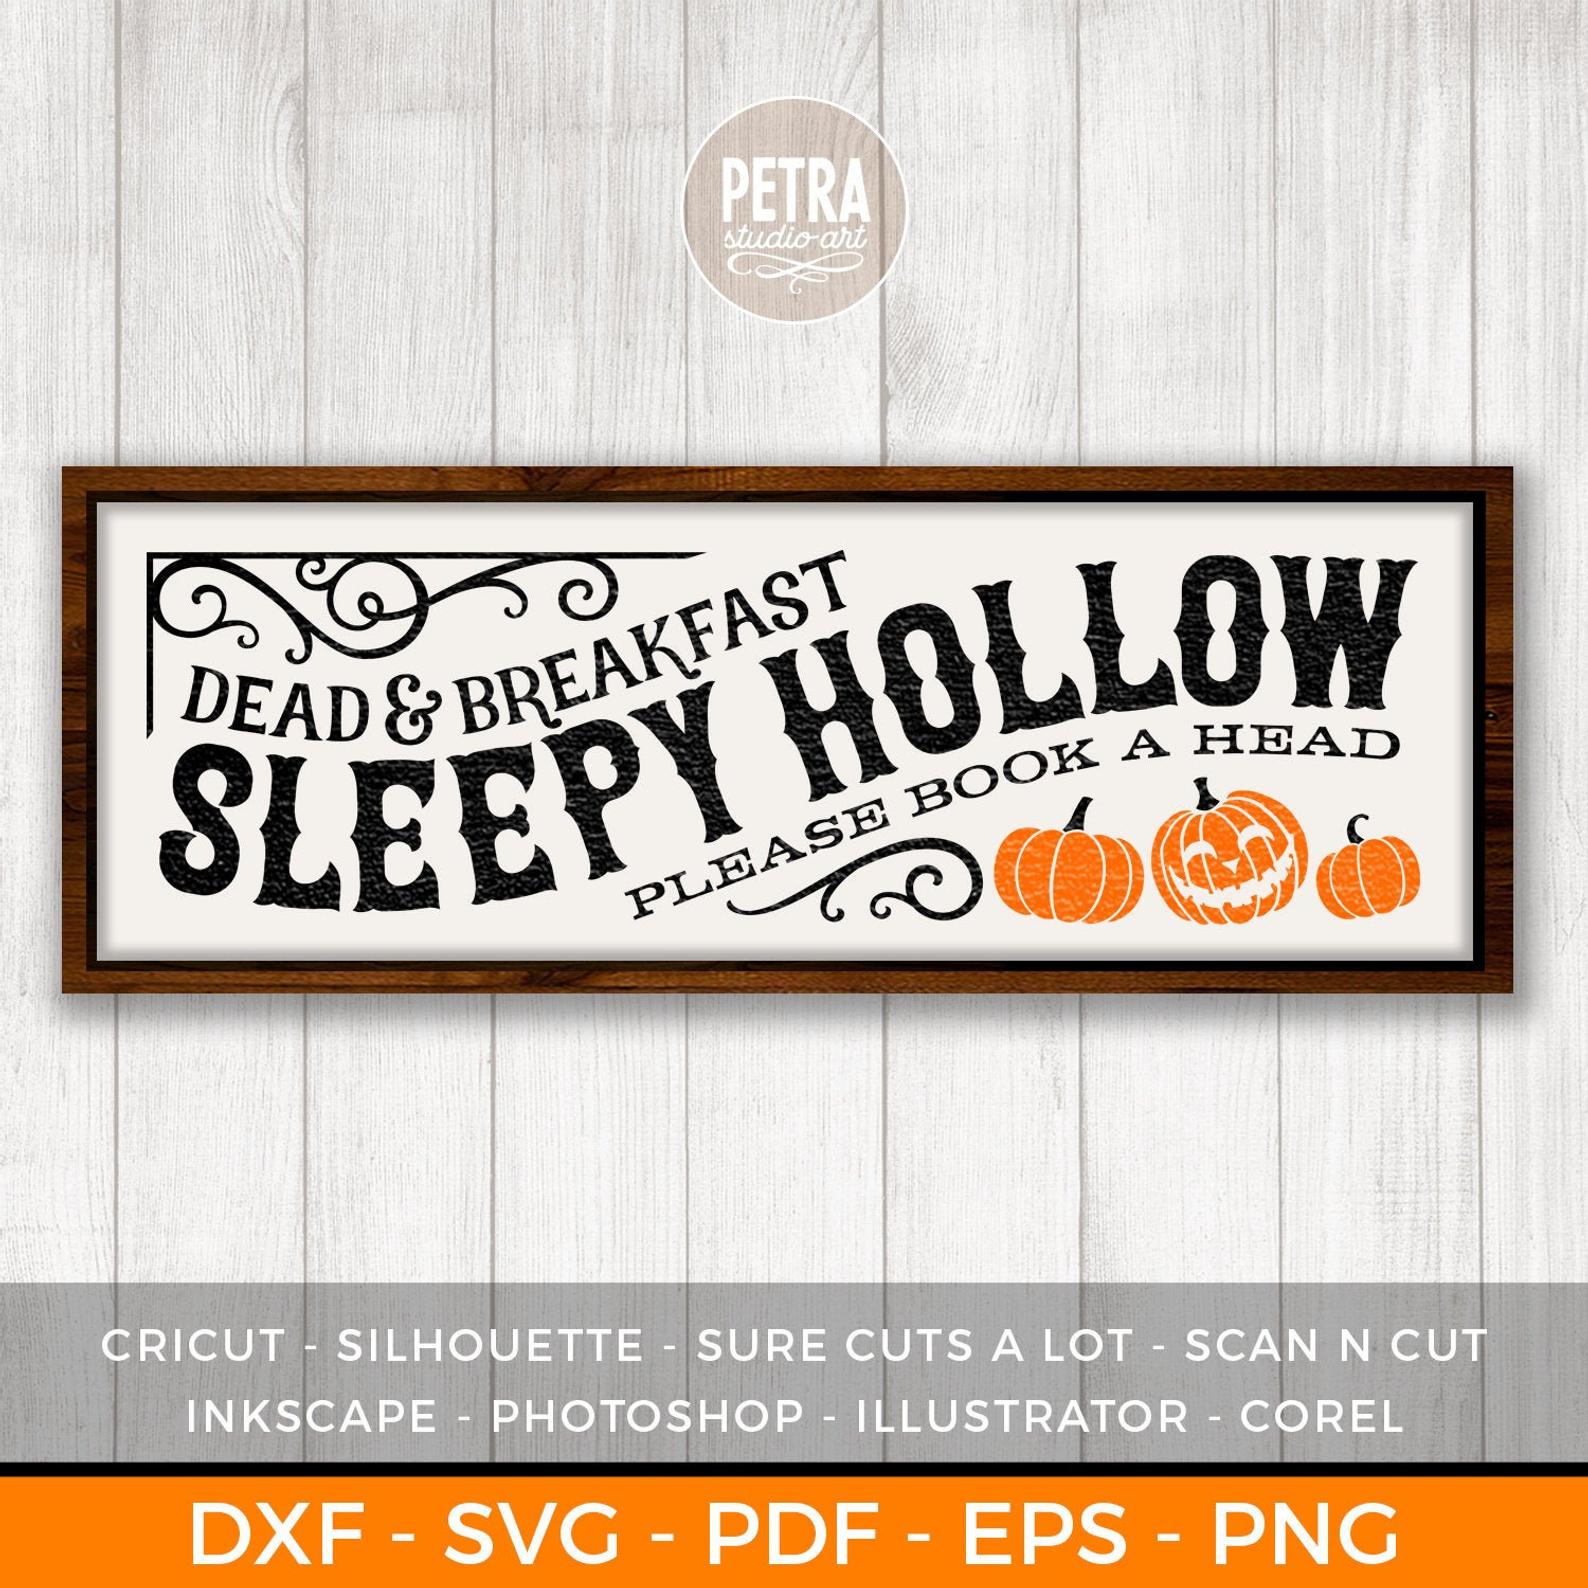
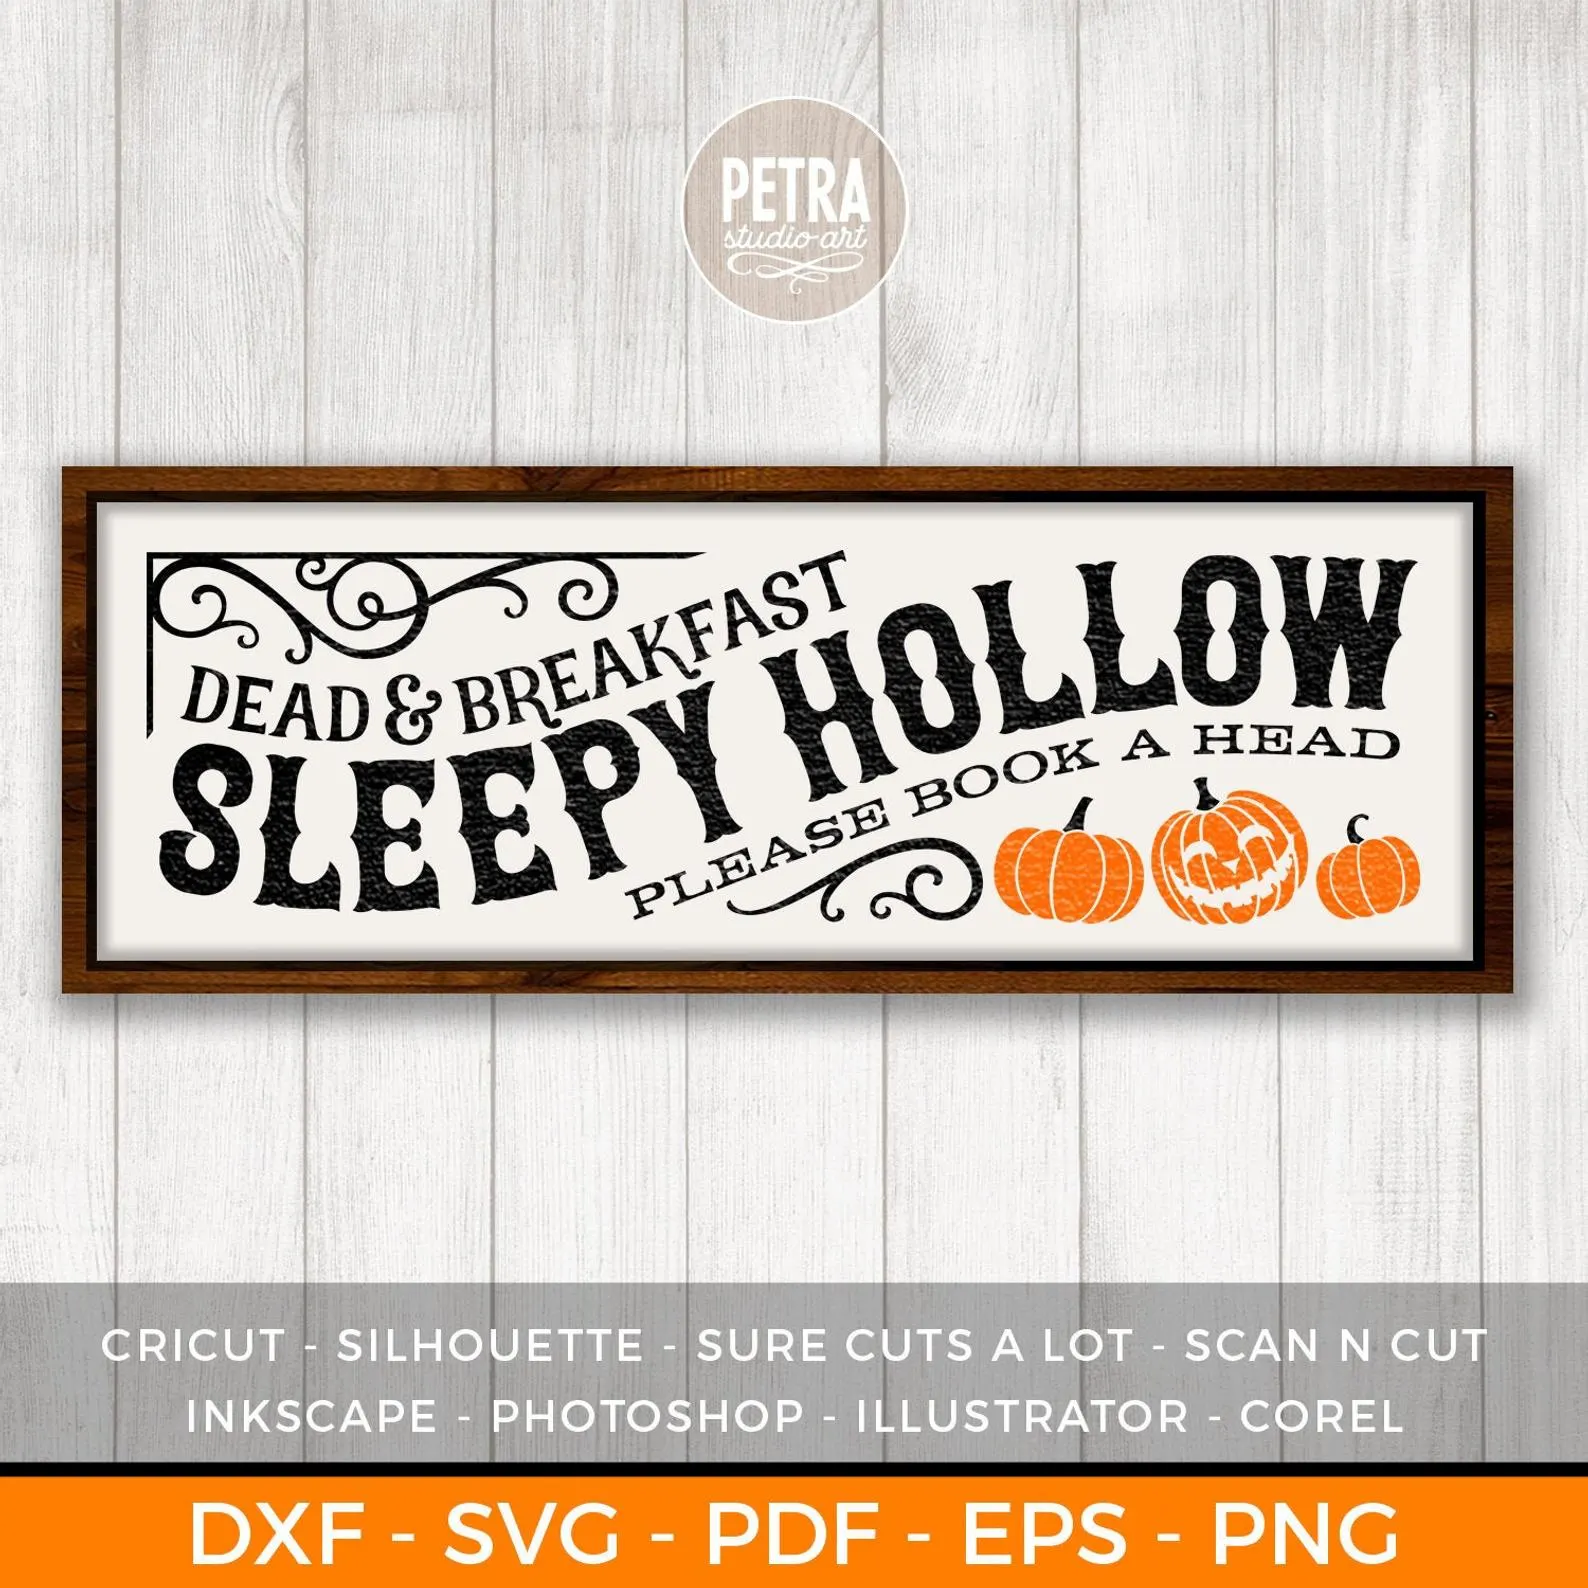
Gothic Dead & Breakfast Sign Halloween Decoration
This is a fun idea! "Dead and Breakfast" ha!
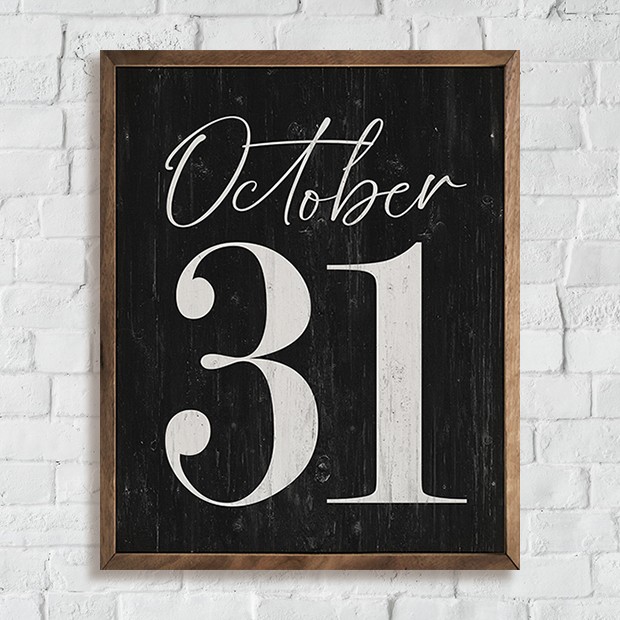
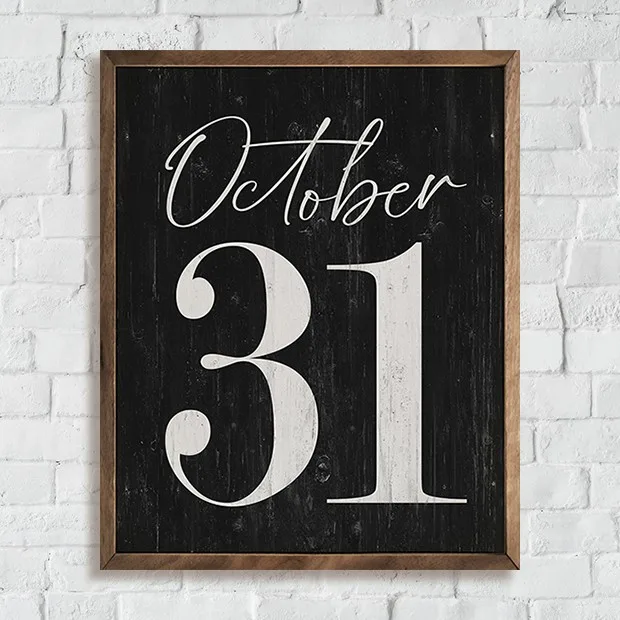
Oct 31 Rustic Halloween Sign | Antique Farmhouse
I love the simplicity of this sign!
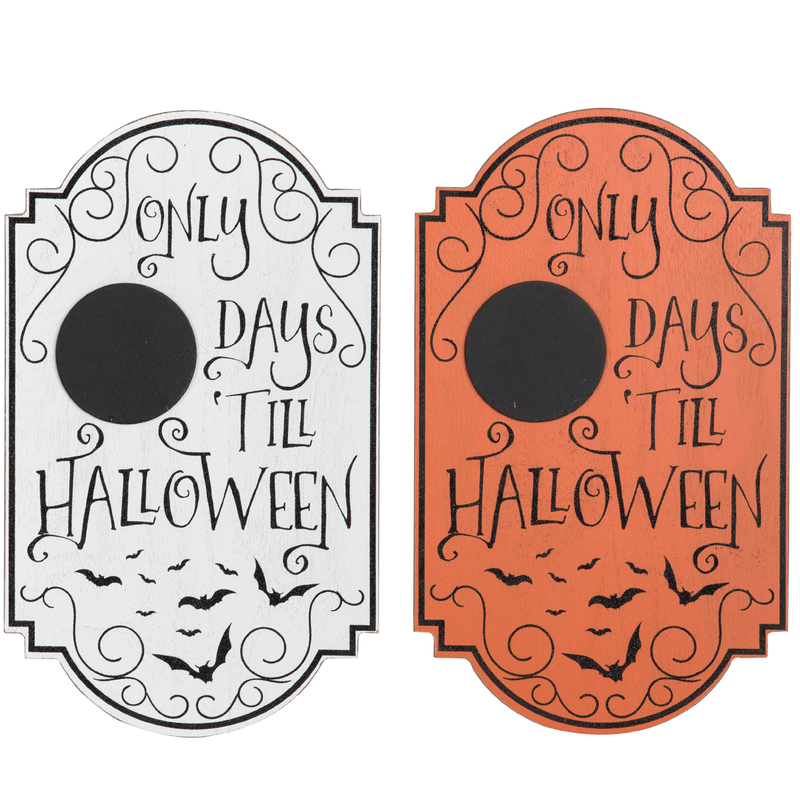

9.5" MDF Count Down to Halloween Sign Assorted
You could make a Halloween count down sign like these!


Halloween Decor: 3 Free Halloween Poem Prints - Handmade in the Heartland
Tuesday 26th of October 2021
[…] for more fun Halloween DIY decorating ideas? Try making your own DIY Halloween Sign! I’ve got step by step instructions that teach you how to do […]
How To Decorate for Halloween With Your Cricut - This Hustle
Wednesday 20th of October 2021
[…] DIY Halloween Sign & 30+ Sign Ideas […]
DIY Ceramic Tile Coasters with Vinyl Lettering | Handmade in the Heartland
Monday 4th of January 2021
[…] Cricut I end up making so many fun little projects that look so professional! I just made this fun Halloween sign, you can use the same tutorial but different SVG to make a Thanksgiving […]
DIY Rustic Wood Christmas Sign | Handmade in the Heartland
Friday 4th of December 2020
[…] you’re looking for instructions for how to make a wood sign with vinyl lettering check my DIY Halloween Sign, in that post I show you exactly how to use vinyl lettering on a wood […]