These DIY ceramic tile coasters are a quick and fun Cricut craft project! This step by step tutorial shows you how!
This post contains affiliate links which means I earn a small commission if you purchase something that I recommend.


I love having festive decorations for the holidays and with my Cricut I end up making so many fun little projects that look so professional! I just made this fun Halloween sign, you can use the same tutorial but different SVG to make a Thanksgiving sign!
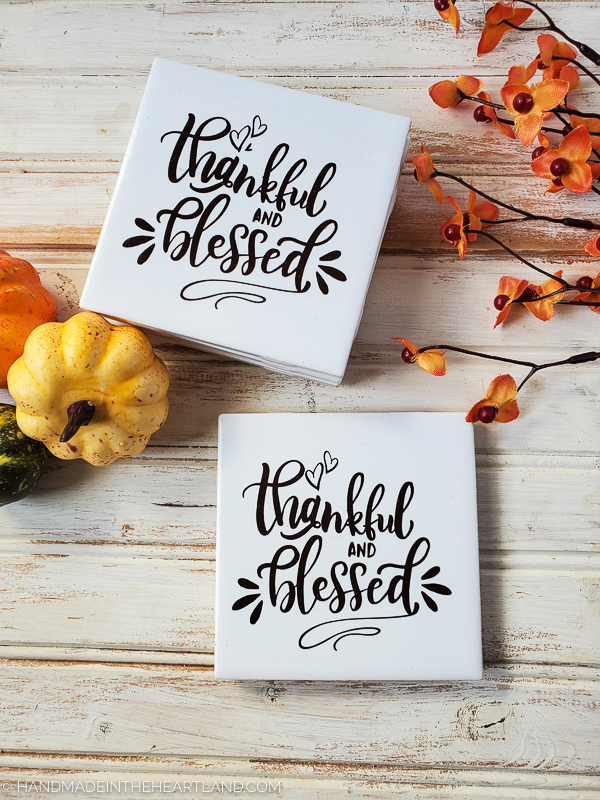
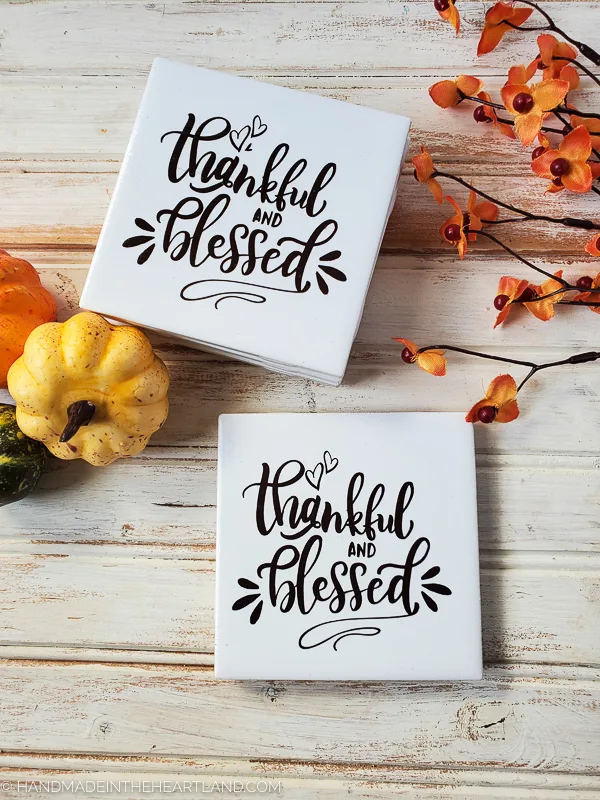
I love how these Thanksgiving coasters came out! I’m so excited to show you how to make this super simple project.
Your first step is to decide what design to put on your coaster. Below is a list of places to look for cut files.
Where to find cut (SVG) files for the Cricut?
In addition to the Cricut Design Space you can purchase cut files in several places online to make really cute coasters!
When searching the sites I’ve got listed below make sure to type in SVG after your search term. SVG is the file format you’ll want to purchase to upload to the Cricut Design Space.
The file I used to make these Thanksgiving Coasters came from this Fall SVG Bundle
- Cricut Design Space– is always my go to first stop. When you get into design space and navigate to the left side menu “images” you can type in the search bar for specific words like Thanksgiving Quote, Thankful, etc. If Cricut doesn’t have something you love there are other websites that sell SVG files.
- Etsy– There are so many great designers who sell their SVG files on Etsy.
- Design Bundles– Another fun site that sells SVG files
- Craft Bundles– And yet another site that sells great SVG image files
Looking for the right file can be a little overwhelming since there are SO many options. I recommend thinking about exactly what you want and searching for more specific words like “Thanksgiving Quotes SVG” or “Hand Lettered Thanksgiving SVG” because if you just type in Thanksgiving you’ll get 426,000 options.
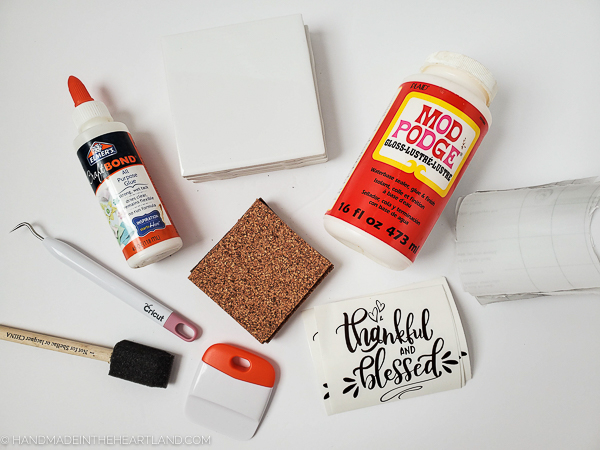

Supplies for DIY Ceramic Tile Coasters
The supplies for this project are pretty minimal, and if you’re a crafter I bet you have scrap vinyl laying around that you can use!
- Cricut Machine – I love my Cricut Maker and my Explore Air 2 before that! You could do this project with the new Cricut Joy or any of the explore series machines.
- Thankful & Blessed SVG Cut File– So many cute SVG files in this big bundle of images!
- Brown permanent vinyl– I love Expressions Vinyl for affordable and great quality vinyl for crafting
- 4″ Ceramic Tiles- You can get specific tile for crafting on Amazon or you can just pick up loose tiles at Home Depot or Lowe’s for like 20 cents each
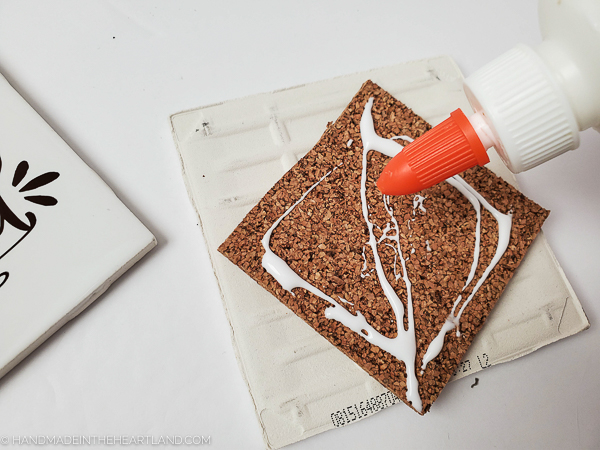
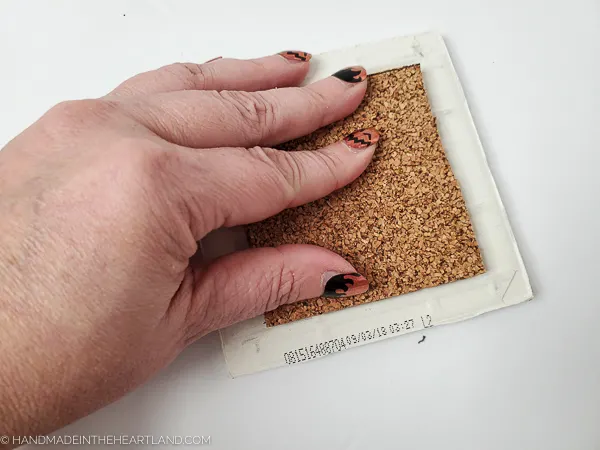
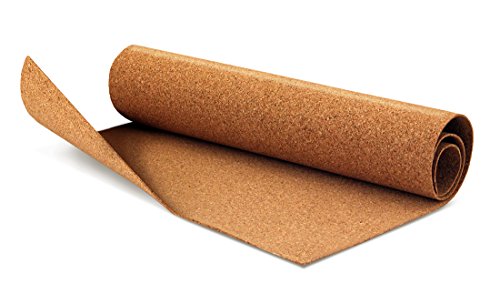
- 3″ Cork Squares- You can buy precut cork specifically for tile coasters or you can cut your own from a roll of cork from the craft store.
- Transfer Tape– Transfer tape is a must!
- Mod Podge- I used the gloss mod podge for this project
- Craft Glue- Any type of tacky craft glue will work, hot glue would also work.
- Paint brush- A cheap 1″ foam brush will do the trick
- Cricut Weeder tool– I LOVE the Cricut weeder tool, it’s essential for vinyl projects.
- Cricut Spatula tool– A good spatula is also necessary to get the vinyl to stick to the transfer tape and the ceramic tile!
- Scissors– always have a trusty pair nearby. I love my Fiskars.
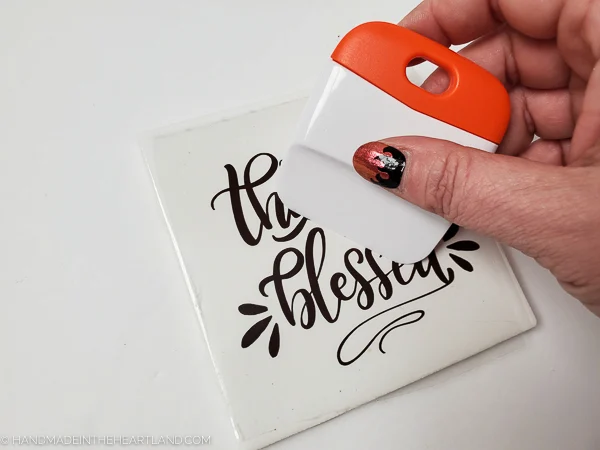
How to put vinyl lettering on ceramic tile
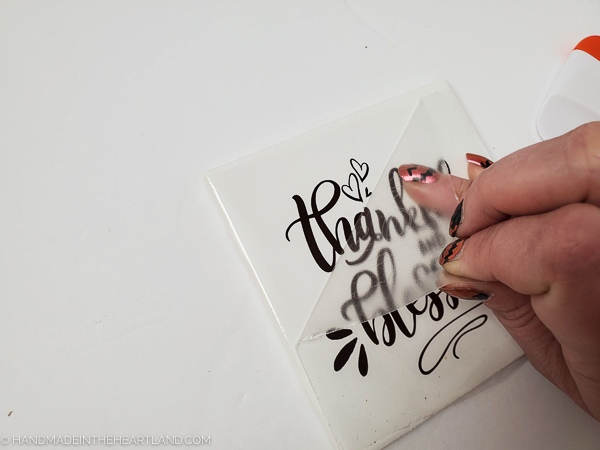
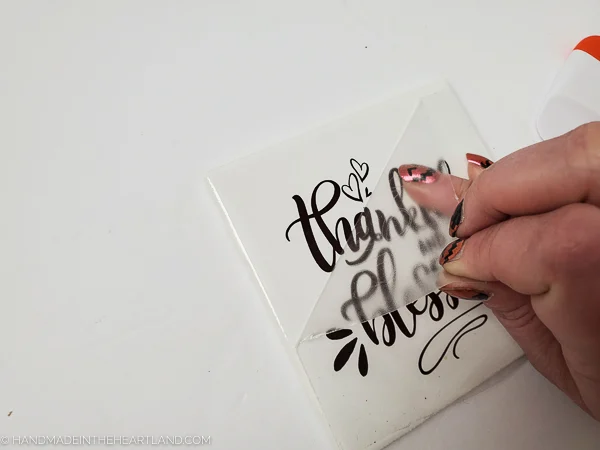
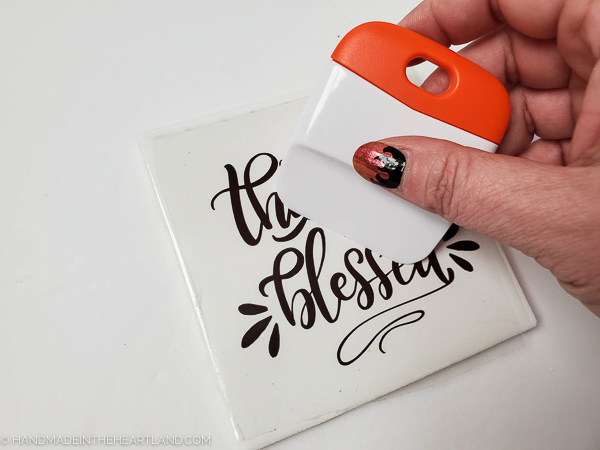
This project is so simple and will only take you about 20-30 minutes to make all 4 coasters. To apply the vinyl to the DIY ceramic tile coasters all you need is your cut vinyl lettering, transfer tape and a good spatula.
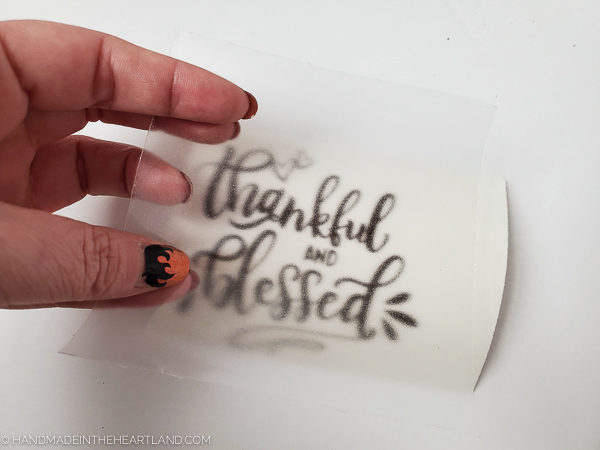
TIP FOR USING TRANSFER PAPER: When you are transferring cut vinyl with transfer tape I have found the best method is to rub the vinyl quite hard with a spatula or back of a ruler with the transfer tape stuck onto the front of the vinyl and then to peel the paper backing off directly backwards. In stead of pulling the paper backing at an upward angle try to pull it all the way backwards in kind of a rolling motion so the area where the cut vinyl is coming off is a fold. This really helps the letters come off of the paper and stay stuck onto either the transfer sheet or the tile.
How do you seal vinyl on DIY ceramic tile coasters
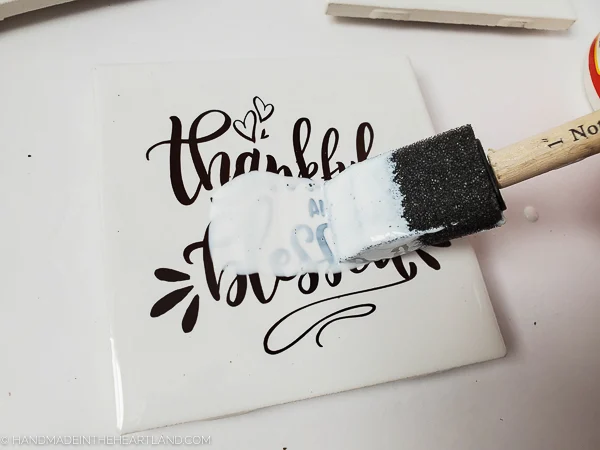
After you take the time to cut the vinyl and apply it to the ceramic tile you’ll want to make sure your vinyl doesn’t come off over time with cups and mugs being placed on top of it. We used Mod Podge with a Gloss finish to seal and coat the vinyl on these DIY ceramic coasters.
In this case the Mod Podge’s main job is to seal the vinyl to the tile so it doesn’t easily peel off with wear and tear. You might want to do 2-3 layers of Mod Podge for the best result.
Mod Podge is not waterproof it is water resistant so a few drops of water on your coaster will not affect the vinyl. Because our project uses vinyl, which is already water resistant you really don’t have to worry about water affecting the design.

If you’re looking for more fun Thanksgiving projects check out my list of over 45 turkey kids crafts, so many fun ideas!


DIY Ceramic Tile Coasters with Vinyl Lettering
Make these lovely "Thankful and Blessed" Thanksgiving coasters for just a few dollars and a short amount of time. You could make as many as you need for your special holiday gathering, or make them in sets of 4 to gift!
Materials
Tools
- Cricut Machine
- Cricut Weeder & Spatula Tools
- 1” foam brush
- Scissors
Instructions


Recommended Products
As an Amazon Associate and member of other affiliate programs, I earn a small commission if you purchase something I recommend. I would never recommend products I don't love and use!


When you make your own coasters make sure and let me know! I love to see when you make projects from the blog! Leave a comment or tag me on instagram @handmadeintheheartland or facebook !
23 DIY Tile Coasters Initiatives - Residence & Backyard - Ich mag es zu leben
Tuesday 4th of January 2022
[…] DIY Ceramic Tile Coasters with Vinyl Lettering – Handcrafted within the Heartland […]
23 DIY Tile Coaster Projects – Home and Garden
Tuesday 4th of January 2022
[…] DIY Ceramic Tile Coasters with Vinyl Lettering – Handmade in the Heartland […]
20 Amazing Thanksgiving Crafts for Adults - Sparkling Boy Ideas
Saturday 30th of October 2021
[…] GET TUTORIAL HERE […]
DIY Succulent Spring Wreath | Handmade in the Heartland
Thursday 18th of March 2021
[…] spring succulent wreath you’ll definitely want to check out these other fun craft projects: DIY Ceramic Tile Coasters with Vinyl Lettering, How to Make Polymer Clay Earrings, and How to Cut Paper Peony’s with […]
DIY Halloween Sign & 30+ Sign Ideas | Handmade in the Heartland
Monday 4th of January 2021
[…] If you don’t have a Cricut and are on the fence about getting one check out my review on the Cricut Explore Air 2, spoiler alert I love my Cricut! Also check out another fun Cricut project I just finished: DIY Ceramic Tile Coasters with Vinyl Lettering. […]