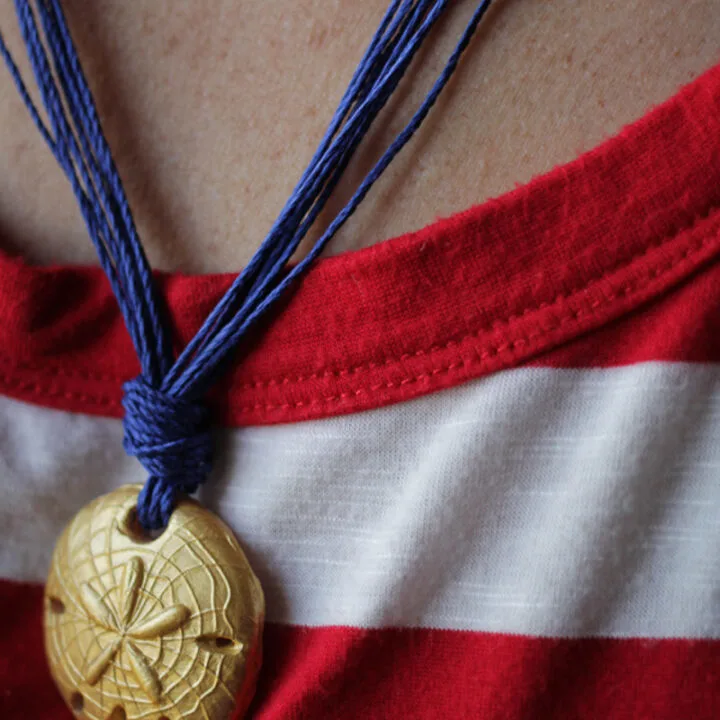
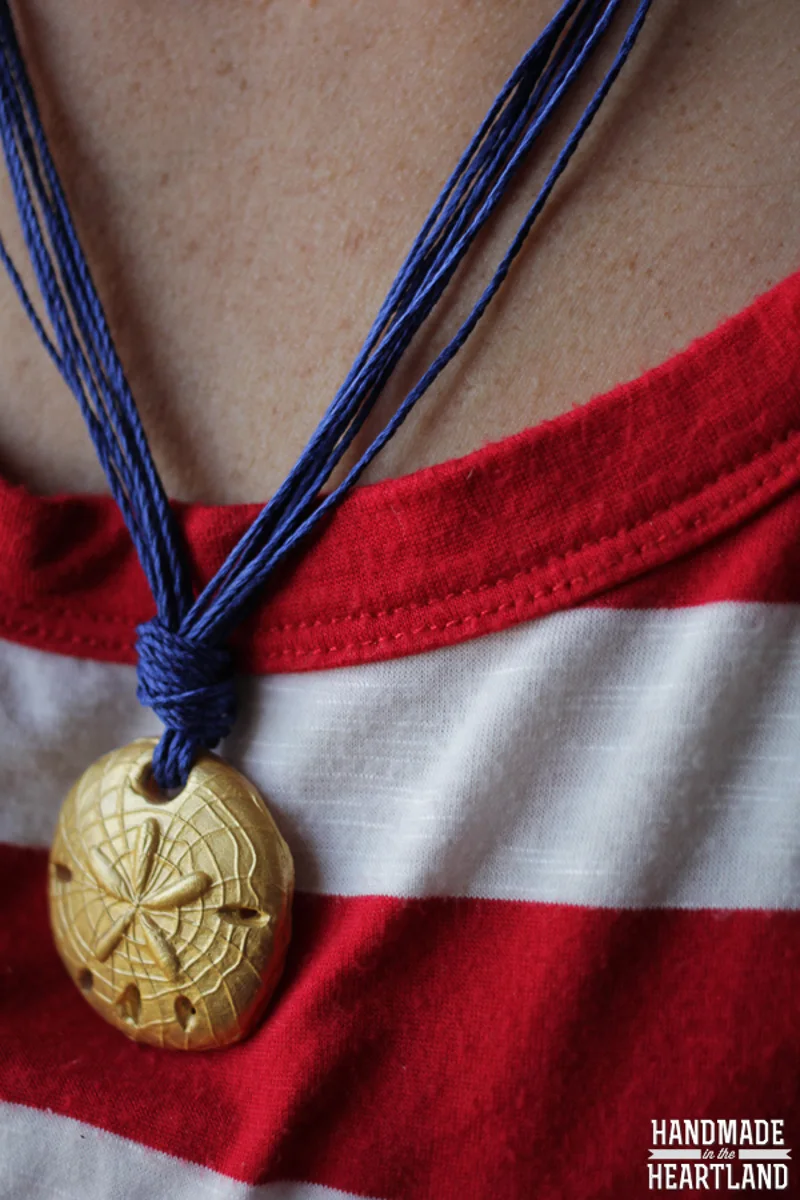
This polymer clay sand dollar necklace is a fun beach inspired jewelry making project that anyone can do! In this post I’ll show you how to make polymer clay beads with silicone molds and use them to make a necklace.
This post contains affiliate links which means I make a small commission if you purchase something I reccomend.


Its totally summer! Can you believe it?! Kids are out of school, pools are opening up and vacations are totally happening. We are headed to the beach in a month and I’m SO excited. I love the ocean, I love everything about being at the beach.
I’m also a huge fan of nautical attire, have you seen my nautical knot rope necklace? I chose to make this sand dollar necklace because as a little girl I collected sand dollars every time we would go to the beach. Each summer I would write the year on the back of each sand dollar and I still have the little collection today.
Supplies:

You’ll only need a few supplies for this simple project. Polymer clay is super fun and easy to work with. This would be a great project for tweens, teens or adults.
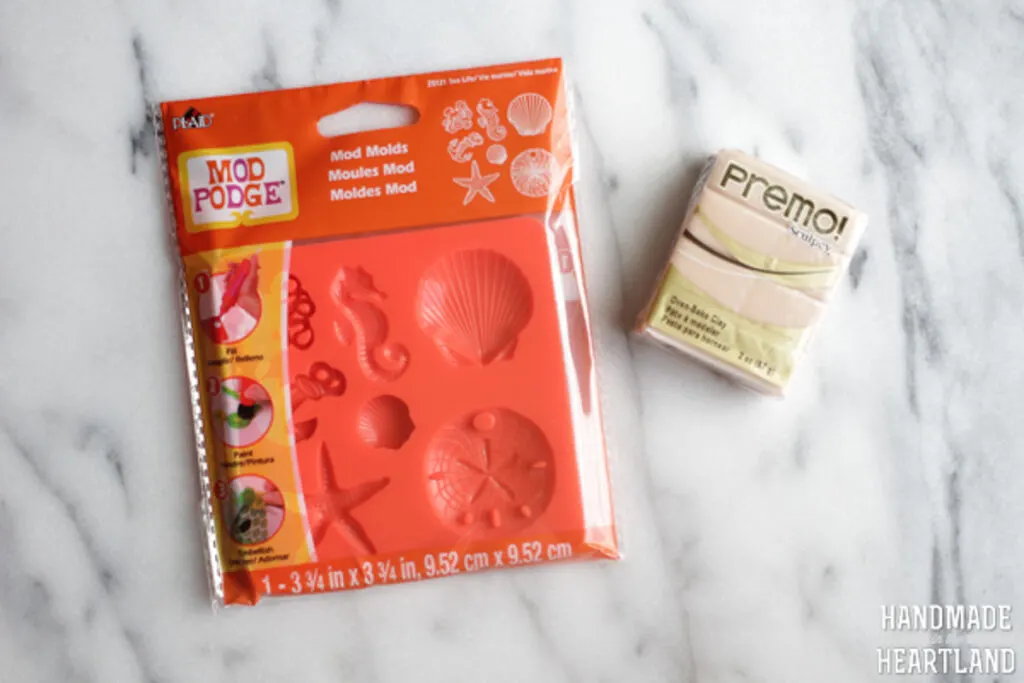
- Shell Silicone Mold– You can find all kinds of fun molds in different types of shapes. For polymer clay look for molds that are shallow. Often deep molds are used for resin projects and won’t work with clay because you won’t be able to get the soft clay out of a deep mold.
- Sculpey Premo Clay– I used a cream/nude color because I knew I wanted to paint the clay. However you can find all kinds of great colors of polymer clay even metallics so you may not even need to paint your clay beads.
- Clay Tools– You’ll need a tool to poke the hole in the top of the charm/bead for the string to go through and use the sharp knife style to cut off excess clay once the beads are pulled out of the mold.
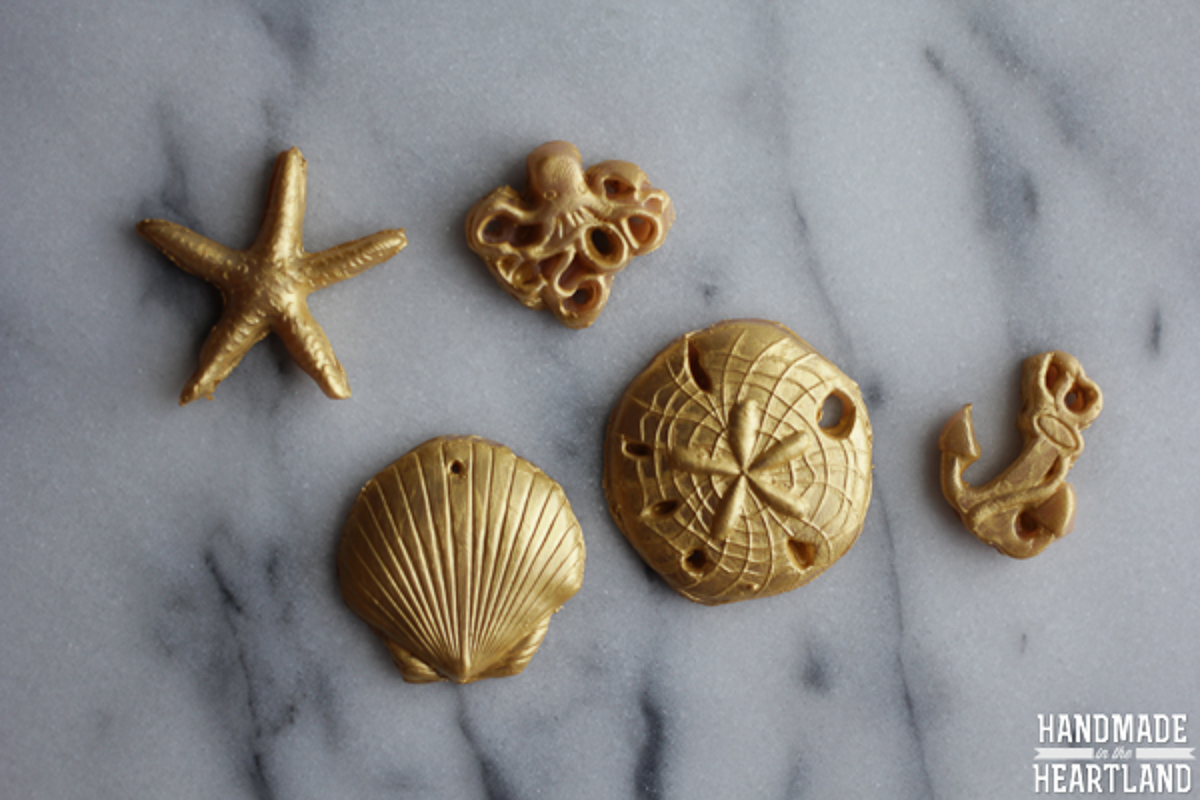
- Gold Craft Paint– I used a metallic gold paint to get the look I had envisioned for this necklace.
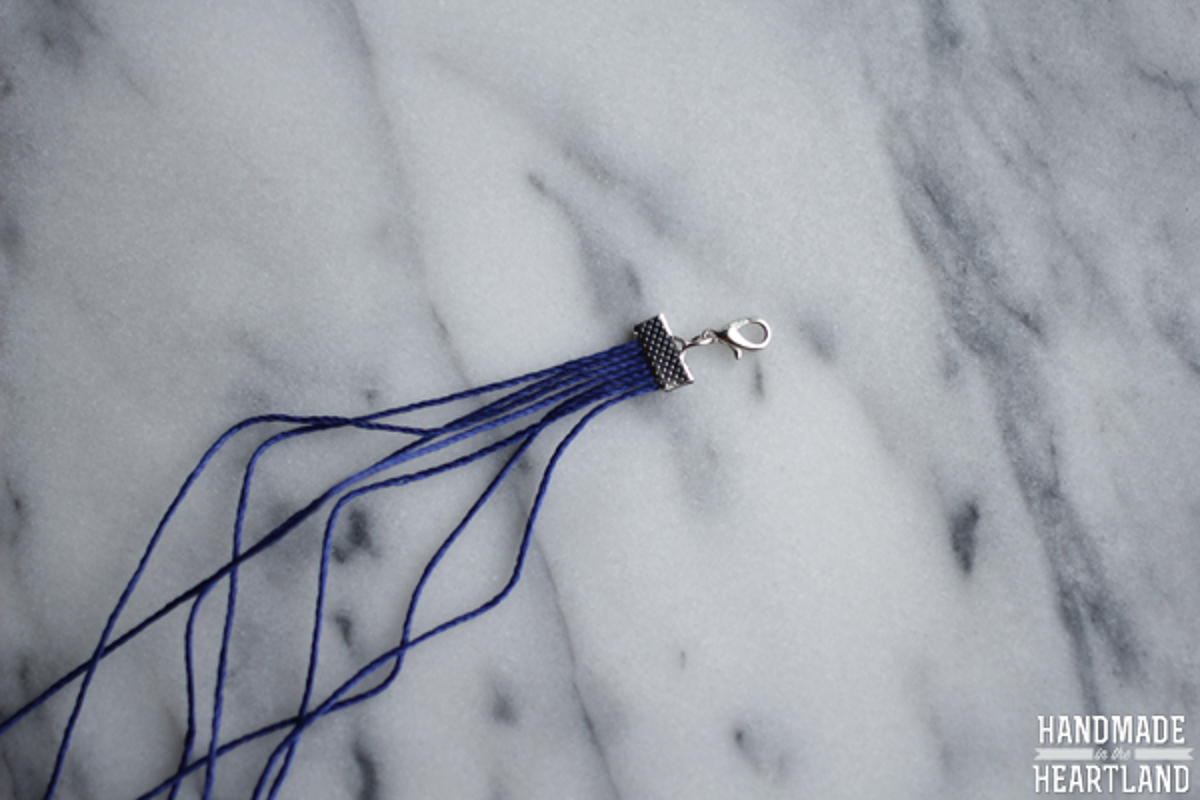
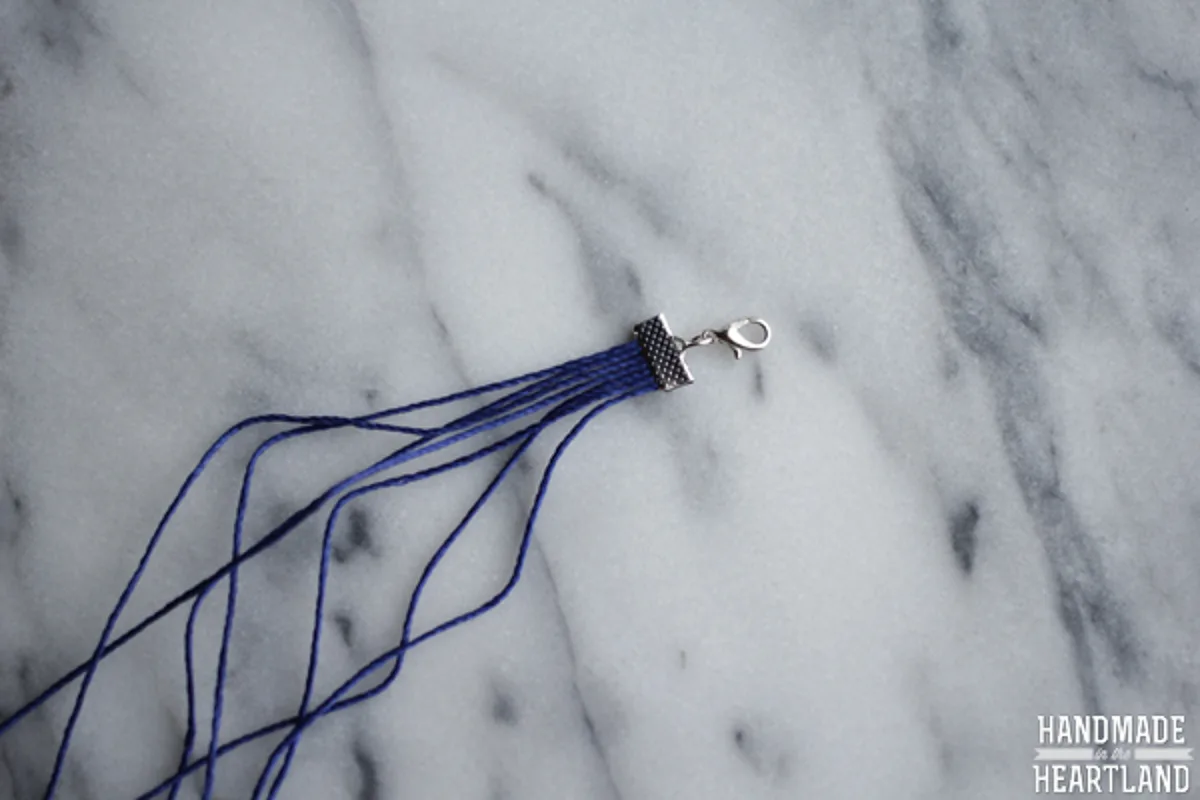
- Waxed String/ Cord– A great jewelry making supply to have on hand.
- Clamp Clasp– This type of clasp makes finishing jewelry projects so easy! Just stick the ends of the string into the clasp and then clamp closed with jewelry pliers.
How to make polymer clay beads with a mold

Step 1: Warm up the clay
Polymer clay has to be warmed up in your hands when you take it out of the package to revitalize the clay.
TIP: Make sure your hands are clean and keep a paper towel and alcohol or baby wipes close by for cleaning off any pieces of fuzz or dirt that get onto the clay. You’ll also want to make sure you wash your hands when you change colors. Work the clay in your hands until it is pliable and soft.
Step 2: Use the mold
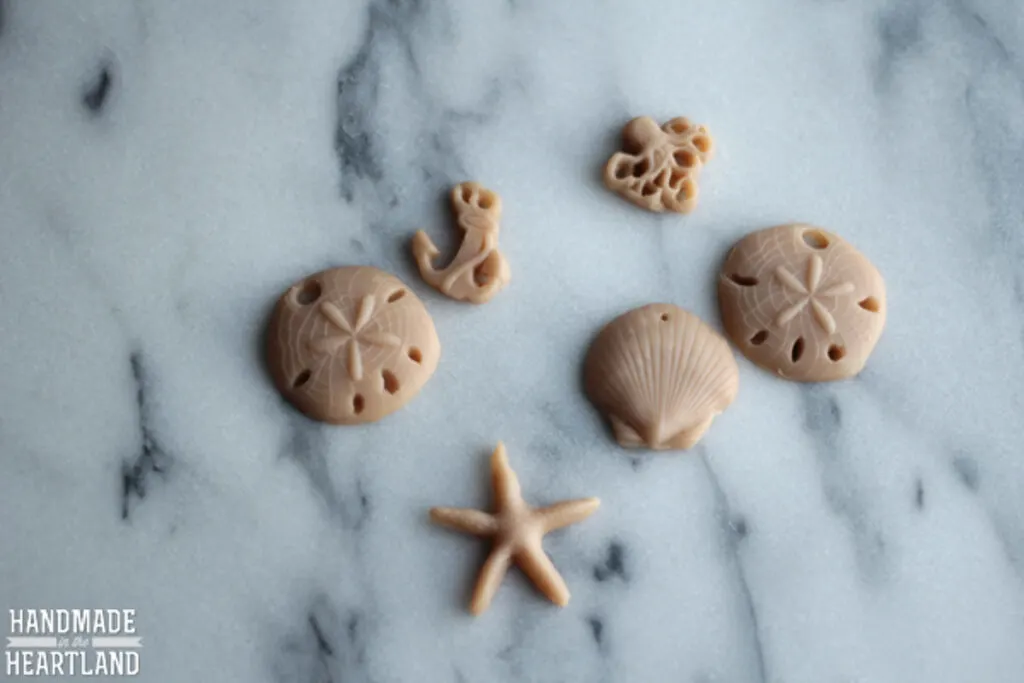
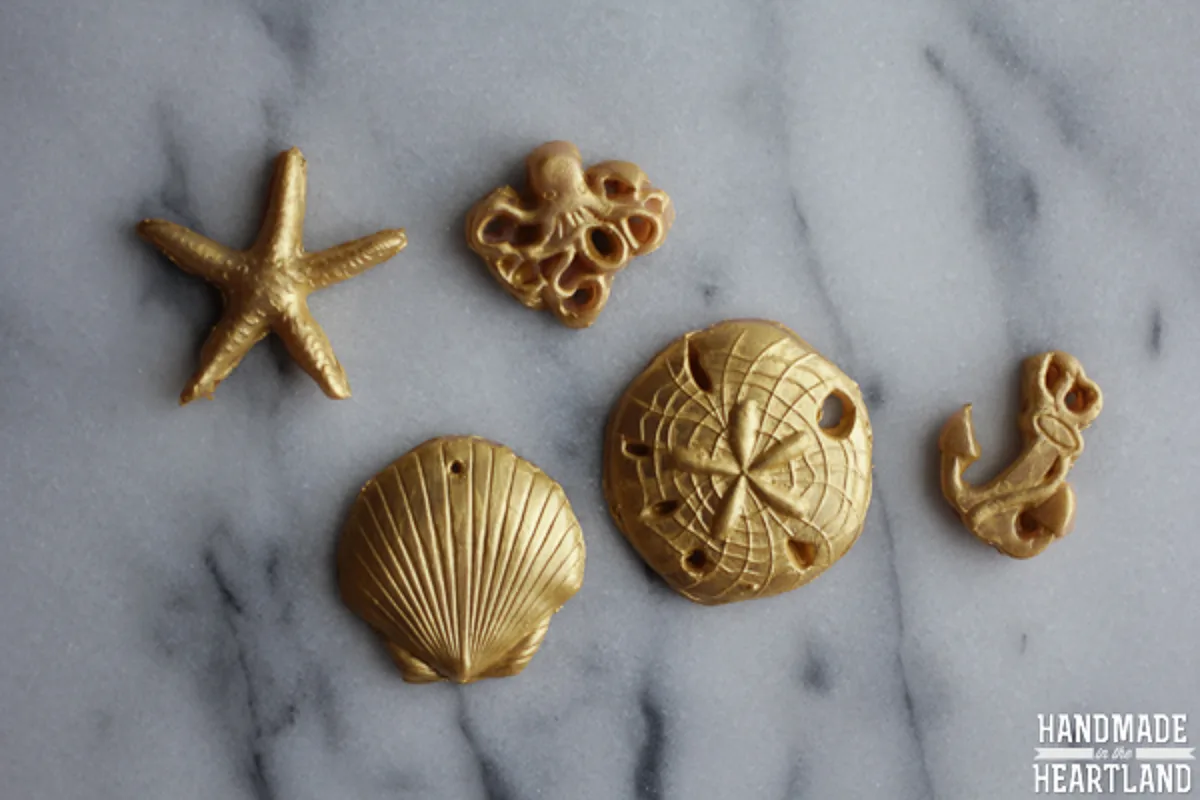
I had fun playing around with the mold I purchased and making a lot of the different shells, In the end I decided to use the sand dollar. After the clay is warmed up break off pieces and push it into the mold.
When I pulled each of the shapes out of the mold there was excess on the sides of the shape so I used my clay tools to cut the excess off. This whole process just reminds me of playing with play-doh! Polymer clay is adult play-doh. 🙂
The mold I used already had a built in hole at the top of the sand dollar for a chain or string. If your shape doesn’t you’ll need to use a clay poker tool to make a hole before baking the clay.
Step 3: Bake
After you get the desired shapes you want place them on a parchment lined baking sheet and bake according to the package directions. Different clays have different baking temperatures and times.
Step 4: Paint
Painting the polymer clay beads is totally optional, but can be a fun way to make your beads even more unique. I painted the entire sand dollar pendant but alternatively you could just add small areas of metallic.


Polymer clay is a really fun material to work with and once you have the supplies you should definitely try your hand at other projects. Make sure to check out my posts on how to make polymer clay earrings, DIY polymer clay beads and DIY polymer clay state pendant necklace.
What is polymer clay?
The Sculpey website explains: Polymer clay is a manmade clay consisting of a polyvinyl chloride (PVC) base. PVC is an artificial plastic polymer and is one of the most widely used plastics in the world. PVC is in objects all around us, from children’s toys to water pipes. Other components of polymer clay include resins, fillers and coloring. These ingredients give polymer clay its flexibility, soft texture and vibrant color.
One of the benefits of using polymer clay for at home craft projects is that it doesn’t have to be fired in a kiln like natural clay. It cures at a much lower temperature that can be reached in a home oven at 275°.

Polymer Clay Sand Dollar Necklace
This polymer clay sand dollar necklace is a fun beach inspired jewelry making project! Learn how to make polymer clay beads with a mold.
Materials
Instructions


Recommended Products
As an Amazon Associate and member of other affiliate programs, I earn a small commission if you purchase something I recommend. I would never recommend products I don't love and use!


I’d love to see your necklace! It thrills me to hear from you so leave a comment or tag me on Instagram (@handmadeintheheartland) or facebook!
How to Make Polymer Clay Earrings | Handmade in the Heartland
Thursday 4th of February 2021
[…] more projects! After you make polymer clay earrings check out my tutorials for a gold painted Polymer Clay Sand Dollar Necklace, DIY Polymer Clay Beads, and DIY Polymer Clay State Pendant […]