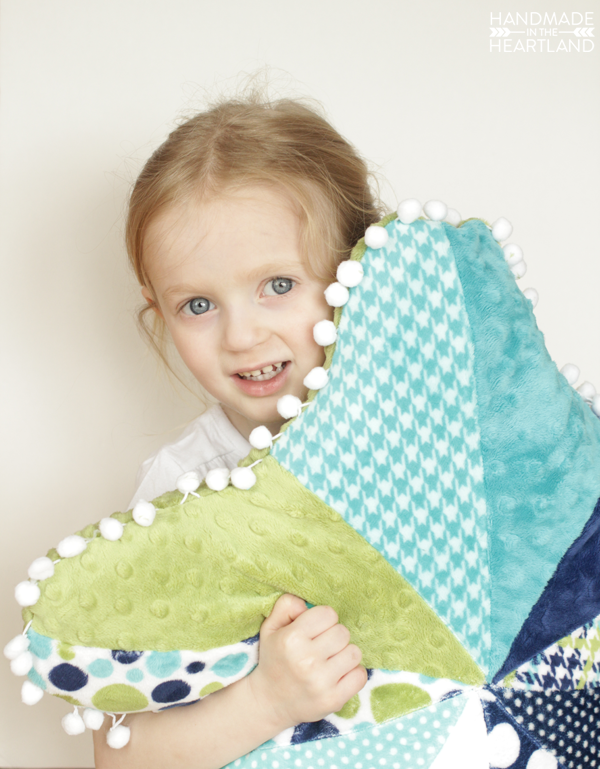
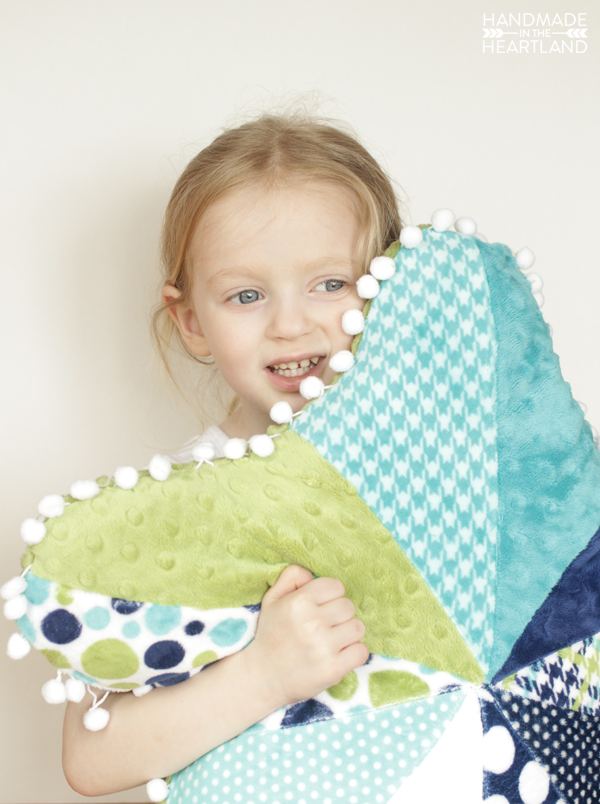
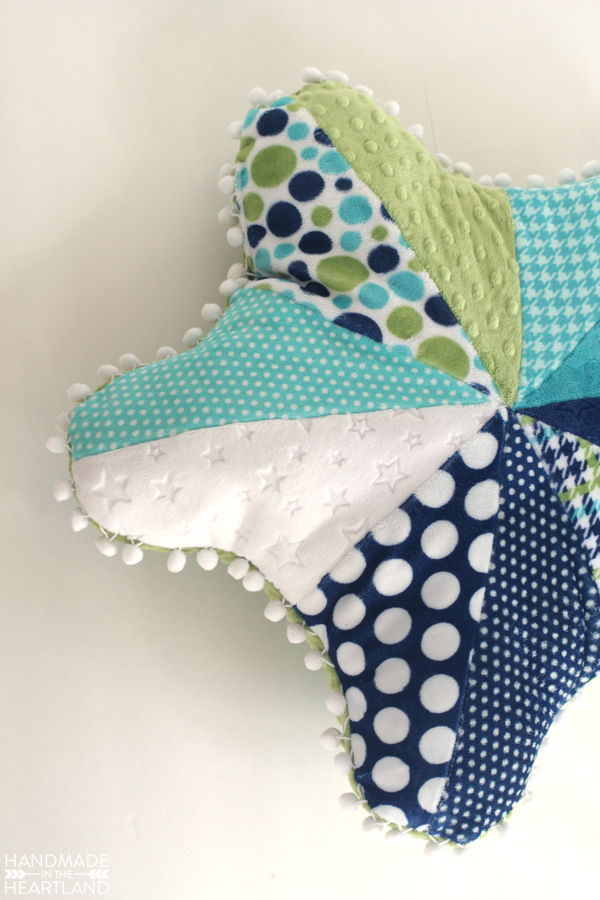
Sometimes I make something and I just can’t wait to show you all. This starfish pillow is one of those projects! I really really love it and its actually pretty easy to make. If you are comfortable sewing, this pillow will take you just a few hours. If you have 2 kids I suggest you go ahead and make 2 pillows because mine have been fighting over it all day. I guess thats kind of a good thing. 😉
One of the reasons my kids are obsessed with this pillow is because it is made out of Shannon Fabrics super soft cuddle fabric. I used their seeing spots 10″ cuddle cake which comes with 10 prints- perfect for this pillow. I also used a solid green for the back but wish I had just done the back identical to the front. With 1 cuddle cake you can make the entire thing, back and front. You can buy the cuddle cake from my favorite online fabric retailer- Missouri Star Quilt Co. HERE.
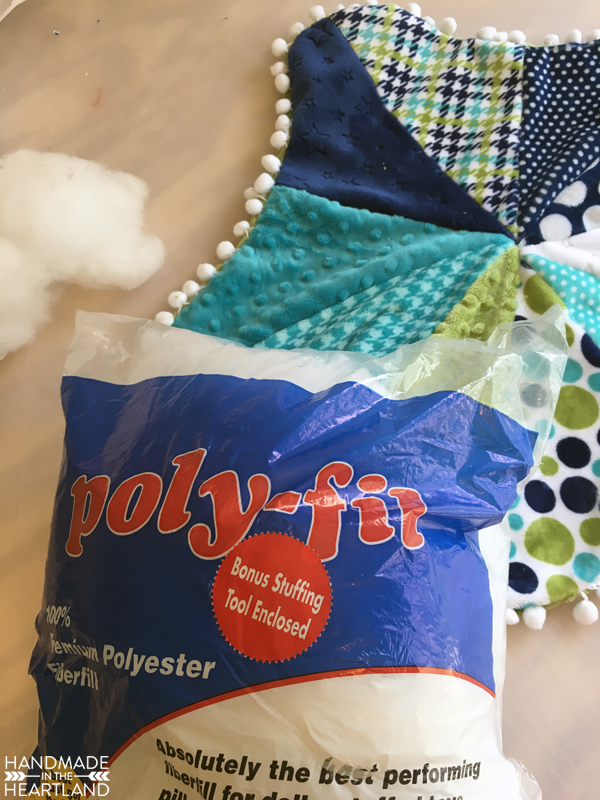
To stuff this guy I used my favorite Fairfield World Poly-fil, I am a master maker for Fairfield world and every month I do a project on the blog using one of their many products. It’s a pretty sweet gig considering they make awesome stuff!
Starfish Pillow Tutorial
Supplies:
20 10″ squares of cuddle fabric
1 16oz bag of Poly-fil
2 1/2 yards of pom pom trim
Step 1: Download & print your pattern, cut it out and then cut out your fabric. In a cuddle cake you will have 2 10″ squares for each print (10 prints) and you will use it all if you choose to do the back and front the same. You can lay your pattern piece diagonal like I did in the photo below to cut out your pieces. I like to cut cuddle using a sharp rotary cutter. You’ll need 5 left and 5 right for each side, so in total 10 left and 10 right.
Step 2: Lay out all your different pieces and match up the prints you want to go together. Pin them together and sew at 1/4″ seam allowance. Even if you are a confident sewer its very important to pin cuddle fabric together using a good amount of pins to ensure it doesn’t slide while sewing. After sewing all your halves together lay them out and decide which legs you want next to each other for the layout of the pillow.
Step 3: Repeat the same for your back piece. Below you can see I did the back all in the same color. I also did full legs instead of halves since I wasn’t mixing patterns.
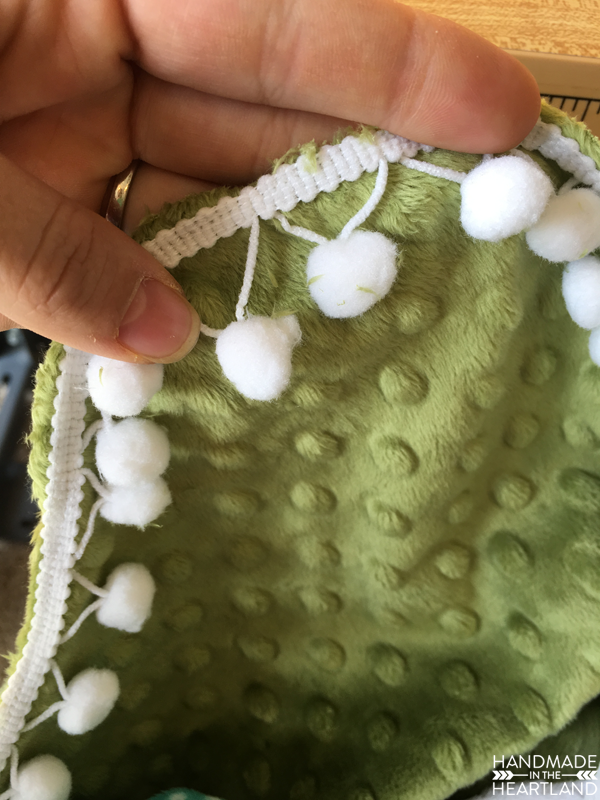
Step 4: Pin your pom pom trim on to the front of one of the sides right at the seam allowance with the pom poms toward the center of the starfish. See the photo below. Sew on at 1/4″
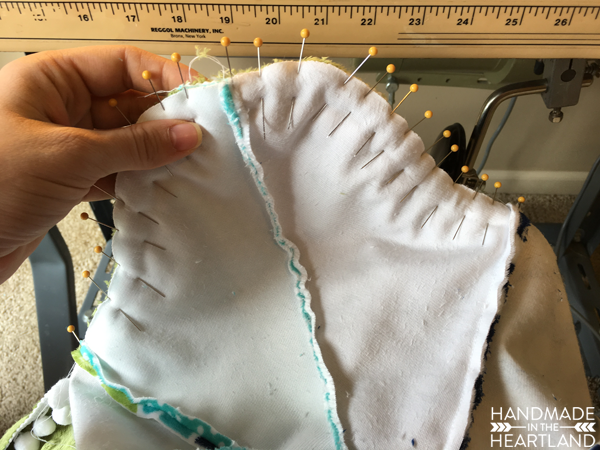
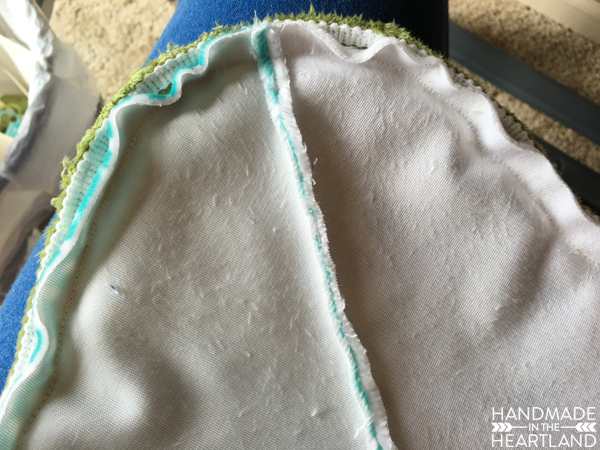
Step 5: Pin both pieces together, I’m usually not an overzealous pinner but with cuddle fabric I am as you can see below. Sew all the way around at 1/2″ seam allowance but leave an opening for turning it right side out and stuffing.
I sew at 1/2″ around the outer edge to make sure I get the entire pom pom trim edge into the seam allowance and not showing anywhere on the pillow.
Step 6: Turn it right side out through the opening and stuff with Poly-fil! After its stuffed to your liking close the opening by either top stitching or hand sewing, I’m way to lazy to hand sew. 😉
I’m so in love with this sea pillow that I kind of want to redo my kids’ bedroom decor just to match it! The good news is that my kids love the pillow so I don’t think they would object, the husband, well thats a different story. 😉
If you make this please let me know! I love to see it when you make things from the blog! Share it with me in the comments or tag me on Instagram (@handmadeintheheartland) or facebook!
Want to save this for later? Pin the image below!





Cathy long
Thursday 21st of July 2022
I made the starfish pillow but i dont know how to attach a picture here. Im addicted to making this starfish pillow! Ive made 2. I made a small 10 inch one that is the most adorable pillow ive ever made! Actually its the only pillow ive ever made! At all! And the bigger pattern one! Lol! I made the small one for my 15 month old grandbaby. The bigger one for her mom it is a great back pillow when you have to sit at computer! Thank you so much for the pattern for the starfish pillow! I wish i knew how to put photo here. Sincerely cathy tucson az
How to Sew Baby Booties & Free Pattern - Handmade in the Heartland
Sunday 26th of September 2021
[…] booties you are definitely going to want to whip up an easy taggie toy or my kids favorite starfish pillow! Happy sewing […]