This rustic wood Christmas sign is easier than you think and makes a beautiful handmade gift. In this post I’ll show you step-by-step how to make it using a vinyl masking technique!
This post contains affiliate links, which means that I make a small commission should you choose to purchase anything I recommend.

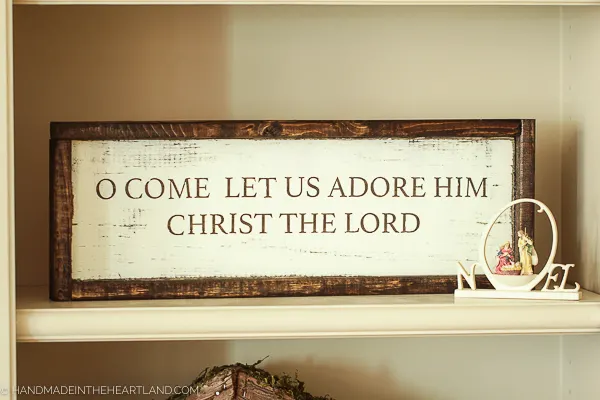
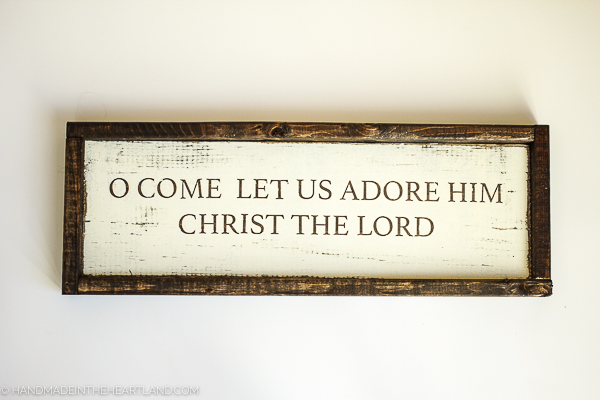
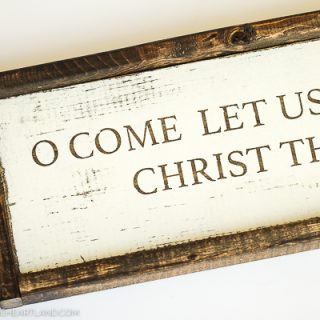
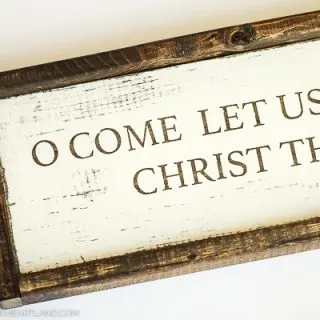
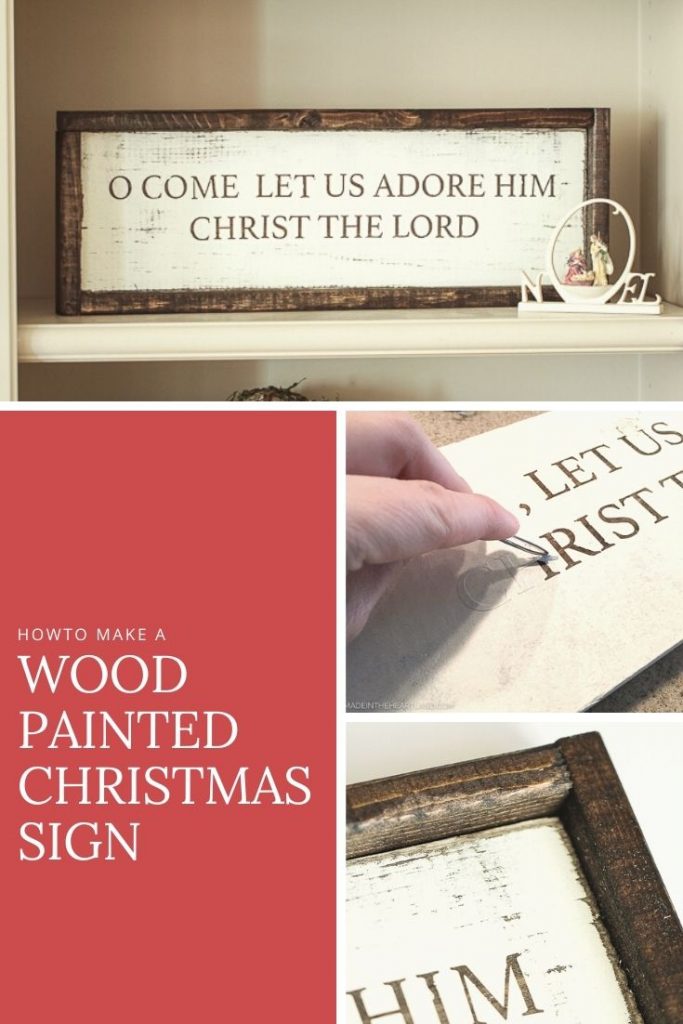
Decorating for Christmas is one of my favorite things to do. I love to add cute things that I find shopping and I especially love the handmade pieces that I add to our decor each year. This year I made this ‘O Come Let Us Adore Him, Christ The Lord’ sign. I am thrilled with the way it turned out.


The process to make these signs is pretty simple and I’ll share with you exactly how to make one for yourself. I actually made 20 of these for gifts to give to all the Sunday school teachers at church. It really didn’t take all that long, even to make 20!

Supplies needed:
You’ll need the following supplies for this rustic wood Christmas sign. I purchased all my wood from Home Depot. We have a miter saw that easily cuts wood but you can also ask them to cut the wood to size for you at Home Depot.
- 1-1×6″ piece of wood cut to 18″ – This is the sign piece that will have the lettering on it.
- 2-1×2″ pieces cut to 18 3/4″ – These two pieces are for the frame on the long sides
- 2-1×2″ pieces cut to 6 3/4″ – These two pieces are for the short sides of the frame
- Cricut Explore Cutting Machine – I love my Cricut and I seriously use it all.the.time.
- Stencil Vinyl – You can use regular vinyl however, I personally prefer to use stencil vinyl for wood signs. It seems to be stickier and therefore has less paint bleed underneath the stickers so you get nice crisp lines with each letter. We use the stencil vinyl as a mask in this project but check out my stencil painted Christmas towel and trivet for how to use stencil vinyl as a stencil.
- White/Cream paint – I love the mix of wood stain and white paint for this sign.
- Wood Stain– I like Early American by Minwax, you will also need a rag to wipe of any excess stain
- Polyurethane top coat– Putting a thin layer of poly on the sign will help preserve it for years to come.
Diagram of Dimensions for wood pieces


Vinyl Masking Technique
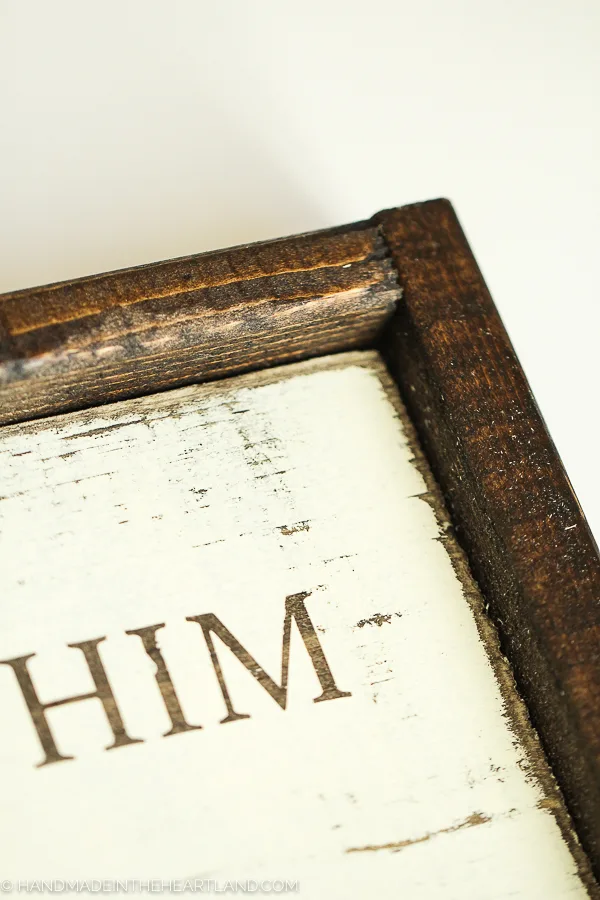
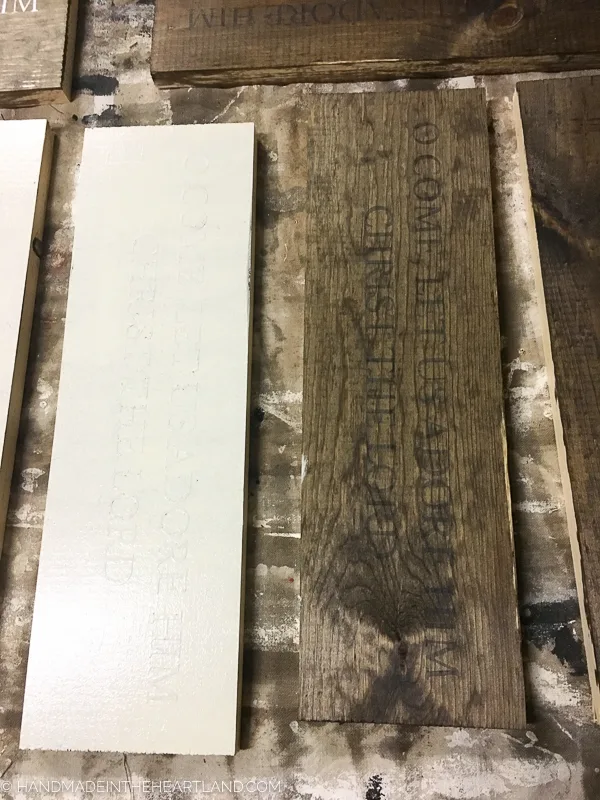
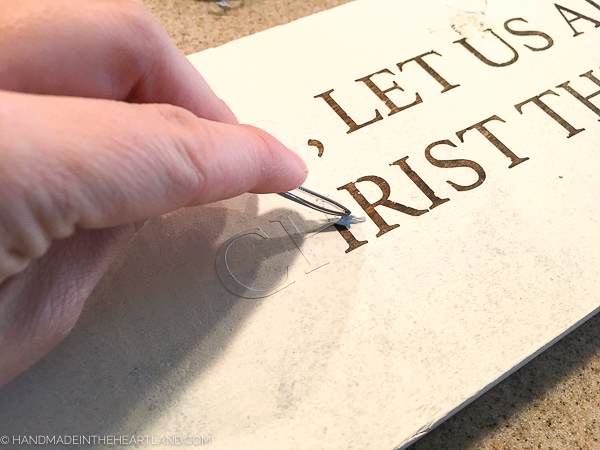
For this sign we used a masking technique with vinyl letters. This means that the letters are the color of the background, in this case the wood stain. You create this effect by staining the wood, then placing vinyl letters onto the stain and then painting the entire board on top of the letters. The vinyl letters create a “mask” effect and then once the paint dries you remove the vinyl. If you’ve ever wondered how rustic wood signs have stained letters this is usually how they create that look!
If you’re looking for instructions for how to make a wood sign with vinyl lettering check my DIY Halloween Sign, in that post I show you exactly how to use vinyl lettering on a wood sign!

What makes a wood sign rustic?
I’ve seen so many cute rustic wood Christmas signs and here are a few things that can add a rustic feel to making a wood sign.
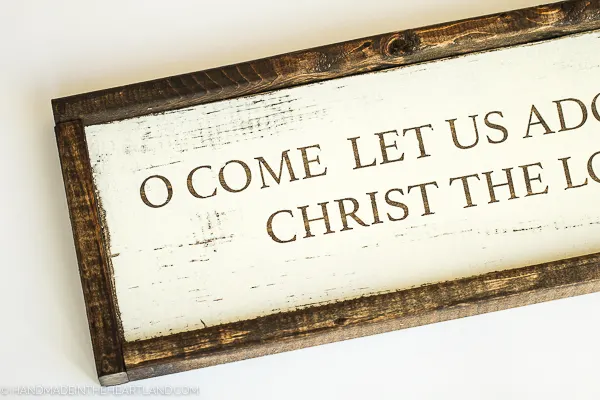
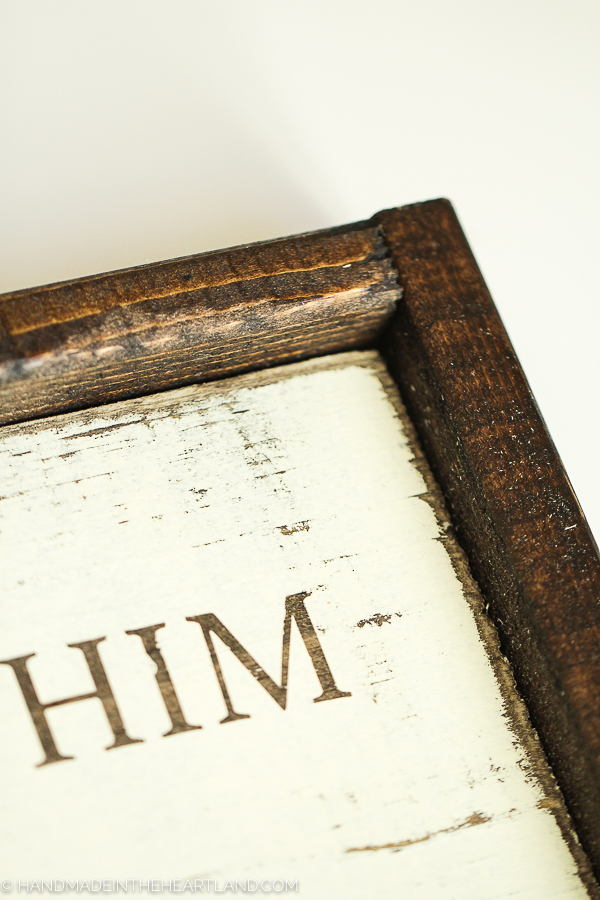
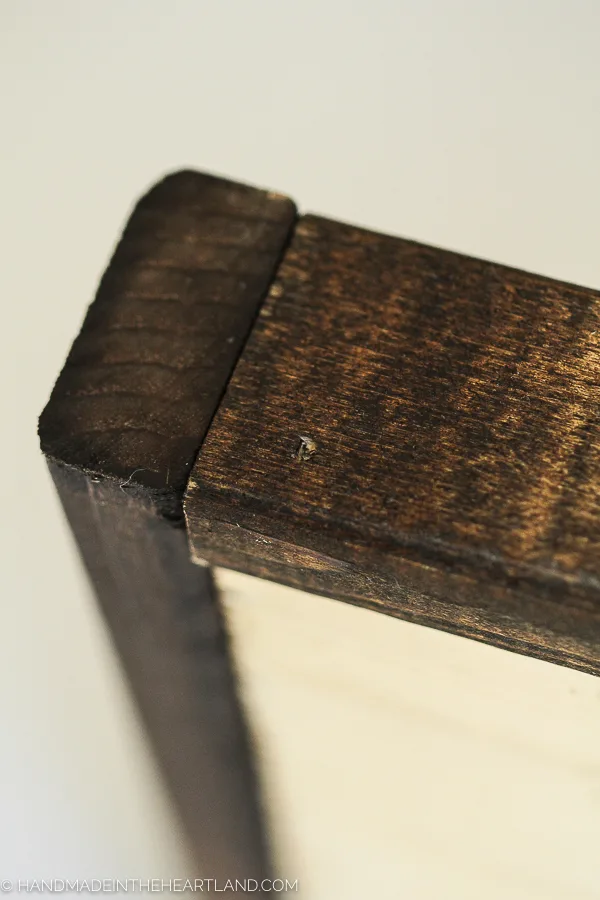
- A weathered look. After you’ve painted a wood board it should look nice and even and clean. Like a freshly painted wall. That’s not very rustic! The best way to give a rustic weathered look is to rough it up a bit with sandpaper or a sander. I love my electric mouse sander. However, when sanding don’t go over the letters! Even a little bit of sanding on letters can make it unreadable so just stay on the edges away from the center of the sign.
- Colors. I find that natural wood stains, whites and blacks create the most rustic look on a wood sign. Using wood stain allows for the grains of the wood to show through which is totally rustic! 😉
- Lettering. Lettering is totally a personal preference so it’s way more subjective than adding texture or deciding on colors. For this sign I used Hoefler font and it’s available to download for free HERE. I find that fonts that are more traditional look more rustic, but it’s totally a matter of preference!
Tips for How to make wood signs in bulk
When I was making this wood sign I made 20 of them at a time. Although I don’t sell them if you are making signs to sell these tips might be helpful for you. I love that when making these in bulk the final price per sign is so inexpensive! I think when I made 20 they turned out to be less than $4 each!
- Plan enough time! The stages of making this sign take time to dry in between. I took 3 evenings to do this project. If you have a full day to devote to it I think you could get it done by waiting a few hours in between each step. But don’t stress yourself out, give yourself ample time!
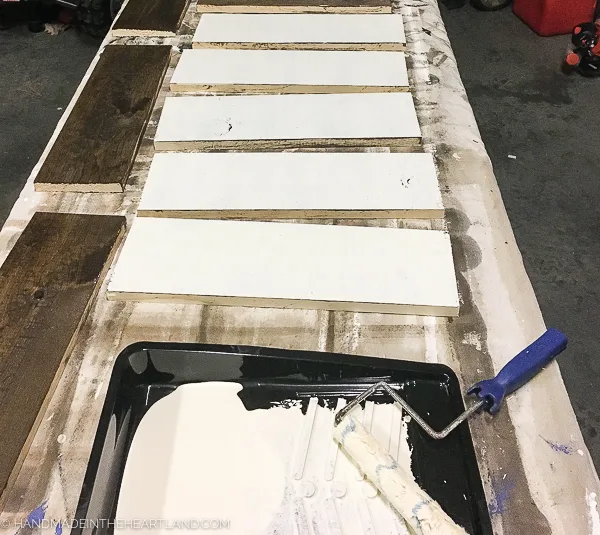
- A large workspace. Because I wanted to make these signs assembly line style and knock out each step at once I needed a workspace to set all 20 out at a time. I used plastic folding tables in my garage with drop cloths on them. It worked great, we just couldn’t park in the garage for a few days. ha!
- Assembly line style working. The best way to make wood signs in bulk is to do 1 step at a time 20 times. For instance cut out all the letters, weed all the letters, put all the letters on transfer tape, etc. After all the wood was cut I stained every piece and let it dry, then moved onto applying the vinyl and painting.

I hope you are all enjoying this holiday season! I love this time of year but it can get busy and overwhelming, I try to remember that it goes so quickly and just to take a step back and look around and enjoy it. 🙂
Wood Painted DIY Christmas Sign
This wood painted do it yourself Christmas sign is easier than you think and makes a beautiful handmade gift. In this post I’ll show you step-by-step how to make it!
Materials
- 1-1×6″ piece of wood cut to 18″
- 2-1×2″ pieces cut to 18 3/4″
- 2-1×2″ pieces cut to 6 3/4″
- Stencil Vinyl
- White/Cream paint
- Wood Stain (I like Early American by Minwax)
- Polyurethane top coat
Instructions


Recommended Products
As an Amazon Associate and member of other affiliate programs, I earn a small commission if you purchase something I recommend. I would never recommend products I don't love and use!


If you make a wood painted sign please share it with me!! Leave a comment or tag me on Instagram (@handmadeintheheartland) or facebook! It makes me SO happy to see you using these ideas!
Save this post for later, Pin the image below!

4 Layer Paper Cricut Christmas Card | Handmade in the Heartland
Tuesday 1st of December 2020
[…] love using my Cricut Explore for Christmas crafting! Check out my wood painted Christmas sign and my stencil painted tea towel– both make great […]
30 Christmas Decor Ideas to Make With a Cricut - Lydi Out Loud
Tuesday 10th of November 2020
[…] in the Heartland is an easy DIY and makes for a beautiful piece of holiday decor or gift idea. Get the tutorial here Custom Christmas Candle Create a customized candle in minutes with a Cricut… these 3 […]
DIY Halloween Sign & 30+ Sign Ideas | Handmade in the Heartland
Friday 23rd of October 2020
[…] you’re interested in the lettering being painted on wood check out my Wood Painted Christmas Sign where I used vinyl letters as a mask, painted on top and then removed the vinyl to have the letters […]