Chipboard yarn wrapped letters are a super fun and simple craft and a great boredom buster that doubles as fun room decor. In this post I’ll share how to use your Cricut with the knife blade to cut chipboard as well as share some tips on wrapping the chipboard letters with yarn.
This post contains affiliate links, which means I make a small commission if you purchase something I recommend.
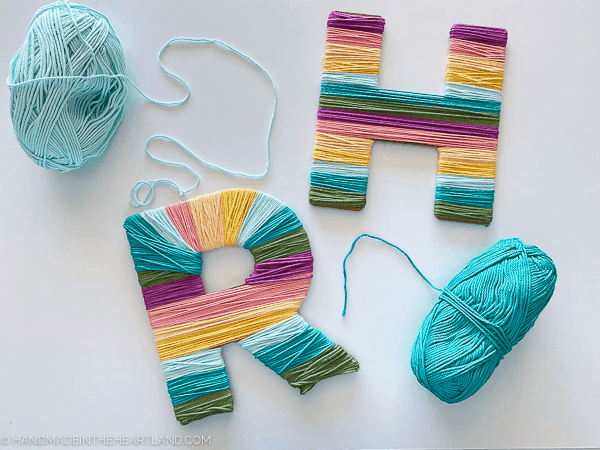

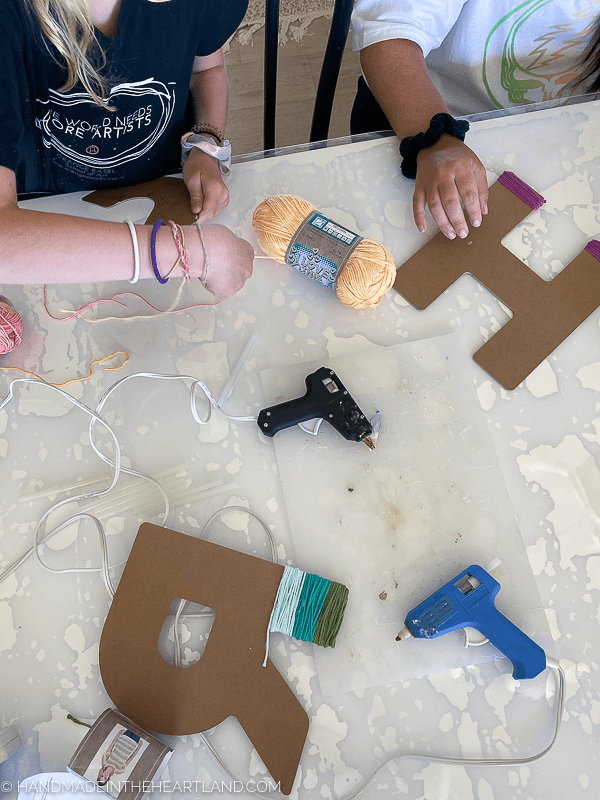
This was such a fun and super easy craft project. I had just as much fun making these letters as my 8 year old daughter. We are planning on using them as decorations and hanging them up in the girls’ room.
What do you need to make Chipboard Yarn Wrapped Letters?
These supplies and tools are what’s needed to make this project.
- Cricut Maker– I love my Cricut Maker. I use it for so many different projects! I love making heat transfer vinyl projects, organizing my pantry and making gorgeous Christmas cards.
- Cricut Chipboard– This was the first time I used the Cricut chipboard. It’s such a great thick sturdy material, it worked perfect for this project and my mind is just reeling with other uses!
- Knife Blade– to cut the chipboard you need a knife blade.
- Strong Grip Mat– The strong grip mat helps tremendously with this project.
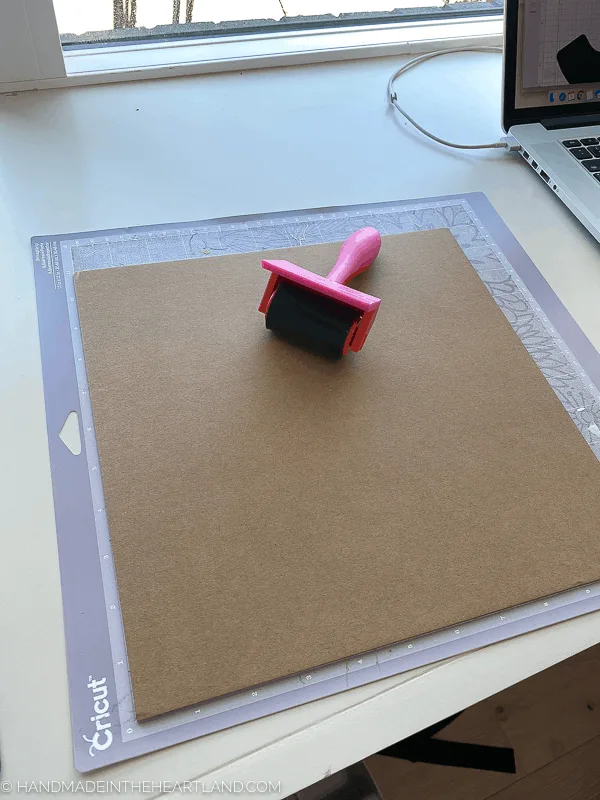
- Brayer– A brayer helps so much with making sure the chipboard is adhered to the Cricut mat.
- Painters Tape or Masking Tape- You’ll want an extra layer of adhesion for the chipboard to stay on the mat.
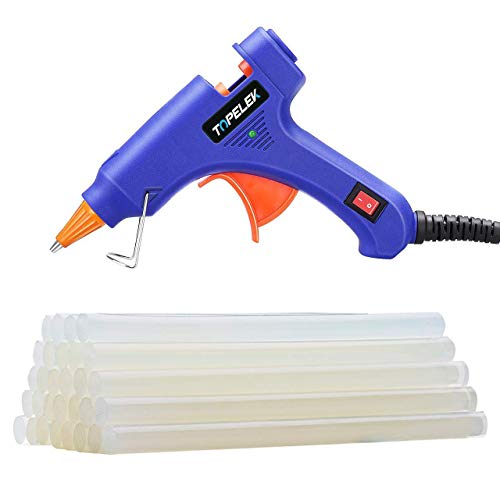
- Hot Glue Gun- We used a small one, any size will work!
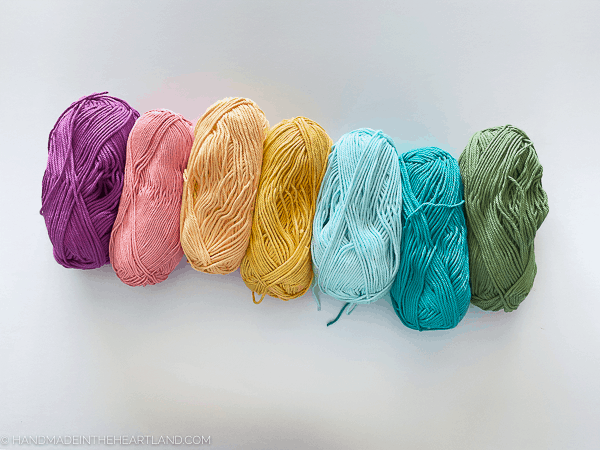
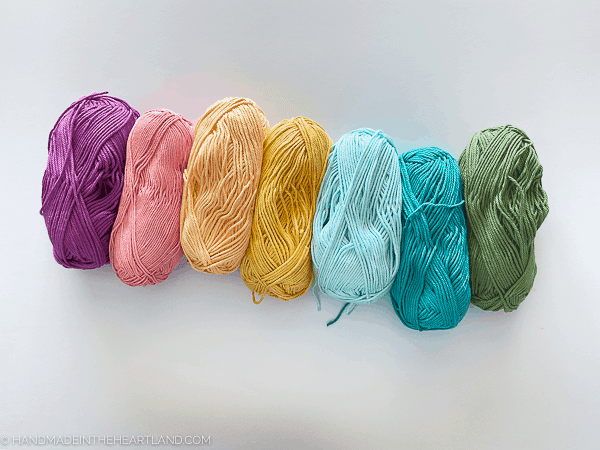
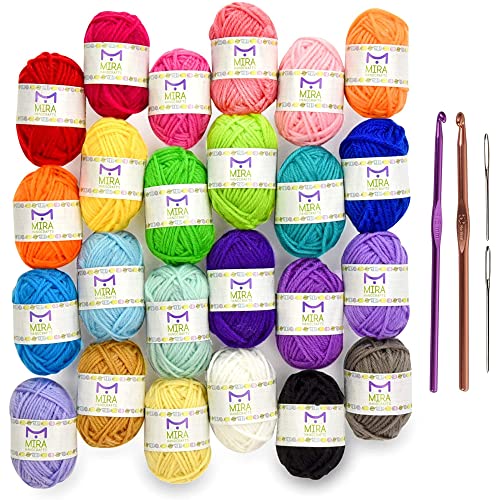
- Yarn (we used 6 colors)
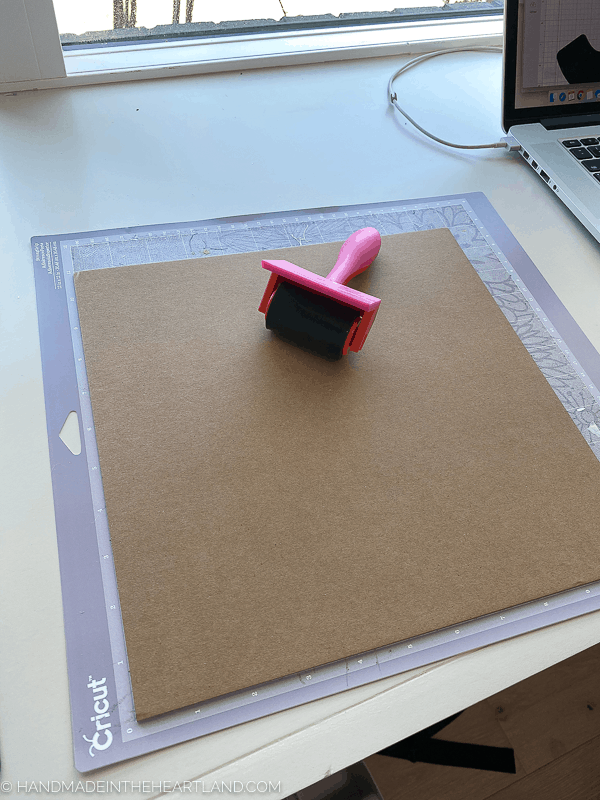
Tips for cutting chipboard on the Cricut Maker
This is a great project to test out the Cricut Knife Blade and Cricut Chipboard. It’s simple and fast and should give you some instant crafting satisfaction!
- Use a strong grip mat. (the purple one)
- Push the chipboard down super well, if you have a brayer roll it over the chipboard several times.
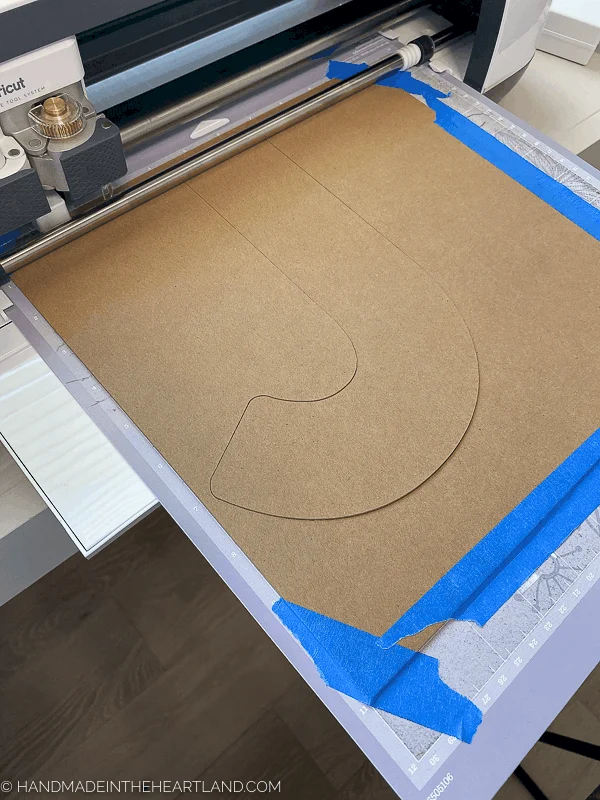
- Use painters tape or masking tape to tape the edges of the chipboard down.
- Make sure you push the white roller guides on the Cricut to the side so they don’t make marks on the chipboard. You can push them all the way to the right.
- Use the knife blade.
Tip for using the Cricut knife blade
When you choose chipboard in Cricut Design Space it chooses to make 24 passes over the chipboard before the letter is finished. I cut my first letter and realized that it had cut all the way through my mat! The next two letters I stopped the machine at 14 and 16 passes and they were both cut all the way through but didn’t slice the mat. If you want to stop the machine while it is cutting just click the go button and it pauses it. You can then release the mat and cancel the cut on design space.

Who should make yarn wrapped letters?
This project is simple, it only takes a few supplies and can be done in less than an hour. My sister who is 20 and my 8 year old daughter made them with me and we all enjoyed it. My 5 year old gave up quickly, which was no surprise! ha! The trickiest part for kids is to remember which side is the back (if the letter is the same backwards and forwards) and to keep the glue on the back side.
Do I have to use a Cricut Maker to cut chipboard?
No! If you don’t have a Cricut Maker you could easily trace or draw a letter onto chipboard and use an Exacto blade to cut it out. If you don’t have chipboard you could use cardboard too, the end result just wouldn’t be as sturdy.

What can I do with yarn wrapped letters?
We created these letters to put in the girls room on their bookshelf. I think they would be really cute in a wreath on the front door. Set on a shelf with your last name initial in metallic yarn or put in a locker for decoration. The options are as endless as your creativity! Pick out your favorite colored yarn and get to making. 🙂

Chipboard Yarn Wrapped Letters
Chipboard yarn wrapped letters are a super fun and simple craft and a great boredom buster that doubles as fun room decor. Great for Ages 8 and up.
Materials
- Cricut Chipboard
- Masking or Painters Tape
- Hot Glue Gun
- Yarn
Instructions
- Cut out a letter using your Cricut Maker. I used the font Heavitas. Make sure the chipboard is adhered to the mat firmly with a brayer, use masking tape or painters tape around the edges for extra security.


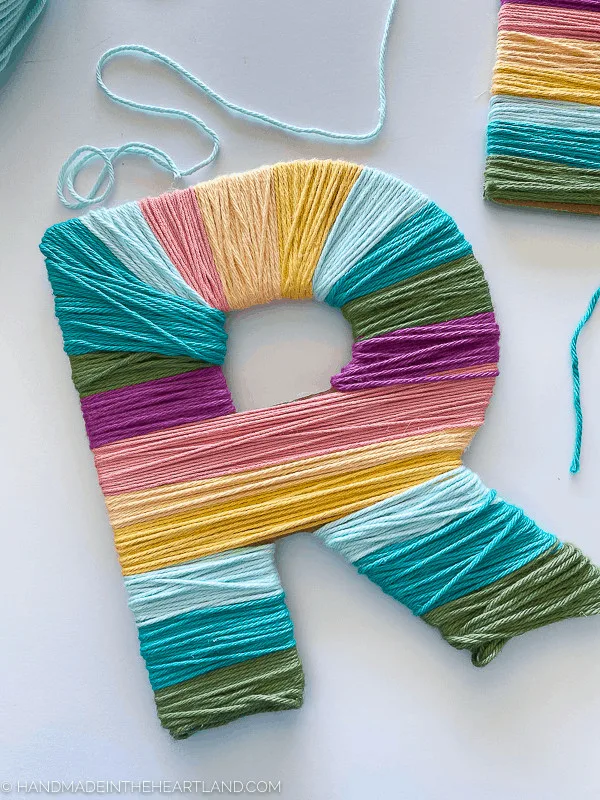
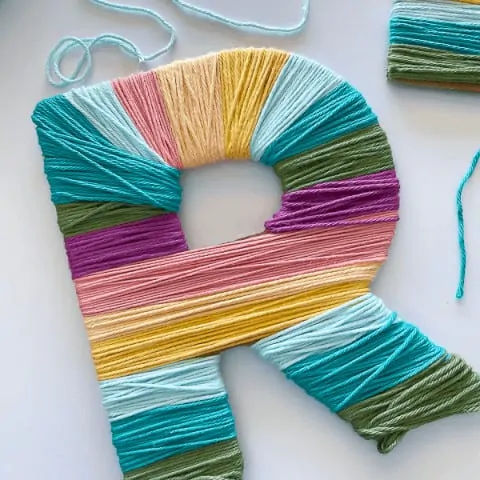
- Select the yarn you'll use and decide what order your colors will be. Start at one end of the letter and using hot glue secure the end of the yarn. Wrap the yarn around until your wrapped area reaches 1- 1 1/2 inches. Cut it off and secure to the back with hot glue. Continue wrapping and glueing the yarn until the letter is covered.

Recommended Products
As an Amazon Associate and member of other affiliate programs, I earn a small commission if you purchase something I recommend. I would never recommend products I don't love and use!

DIY Lucky Shamrock Canvas Art | Handmade in the Heartland
Friday 19th of February 2021
[…] you’ve got extra chipboard to use check out my Cricut chipboard yarn wrapped letters for your next […]